Our look at the National Videogame Museum in Frisco, Texas during December 2018.
For more information on the museum, check out:
http://www.nvmusa.org/

Video Game Museum, Blog, & Store
Today's collections are tomorrow's museums.

Our look at the National Videogame Museum in Frisco, Texas during December 2018.
For more information on the museum, check out:
http://www.nvmusa.org/
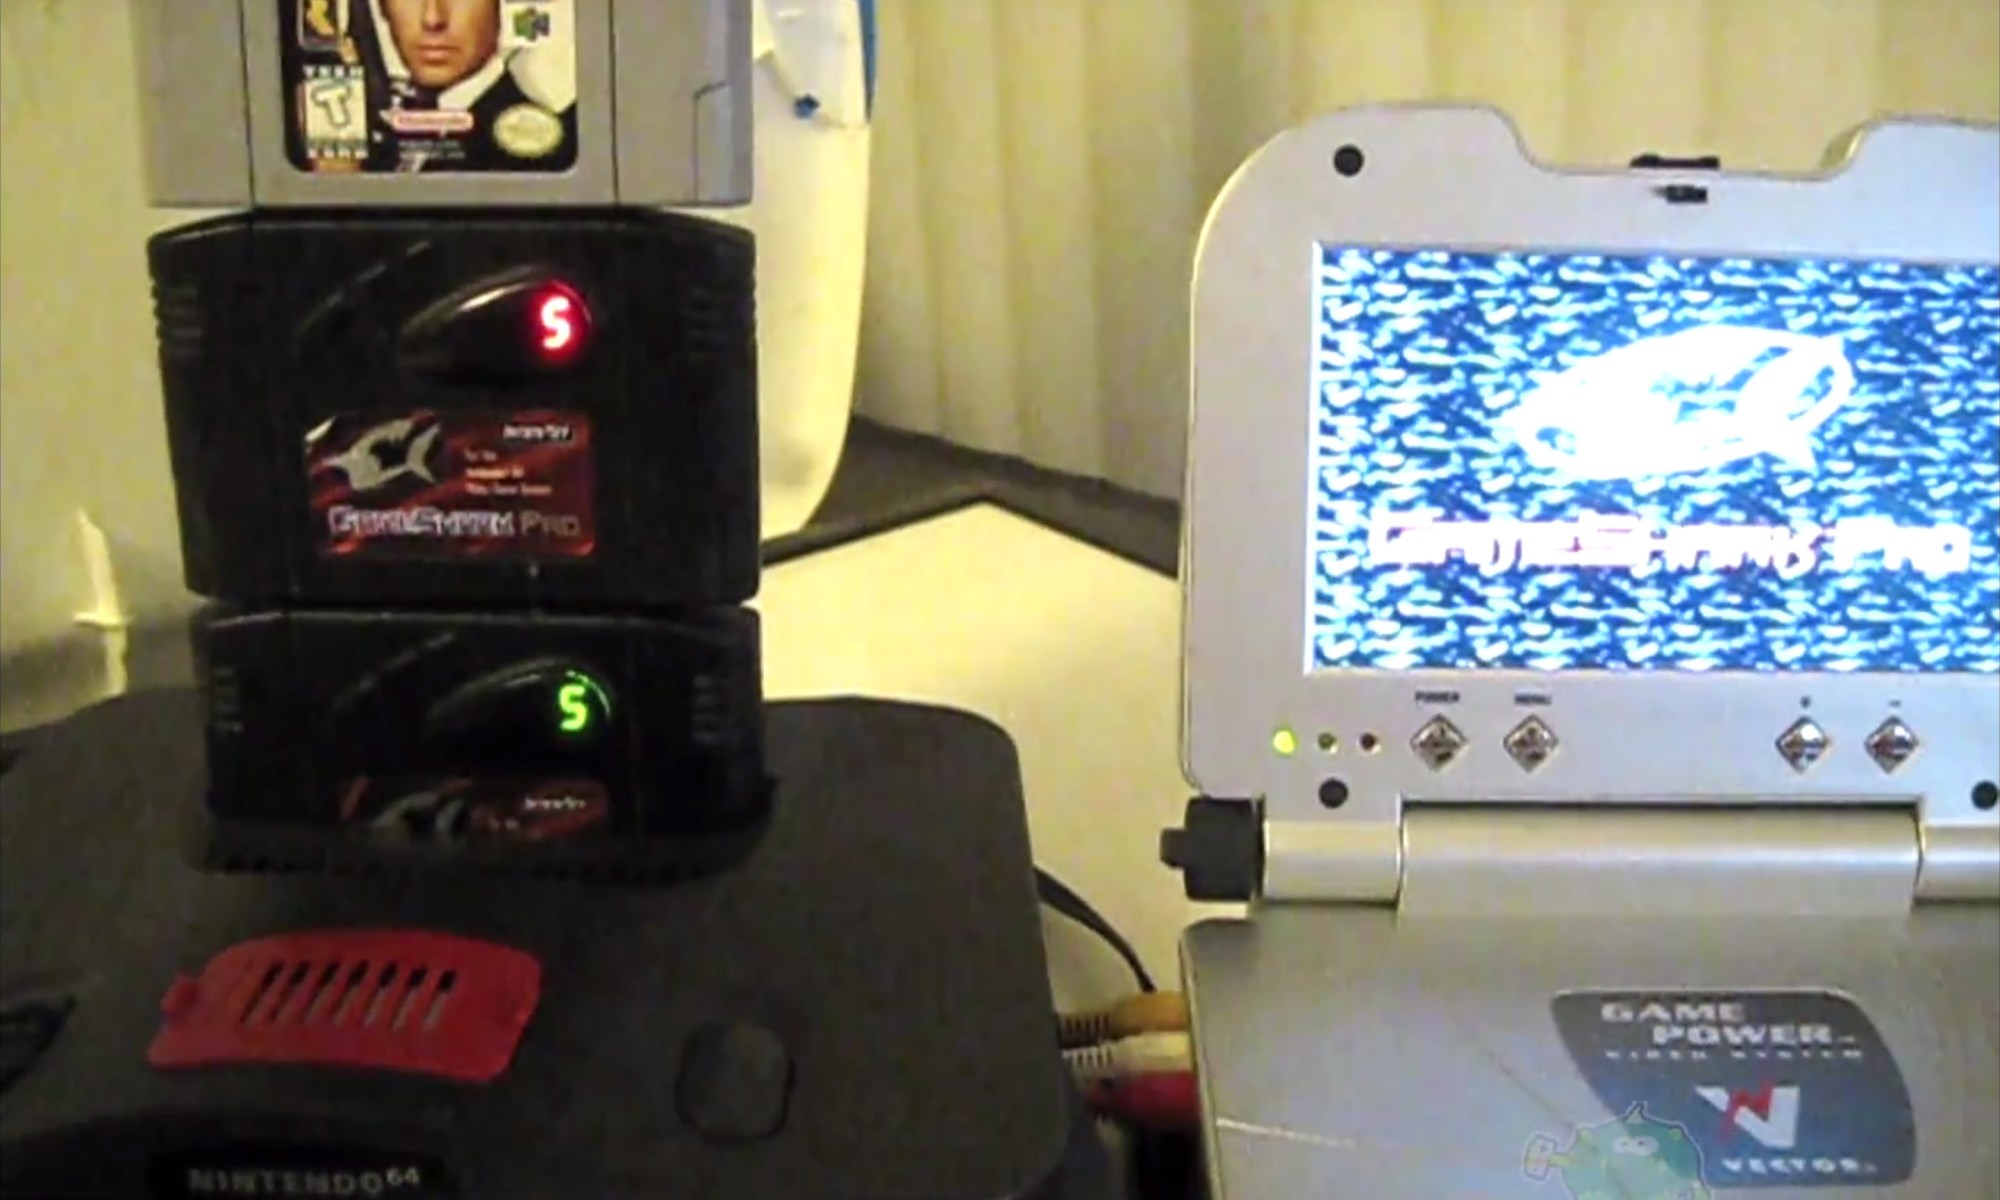
It’s hard to imagine a stranger repair than this!? But it worked for us, and I’m still scratching my head.
If you have a Nintendo 64 GameShark (version 3.3) that won’t boot up, here’s a quick and easy trick that might repair it.? You’ll need a working GameShark of the same version.
http://amzn.to/2kUkM43
***Before you start, verify that your bad GameShark displays the number “8” as ours did in the video.? There are lots of things that can go wrong with these devices, so make sure your issue matches ours.***
***Proceed at your own risk.***
Step 1–Bottom:? Insert the working GameShark into your system.
Step 2–Middle:? Insert the bad GameShark into the top of the working one.
Step 3–Top:? Insert a compatible game into the top of both GameSharks.
Step 4:? Boot up your system.
Pardon the grainy footage.? We actually filmed this about 10 years ago and had forgotten about the footage.? I hope this helps unlock some of your bricked GameSharks.
Best of luck & happy retro gaming!

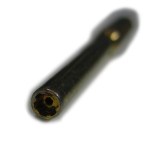
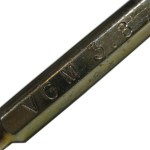
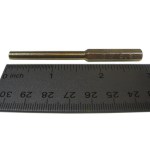
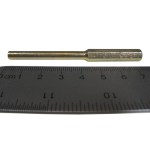
After months of design, engineering and production, we’re happy to announce our new 3.8mm VGM Gold Security Screwdriver Bit!
Get your 3.8mm VGM Gold Security Bit on Amazon or?eBay
We’re demonstrating all the different types of cartridges a 3.8mm VGM Gold Security bit can open. This is perfect for opening your retro gaming collection for cleaning, battery replacement, and repairs.
3.8MM VERSION OPENS:
QUALITY:
We’ve worked hard to offer the highest quality screwdriver security bits on the market. We’d rather offer a top quality item once rather than ask people to continuously replace low quality imitations.? We feel we’ve done just that and our proud that these are made 100% in the United States.? This gives us highest quality control, top quality, and supports American jobs.
Get your 3.8mm VGM Gold Security Bit on Amazon or?eBay


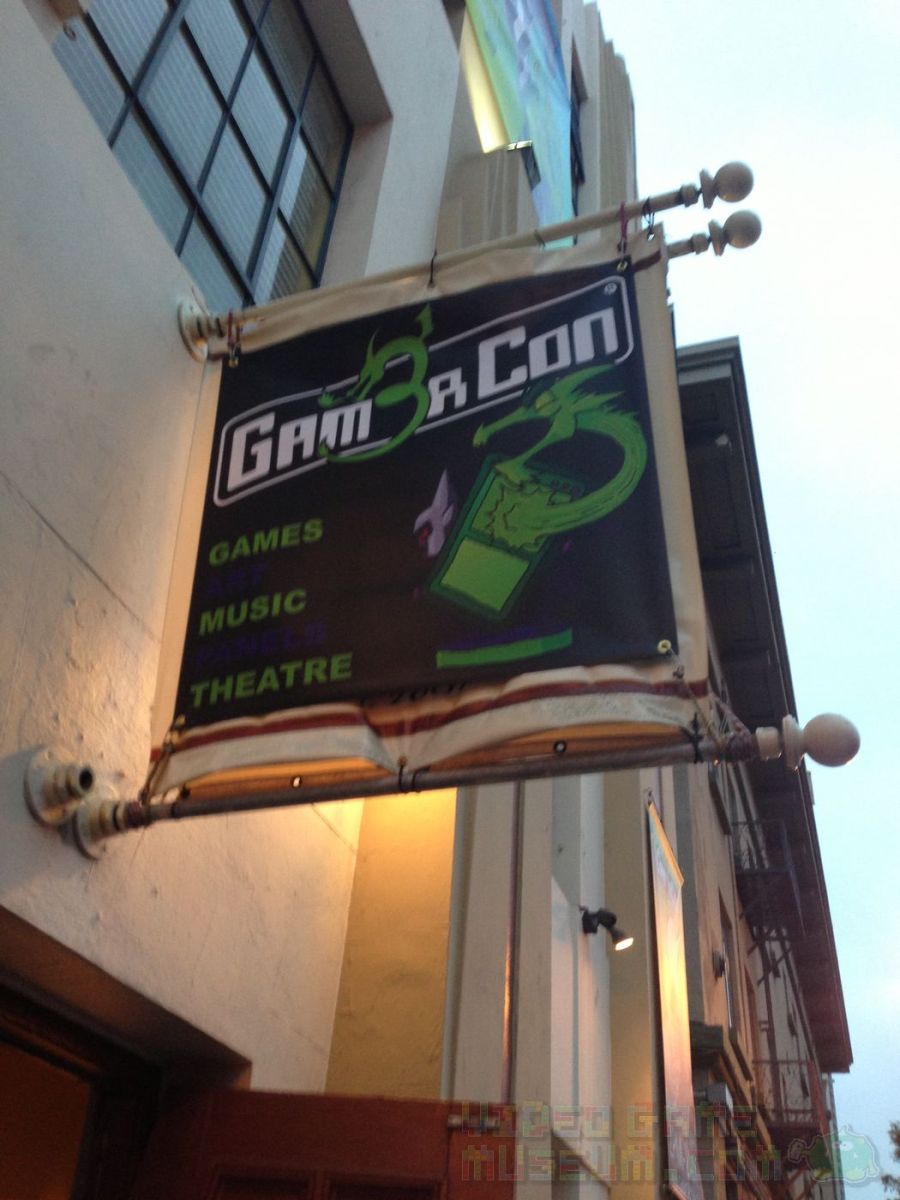
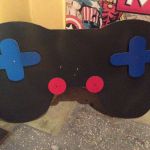
 San Diego Comic Con is a beast.? It’s the biggest, baddest giant in town.? Yet, surprisingly, growing between its toes is an event called Gam3rCon!? Rather than withering in SDCC‘s shadow, Gam3rCon is thriving!
In some ways, I scratch my head that there are gamers who live in the San Diego area and don’t attend Comic Con.? Some are just not interested, or they’re interested but couldn’t get a ticket.? Others would attend SDCC but hate all the hype and crowds.
That’s where Gam3rCon comes in.? It’s small. It’s gaming.? It’s not Comic Con.? This was our first year to check it out, and I have to say I was impressed!
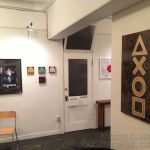
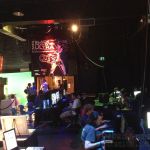
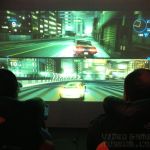
 Ok, so Gam3rCon is small and independent…but not really that small.? These guys and gals rent out a five story building and pack it with an insane amount of content.? Upon entering, a gamer walks into an old church sanctuary that has been converted to a shrine to gaming with dozens of Xbox 360s and PS3s.? Shooters, fighters, and DoTA seemed to dominate the scene, while a driving simulator was projected on the wall.
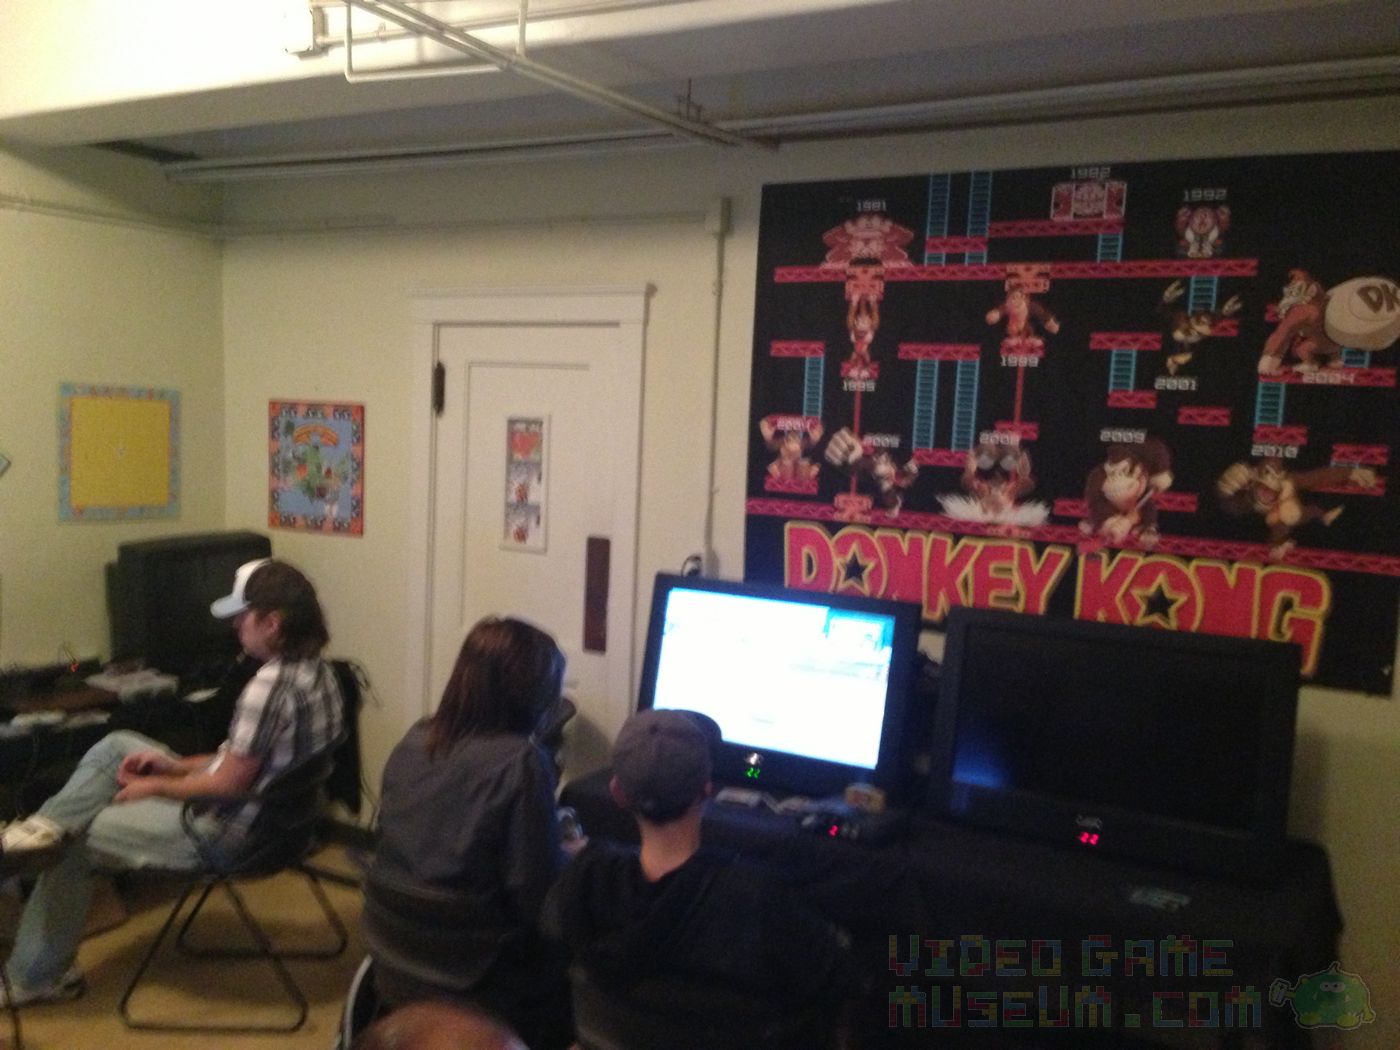 All the while, upstairs is a retro gaming room complete with Atari, NES, SNES, N64, Dreamcast, PS2 and a freak’n rad Fairchild Channel F!? Yup, that’s the room where I parked for a bit.
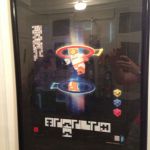
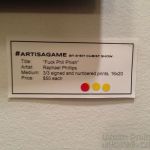
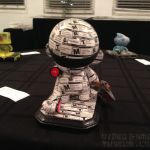
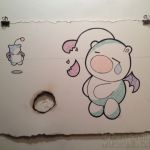
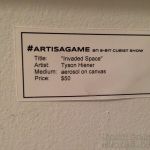
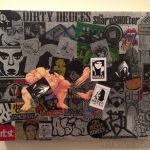
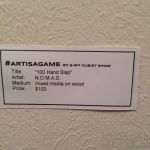
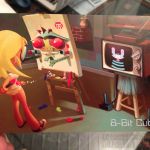
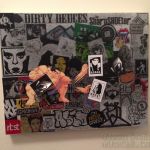
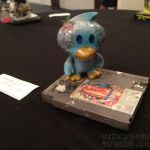
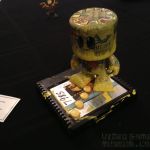
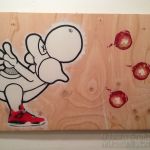
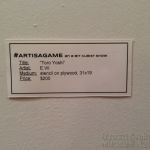
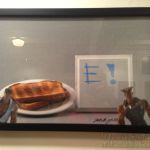
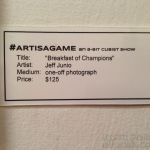
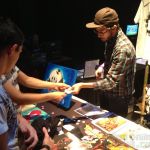
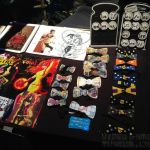
Down the hall is an art gallery with some solid works of art, and if you’re interested in creating your own art, we spotted some graffiti and silk screening going on as well.? Did we mention the huge, green-screen photo booth for those of us who are less than artistic?!? Check out our interview with Mr. Benja from The 8-bit Cubist for more on that art gallery:
If tabletop gaming is more your thing, there was plenty of that going on in the tabletop gaming lounge.? Up on the roof was pizza and comedy.? Add to that film screenings and a bunch of other stuff that we probably didn’t even find, and there’s something for everyone.
If you’re thinking about doing both San Diego Comic Con and Gam3rCon, we wish you all the best.? Both are great and worth checking out.? As a pretty active guy in his 30s, I was hurting after packing both into one day.? If they were staggered by a week or two, I would have loved spending more time at both.? Yeah, I know, cry me a river, right?
Regardless, I’m stoked that there is one more gaming option in Southern California.? Best of all, this small, independent gaming con is thriving!? Game on!
Check out the gallery below for a closer look at Gam3rCon.


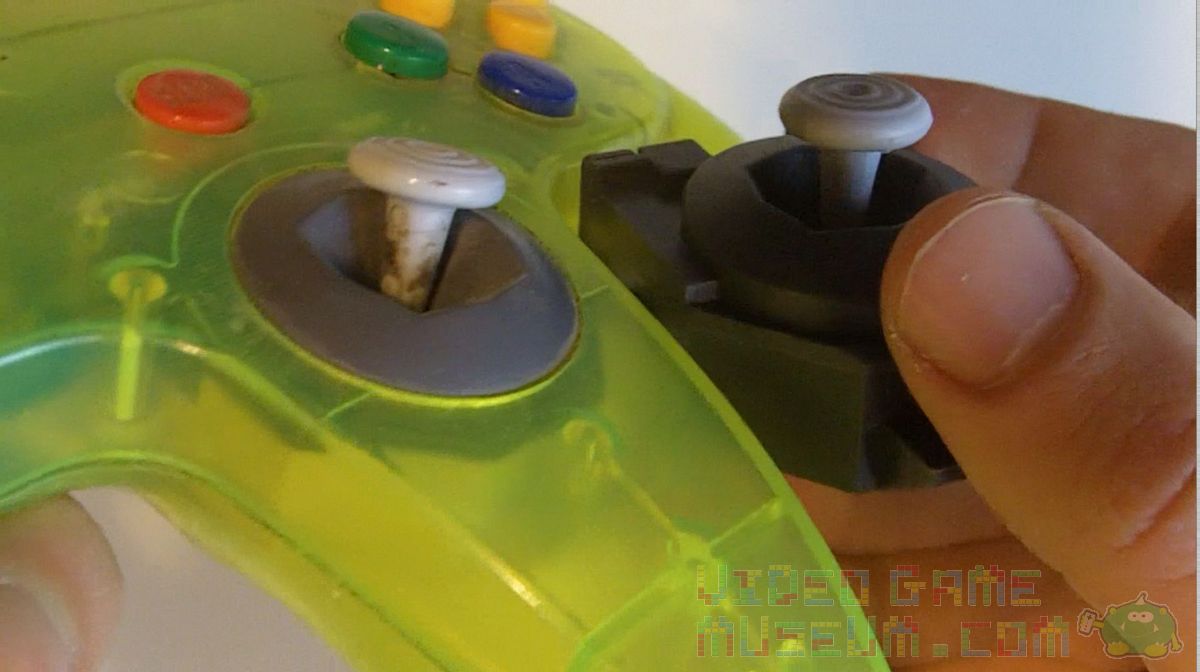
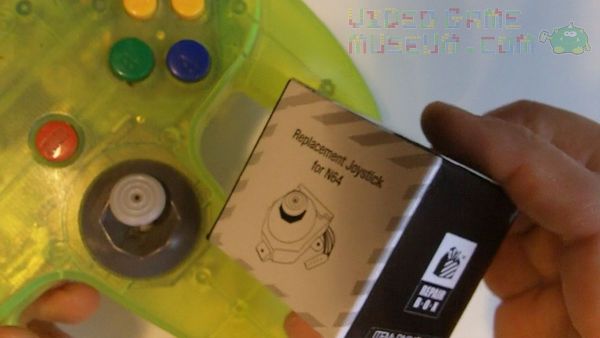
If you’ve owned and loved an N64, you probably have a few worn out joysticks. In addition to our GameCube-styled replacement N64 joystick, we’ve found an option that feels and looks a lot more like the original.
If you’ve seen our other N64 joystick repair video, this process is pretty similar. Here’s another great option! It’s made by RepairBox and seems to have a solid design. The installation is still super easy. Just make sure you have a Philips Head screwdriver handy and about 10 minutes of time.
Just let us know if you have questions, comments or any thoughts on this model of joystick.? Best of luck, and happy retro gaming!
Find one of these RepairBox joysticks on Amazon.
Warning: Proceed at your own risk and be careful when doing any repairs.

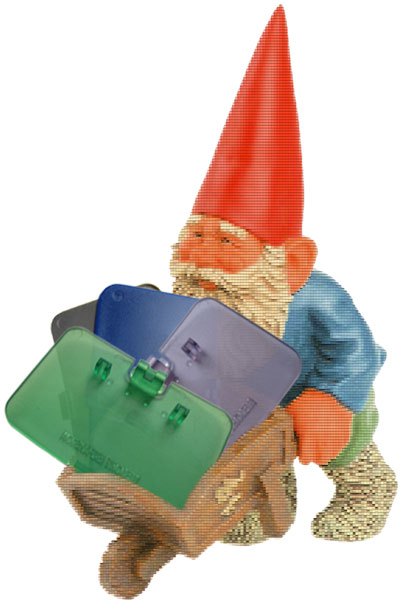

We all know about the gnome who steals socks out of our laundry. But have you heard about his pixel-hungry buddy who steals battery covers off of Game Boys? How about his neighbor who snatches expansion covers off of old N64 systems?
Time to fight back!
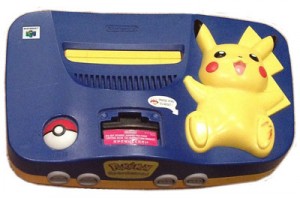
We’ll be carrying several colors of replacement expansion covers for the Nintendo 64. Yup, we’ll be keeping the retro gaming world dust free by carrying the original Gray, Jungle Green, Pikachu Blue, and Atomic Purple versions of these little missing lids. If these do well, we’ll be happy to get more colors produced in time.

Ok, so here’s the funny part. Nintendo made an Atomic Purple N64 set, right? What color was it? Wait….think about it…hmmm.
Hmmm…so it really wasn’t a purple system. But it did come with a sweet Atomic Purple controller that kicked off the numerous “funtastic” variants that Nintendo released in controllers and systems.
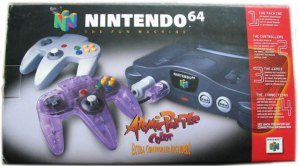
Atomic Purple expansion covers, really? Yup. Why? Because yellow would have been silly. Seriously though, we figure these will give people a great opportunity to continue the custom mix-and-match process of customizing their N64. We all did it with controllers as a kid. Why not the system? Would the system in the box below look better with an Atomic Purple expansion lid? Would that same lid also look sweet on a colored system? If you answered yes to either of these questions, you understand. If not, gray is definitely available too. Modders, here’s one more color to toy around with.
People were asking how closely the colors match the originals, so we figured we’d give you a better look.
Happy retro gaming!

Want to clean your video game collection?
Are you trying to repair an old game cartridge or system?
We’ve created a compatibility chart to help you find the items you’ll need.? Want a pdf version?
| SECURITY BIT & BATTERY COMPATIBILITY CHART | ||||||
| NINTENDO | GAME BIT | SYSTEM BIT | CONTROLLER BIT | SYSTEM BATTERY | GAME BATTERY | |
| Original Nintendo NES | 3.8mm | Philips | Philips | n.a. | CR2032 | |
| Super Nintendo | 3.8mm | 4.5mm | Philips | n.a. | CR2032 | |
| Nintendo 64 | 3.8mm | 4.5mm | Philips | n.a. | CR2032 | |
| Game Cube | n.a. | 4.5mm | Tri-Wing | n.a. | n.a. | |
| Wii | n.a. | Tri-Wing | Tri-Wing | n.a. | n.a. | |
| Virtual Boy | 3.8mm | 4.5mm1 | Philips | n.a. | n.a. | |
| Game Boy | 3.8mm | Tri-Wing | n.a. | AA | CR2025 | |
| Game Boy Color | 3.8mm | Tri-Wing | n.a. | AAA | Usually CR2025 (but sometimes CR2016)3 | |
| Game Boy Advance | Tri-Wing | Tri-Wing | n.a. | AA | Usually CR2025 (but sometimes CR2016)3 | |
| Game Boy Advance SP | Tri-Wing | Tri-Wing | n.a. | Lithium | Usually CR2025 (but sometimes CR2016)3 | |
| DS | Tri-Wing | Tri-Wing | n.a. | Lithium | n.a. | |
| DS Lite | Tri-Wing | Tri-Wing | n.a. | Lithium | n.a. | |
| DSi | Tri-Wing | Tri-Wing | n.a. | Lithium | n.a. | |
| DSi XL | Tri-Wing | Tri-Wing | n.a. | Lithium | n.a. | |
| SEGA | GAME BIT | SYSTEM BIT | CONTROLLER BIT | SYSTEM BATTERY | GAME BATTERY | |
| Master System | 4.5mm | Philips | Philips | n.a. | CR2032 | |
| Genesis | 4.5mm2 | Philips | Philips | n.a. | CR2032 | |
| CD | n.a. | Philips | Philips | n.a. | n.a. | |
| CDX | n.a. | Philips | Philips | n.a. | n.a. | |
| 32X | 4.5mm | Philips | Philips | n.a. | CR2032 | |
| Saturn | n.a. | Philips | Philips | CR2032 | n.a. | |
| Dreamcast | n.a. | Philips | Philips | n.a. | CR2032 for VMU4 | |
| Game Gear | 3.8mm | 4.5mm | n.a. | AA | n.a. | |
| MISC | GAME BIT | SYSTEM BIT | CONTROLLER BIT | SYSTEM BATTERY | GAME BATTERY | |
| TurboGrafx 16 | n.a. | 4.5mm | Philips | n.a. | n.a. | |
| TurboDuo | n.a. | 4.5mm | n.a. | n.a. | n.a. | |
|
CHART KEY
| ||||||
|
Philips = Philips head screwdriver
Tri-wing = Tri-wing head screwdriver 1Bit may not be long enough to reach screws without removing plastic 2Works for most games 3Check game’s internal circuit board to identify the battery needed. It should be labeled either “CR2025” or “CR2016“. 4The Sega Dreamcast’s VMU requires the use of two (2) CR2032 batteries. | ||||||
Additional Info: See our video cleaning and repair guides for our favorite methods for easily cleaning and repairing your retro gaming collection.
Sharing: You are welcome to share this chart in unedited form so long as you offer credit linking to VideoGameMuseum.com
Feedback: We would love your feedback!? Please send feedback and suggestions to mark{at}videogamemuseum.com simply comment below.

If a person played the N64 back in the day, chances are they logged about a billion hours between Goldeneye and Mario Kart. I was finishing up high school just as the N64 was taking off, and my buddies and I were no exception to the Nintendo 64 craze. Heck, given the number of hours in which we brutalized each other with banana peels and proximity mines, you could argue that we actually loved the N64 to death: literally.
The Flaw
The N64 was a fantastic system; however, it had one fatal flaw: the controller. Specifically, the first-party controllers that Nintendo supplied had the wimpiest joystick on the market. As a person used the joystick, the axis inside would literally wear away. The more it wore, the harder you had to push the joystick, which, in turn, wore down the joystick even faster. The only joystick that I can think of with such a huge failure rate is the Atari 5200’s. What’s strange is that during the time of the N64, Sega Saturn’s “3D” joystick was a pretty good item. Maybe Nintendo was afraid of seeming too much like Sega. For whatever reason they chose the design they did, we know the end of the story: joystick failure.
Nintendo’s Joystick Fix?
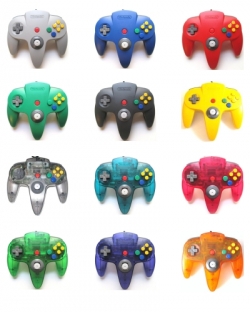
What was Nintendo’s solution to this issue? They issued controllers in every color under the sun. Heck, if kids got their parents to buy more controllers, then it would prolong the life of the joysticks that the kids already had. And of course, the argument could be made that there were great 4-players games for the N64. Thus, the additional purchases made sense. Or at least it made sense if you weren’t the fourth kid to show up for a session of Bond. Yup, being the last to arrive meant you got stuck with that horrid failure of a thumbstick that everyone else rejected.
Repair Ideas
We kids were quick to learn to pull apart our controllers to swap the better joysticks into the cooler controllers. That’s why you’ll see so many mismatched controller casings. But this process of cannibalizing controllers certainly wasn’t a solution.
I fix up a ton of games and systems, but for the longest time I was stumped by the issue of Nintendo 64 joysticks. I watched a bunch of YouTube videos and scanned forums for repair tips. Some people suggested repairs using layers of Scotch tape. Others had complicated tricks for transplanting joysticks from other non-N64 controllers and then essentially hiring an electrical engineer buddy to make the two compatible. I’d even experimented with a process of resurfacing the worn parts with surfboard resin or clear fingernail polish, but neither of these seemed to work well.
Repair Solution
Finally, I found a good supplier for a quality joystick. We’ve started to carry that joystick, and I have to say that the case is now closed on the issue. The replacement joystick feels much more like the Game Cube or Dreamcast’s joysticks, and I honestly wish Nintendo had started with these in the first place.
The “how to” tutorial video below demonstrates the installation of these joysticks, and it’s pretty straight forward. All you need is a Philips-head screwdriver, about 5-10 minutes of time, and a little patience. No soldering is involved in this installation process, and once everything is unscrewed, you’ll literally unplug the old joystick and plug in the new one.
Feel free to contact us with any questions by commenting below or buy using our contact page.
Interested in purchasing a replacement N64 joystick? Check Amazon
Credits: Above photo “N64-Controller-Colors.jpg” used with permission of www.squidoo.com/controller-for-n64