
 Stormtrooper Zapper")
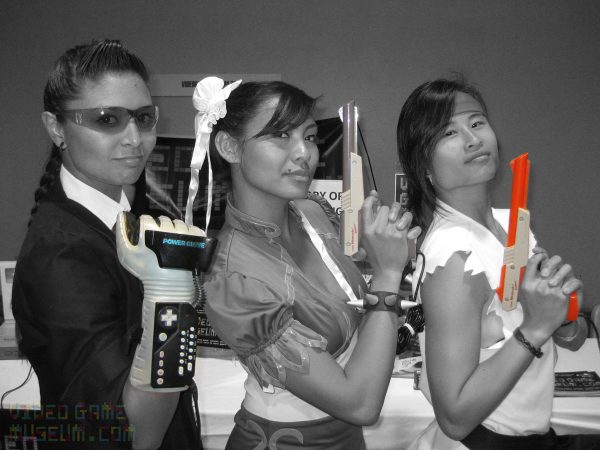
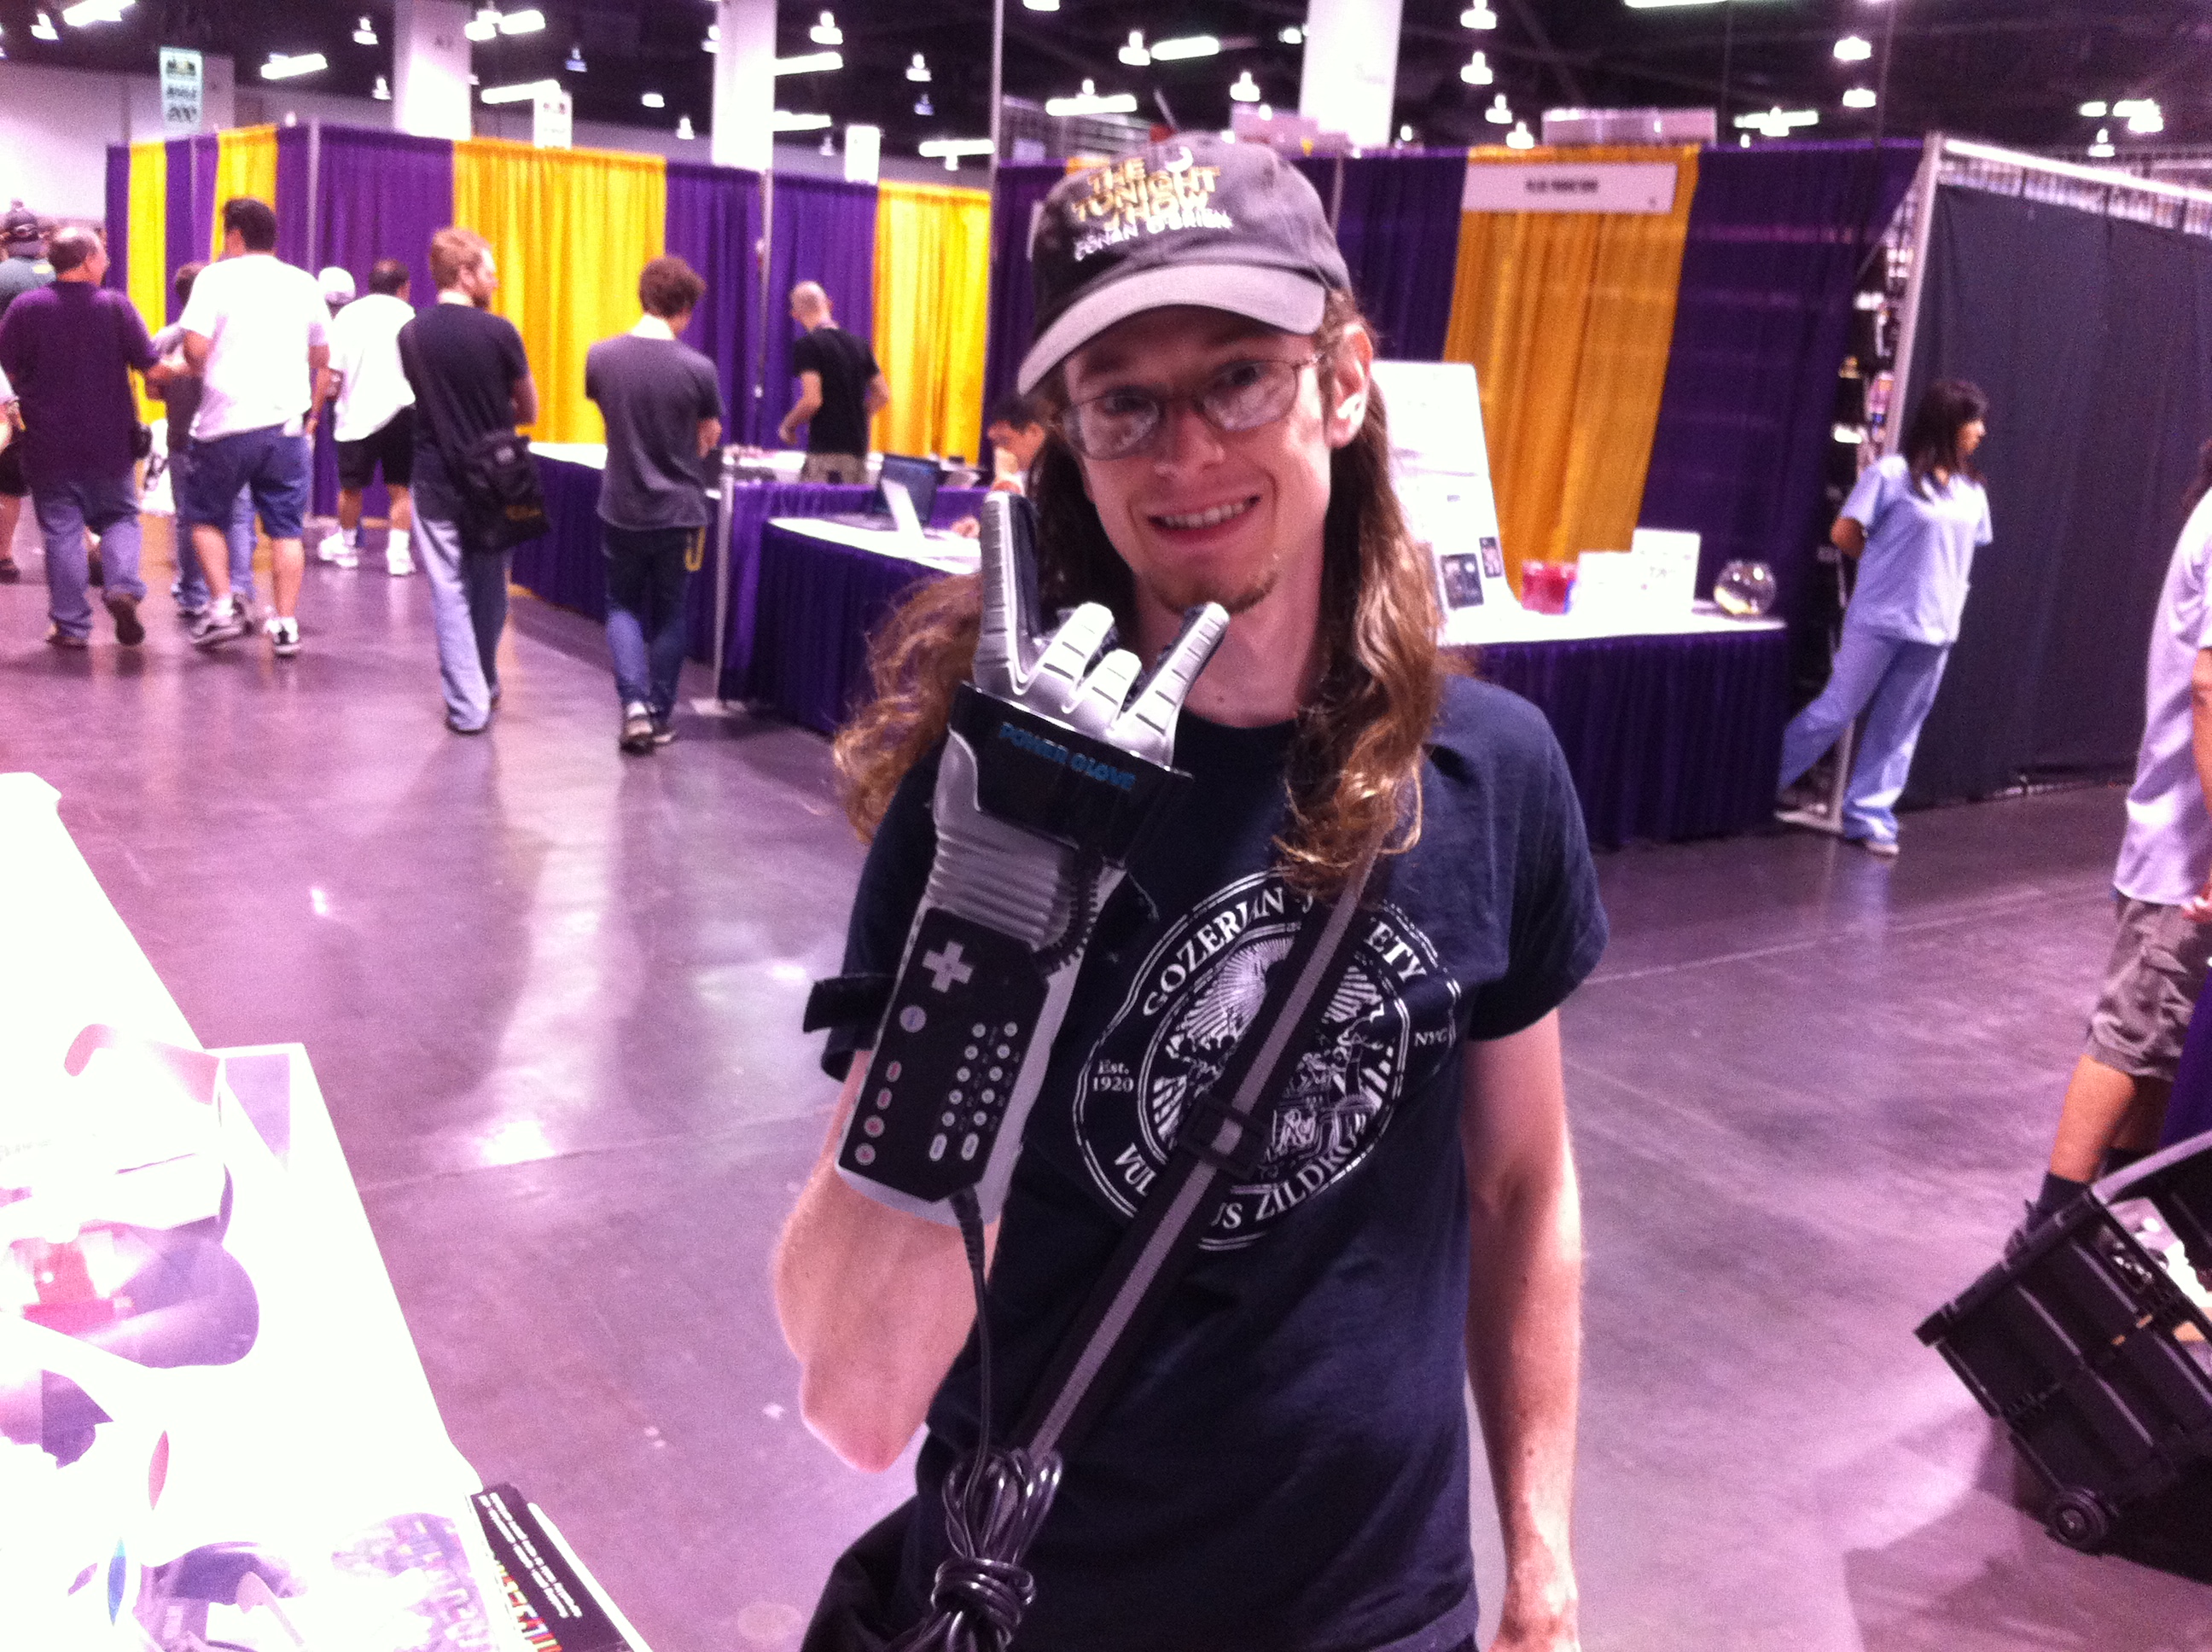
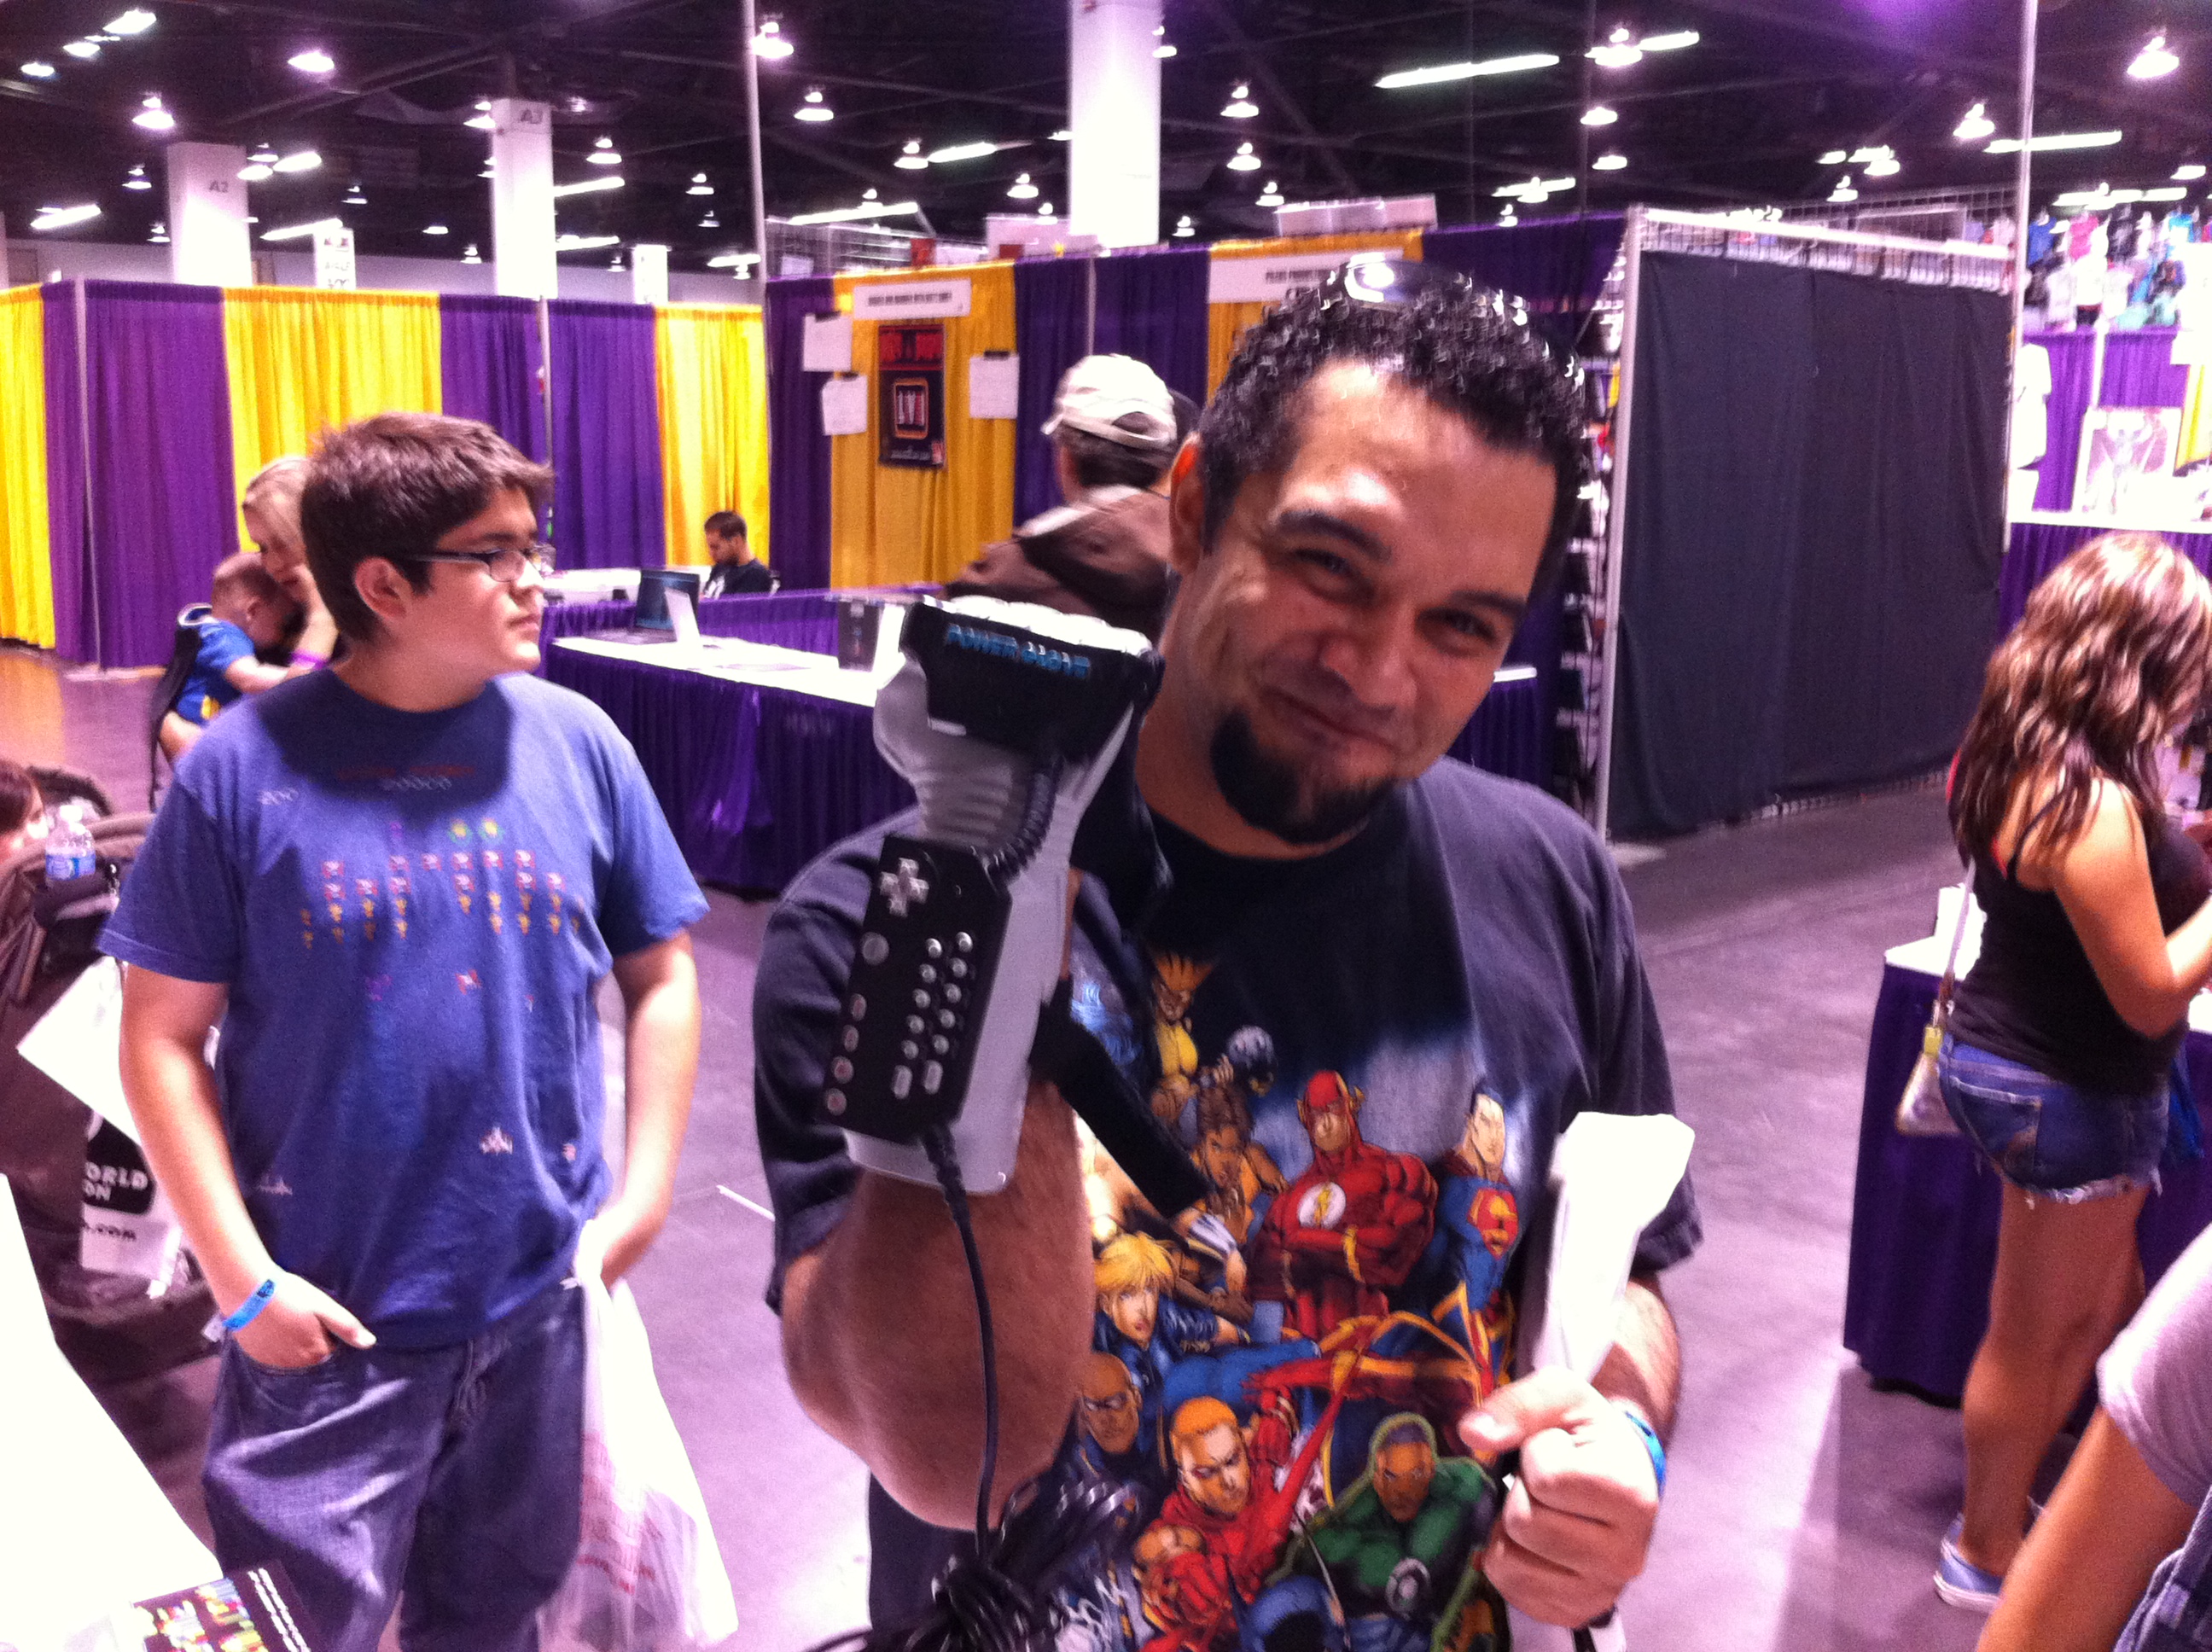
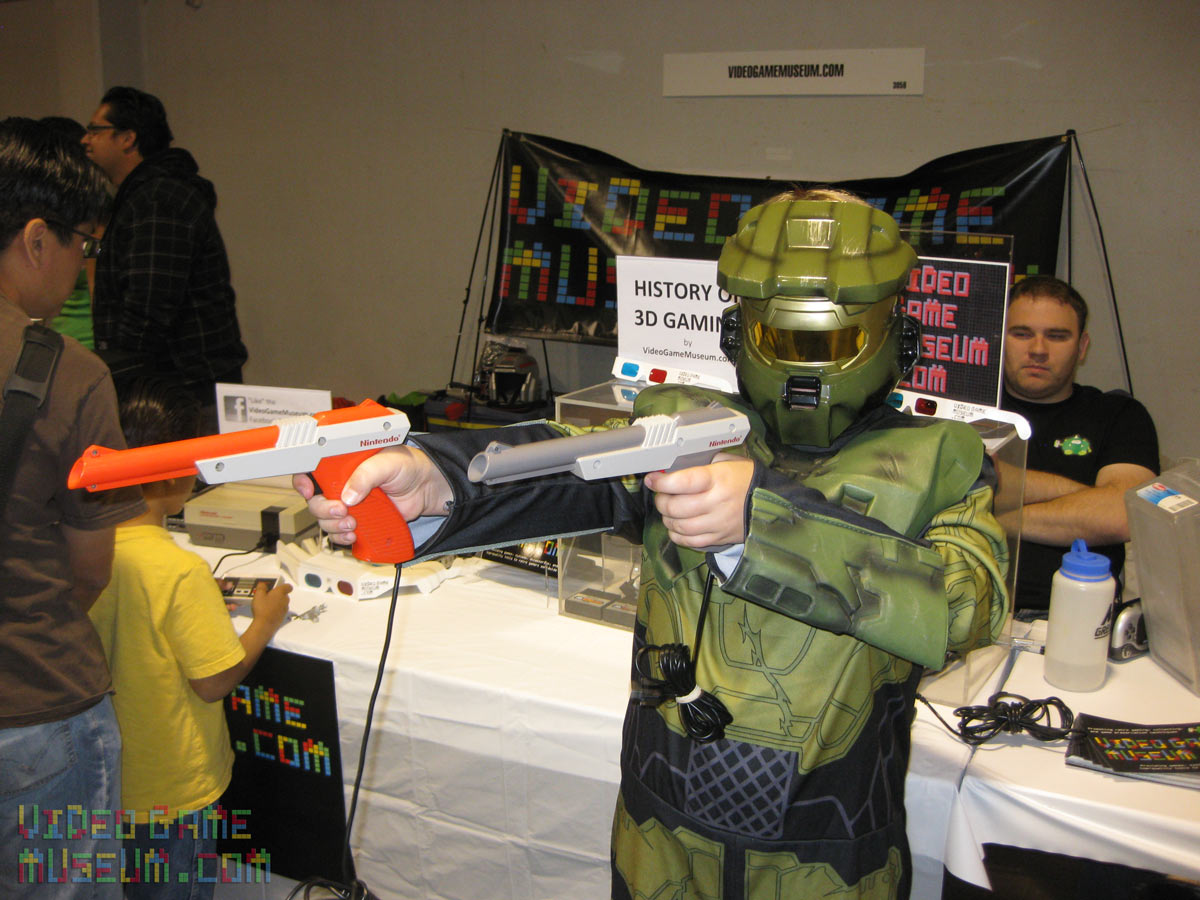
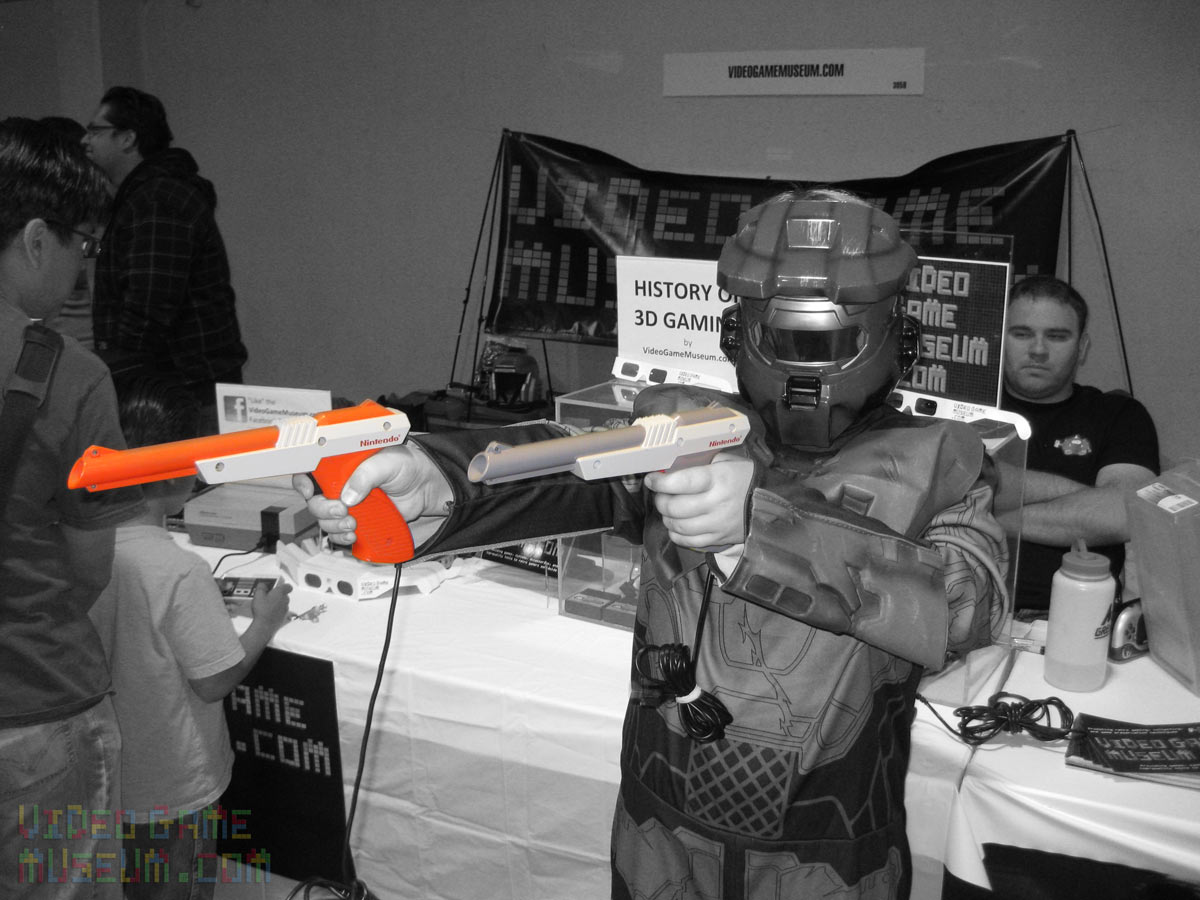
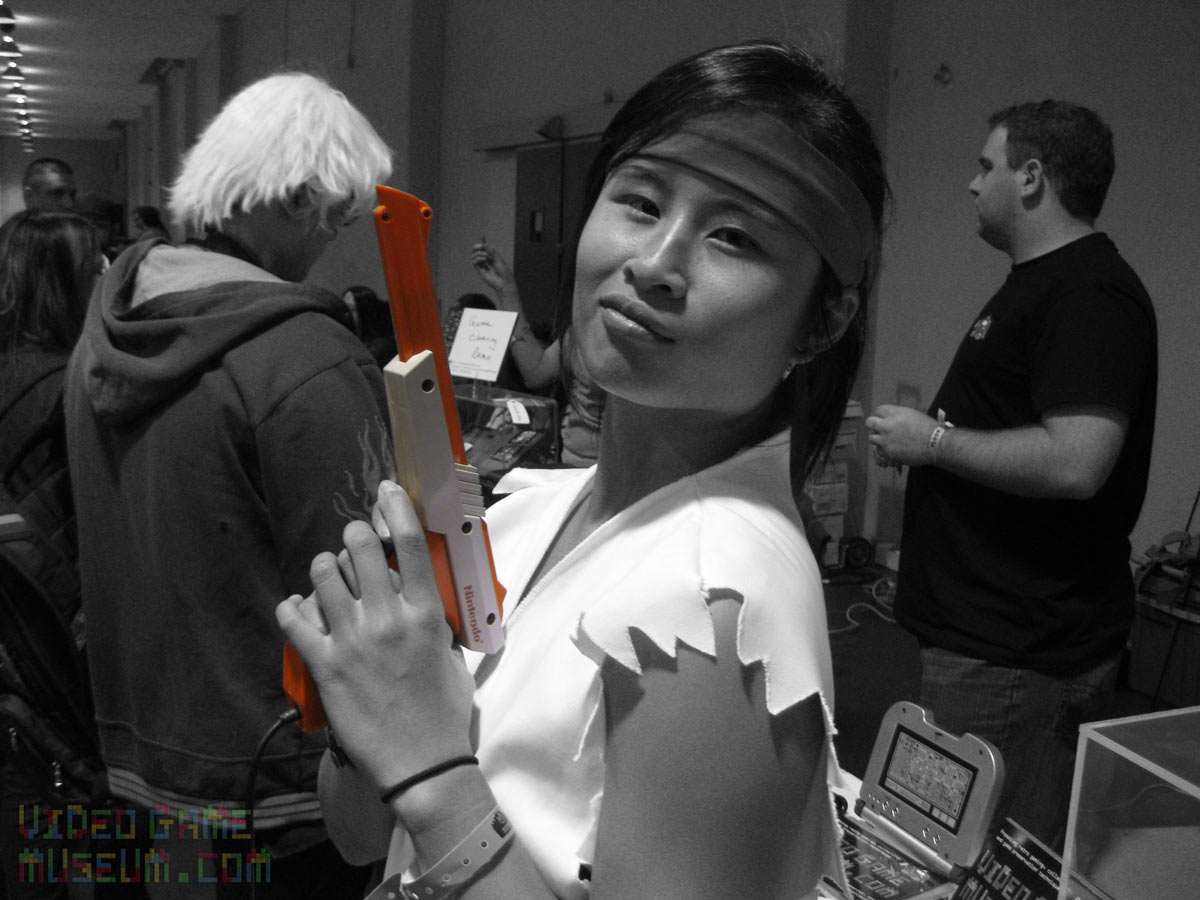
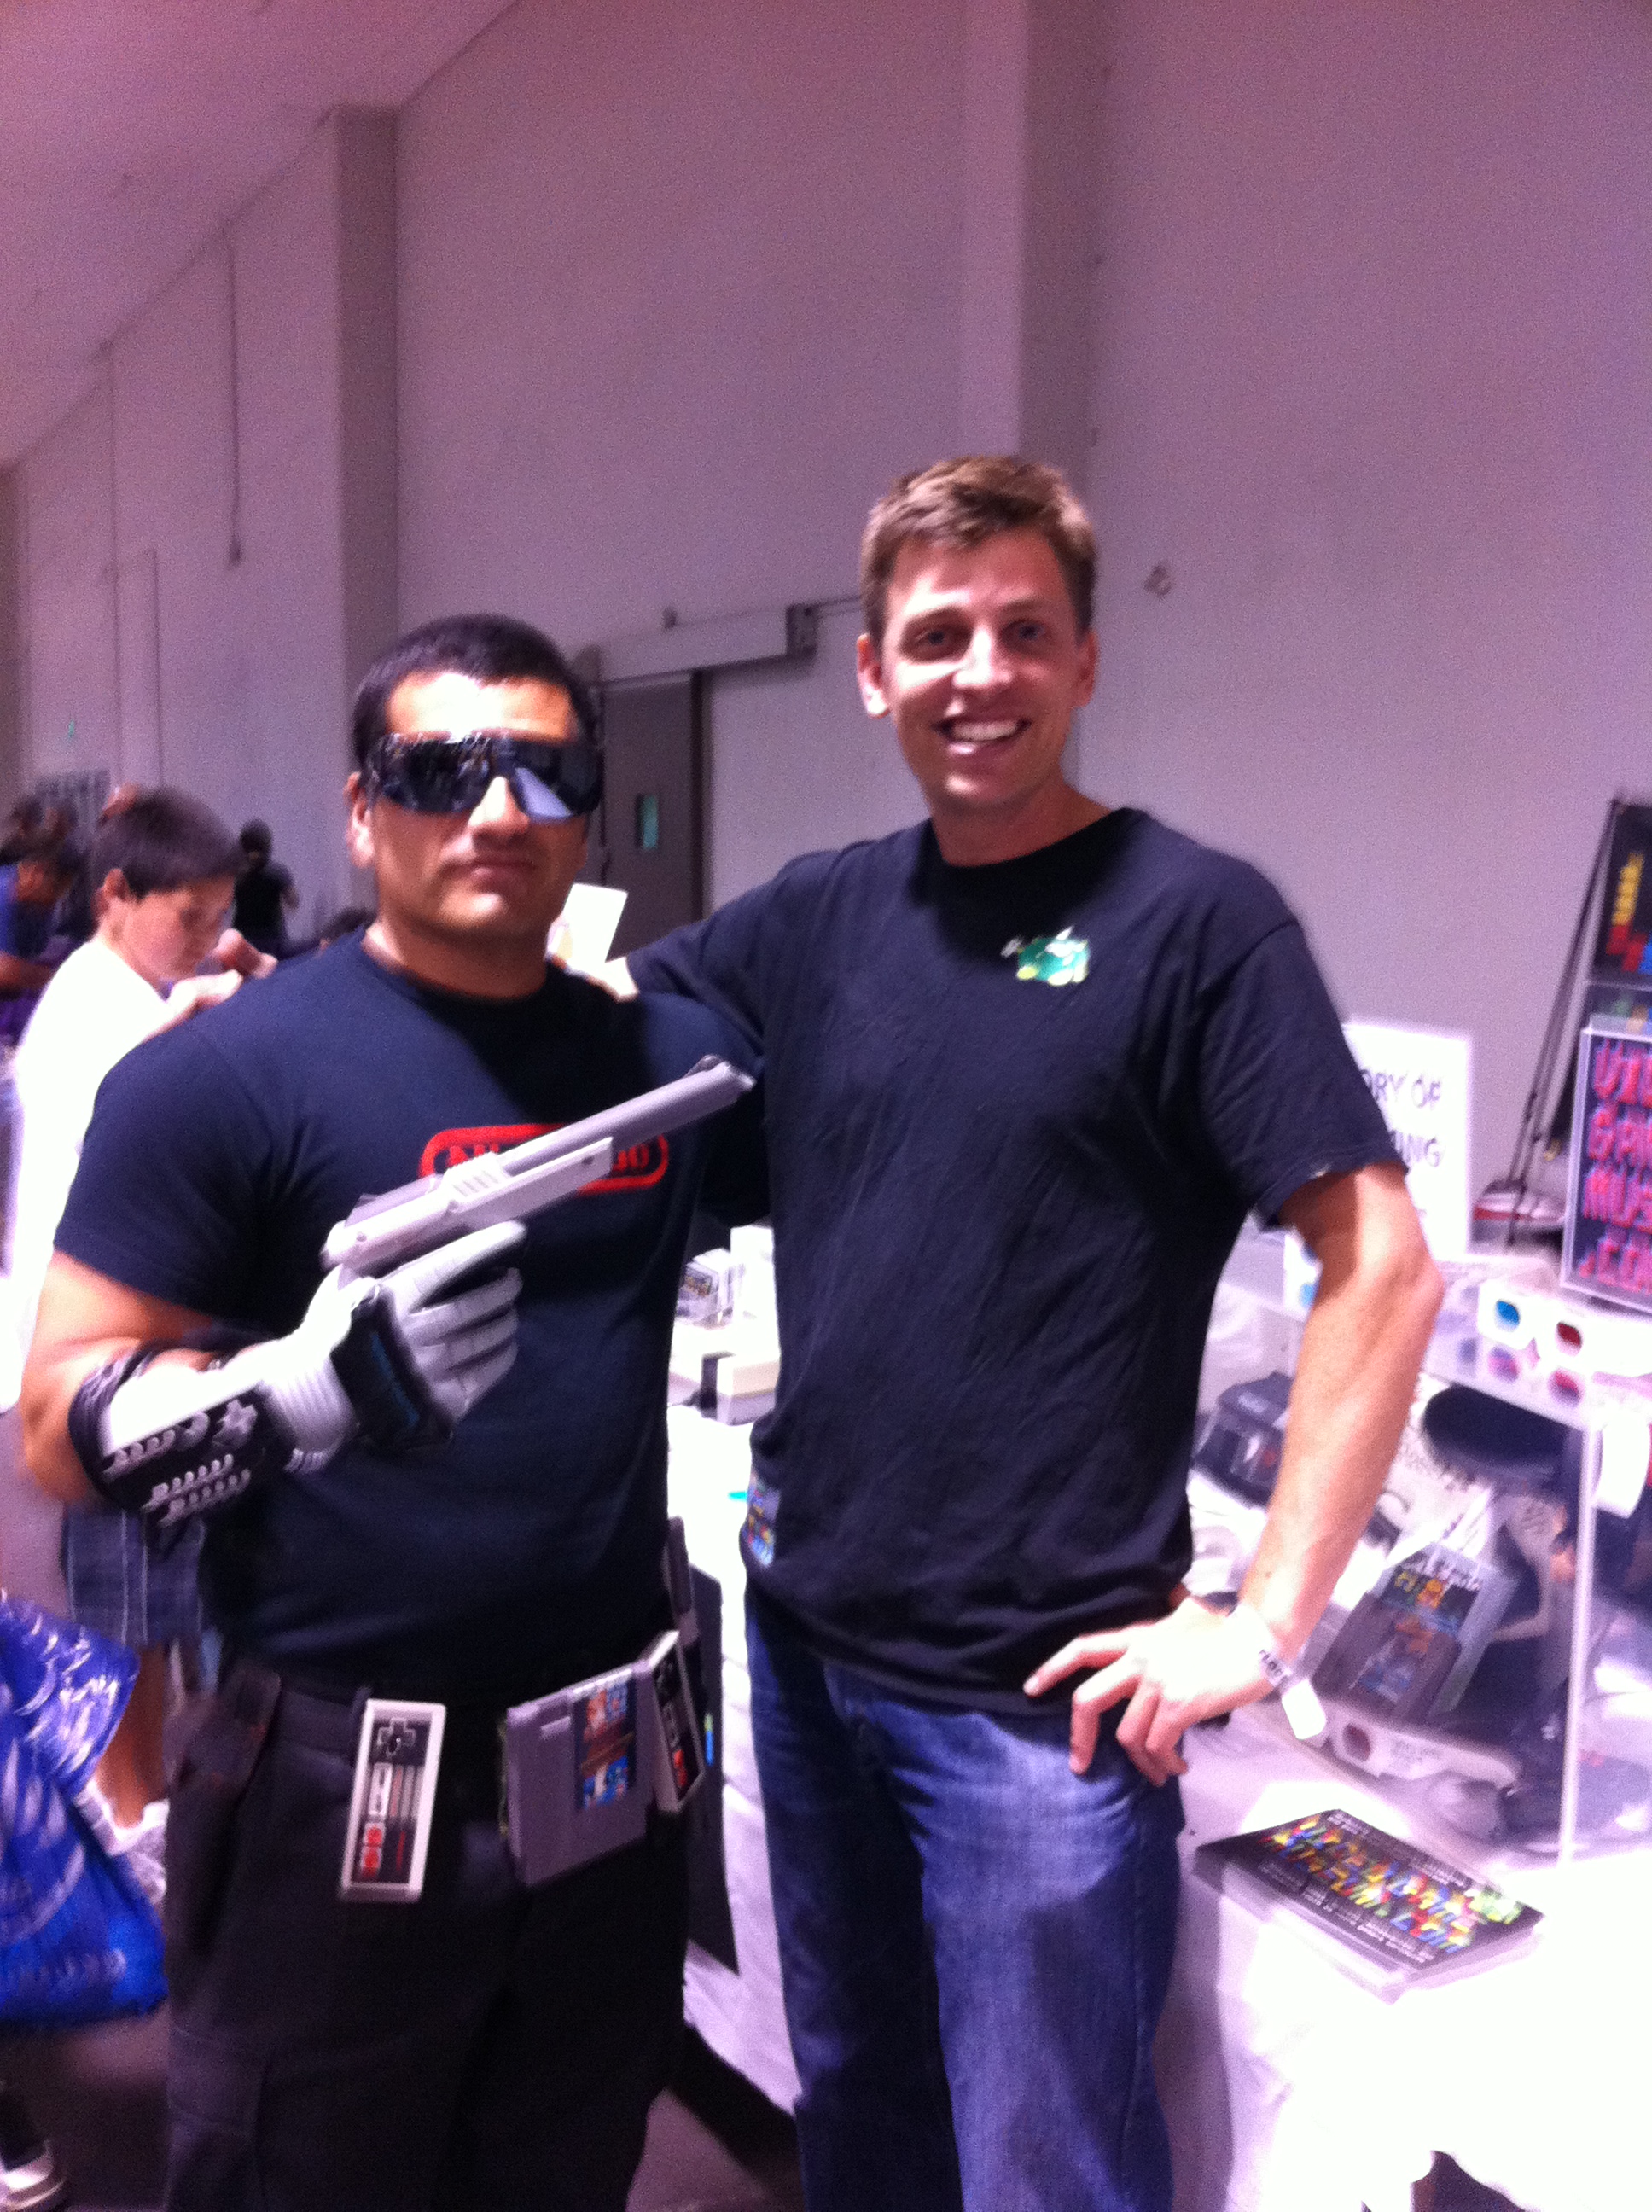
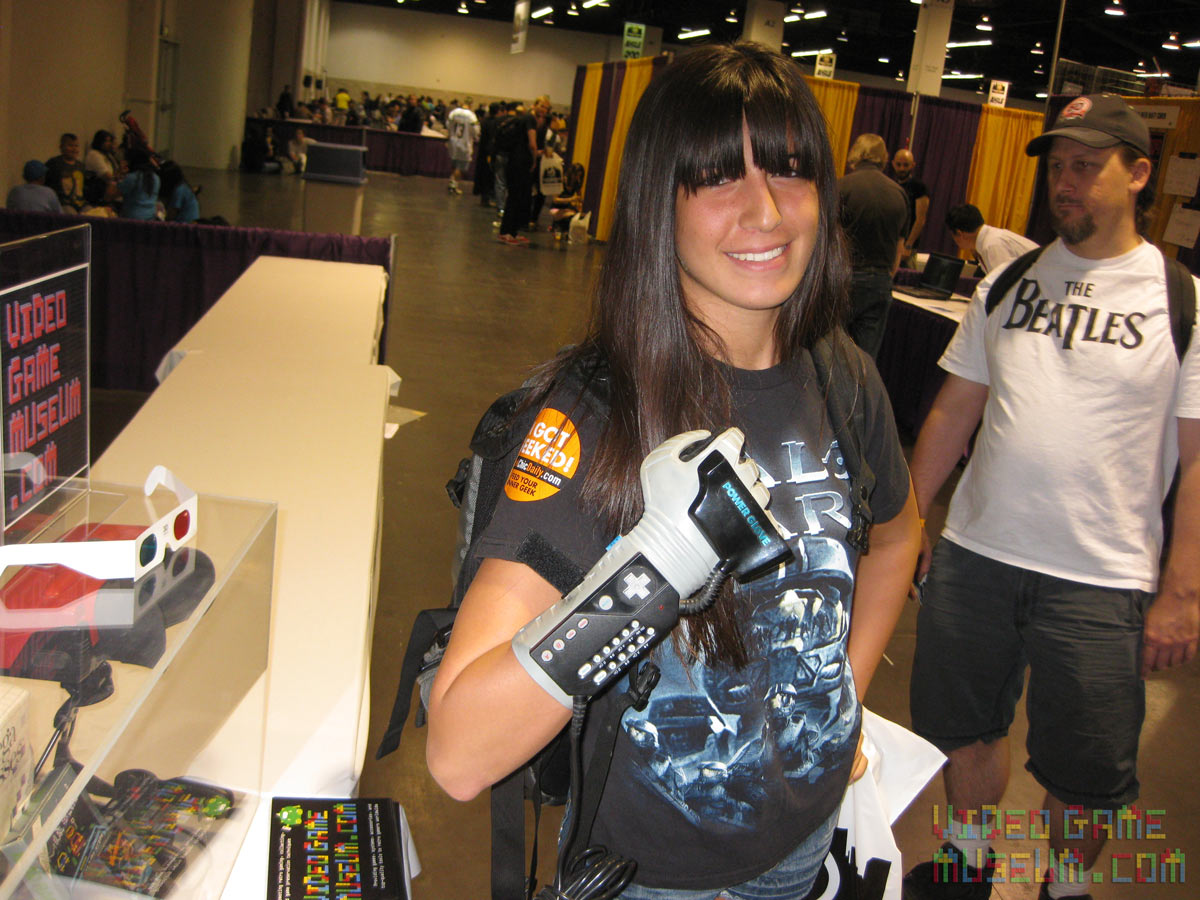
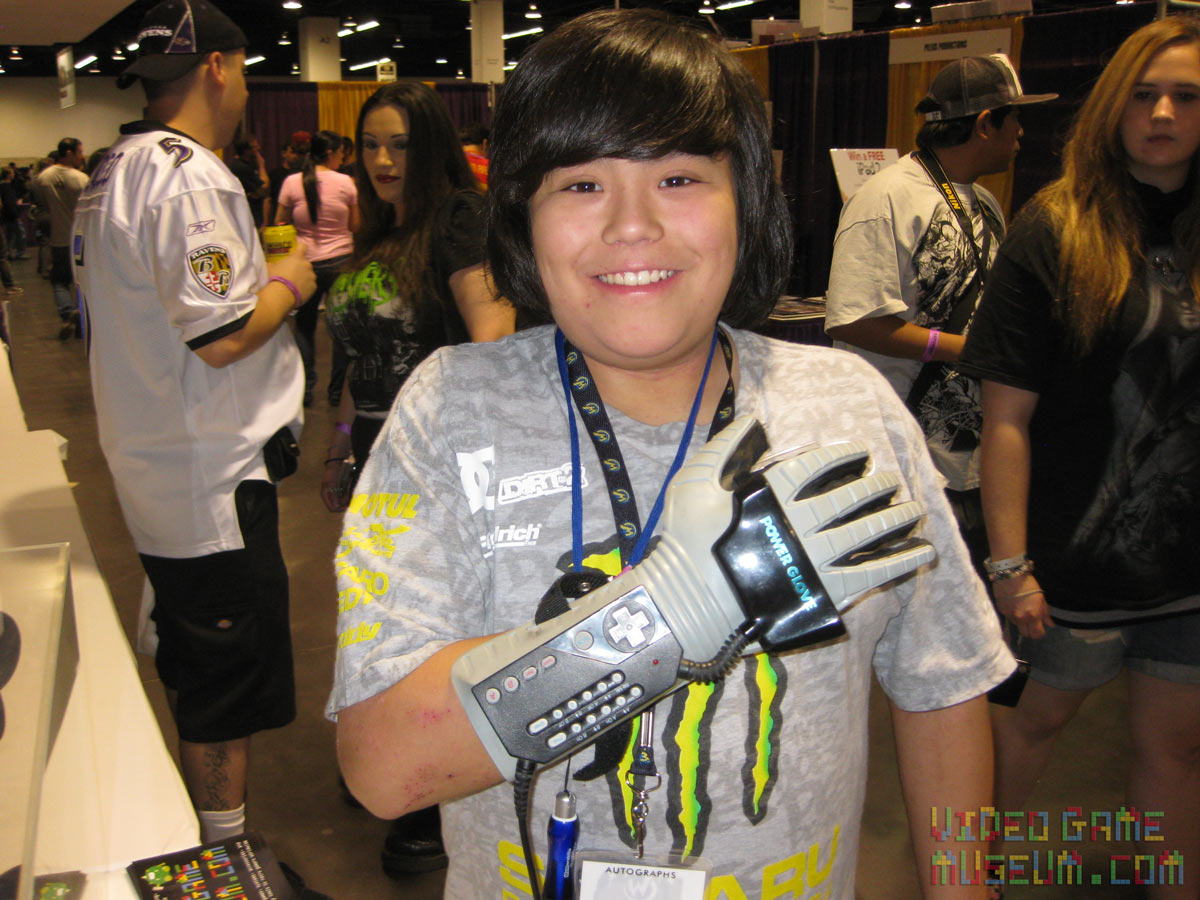
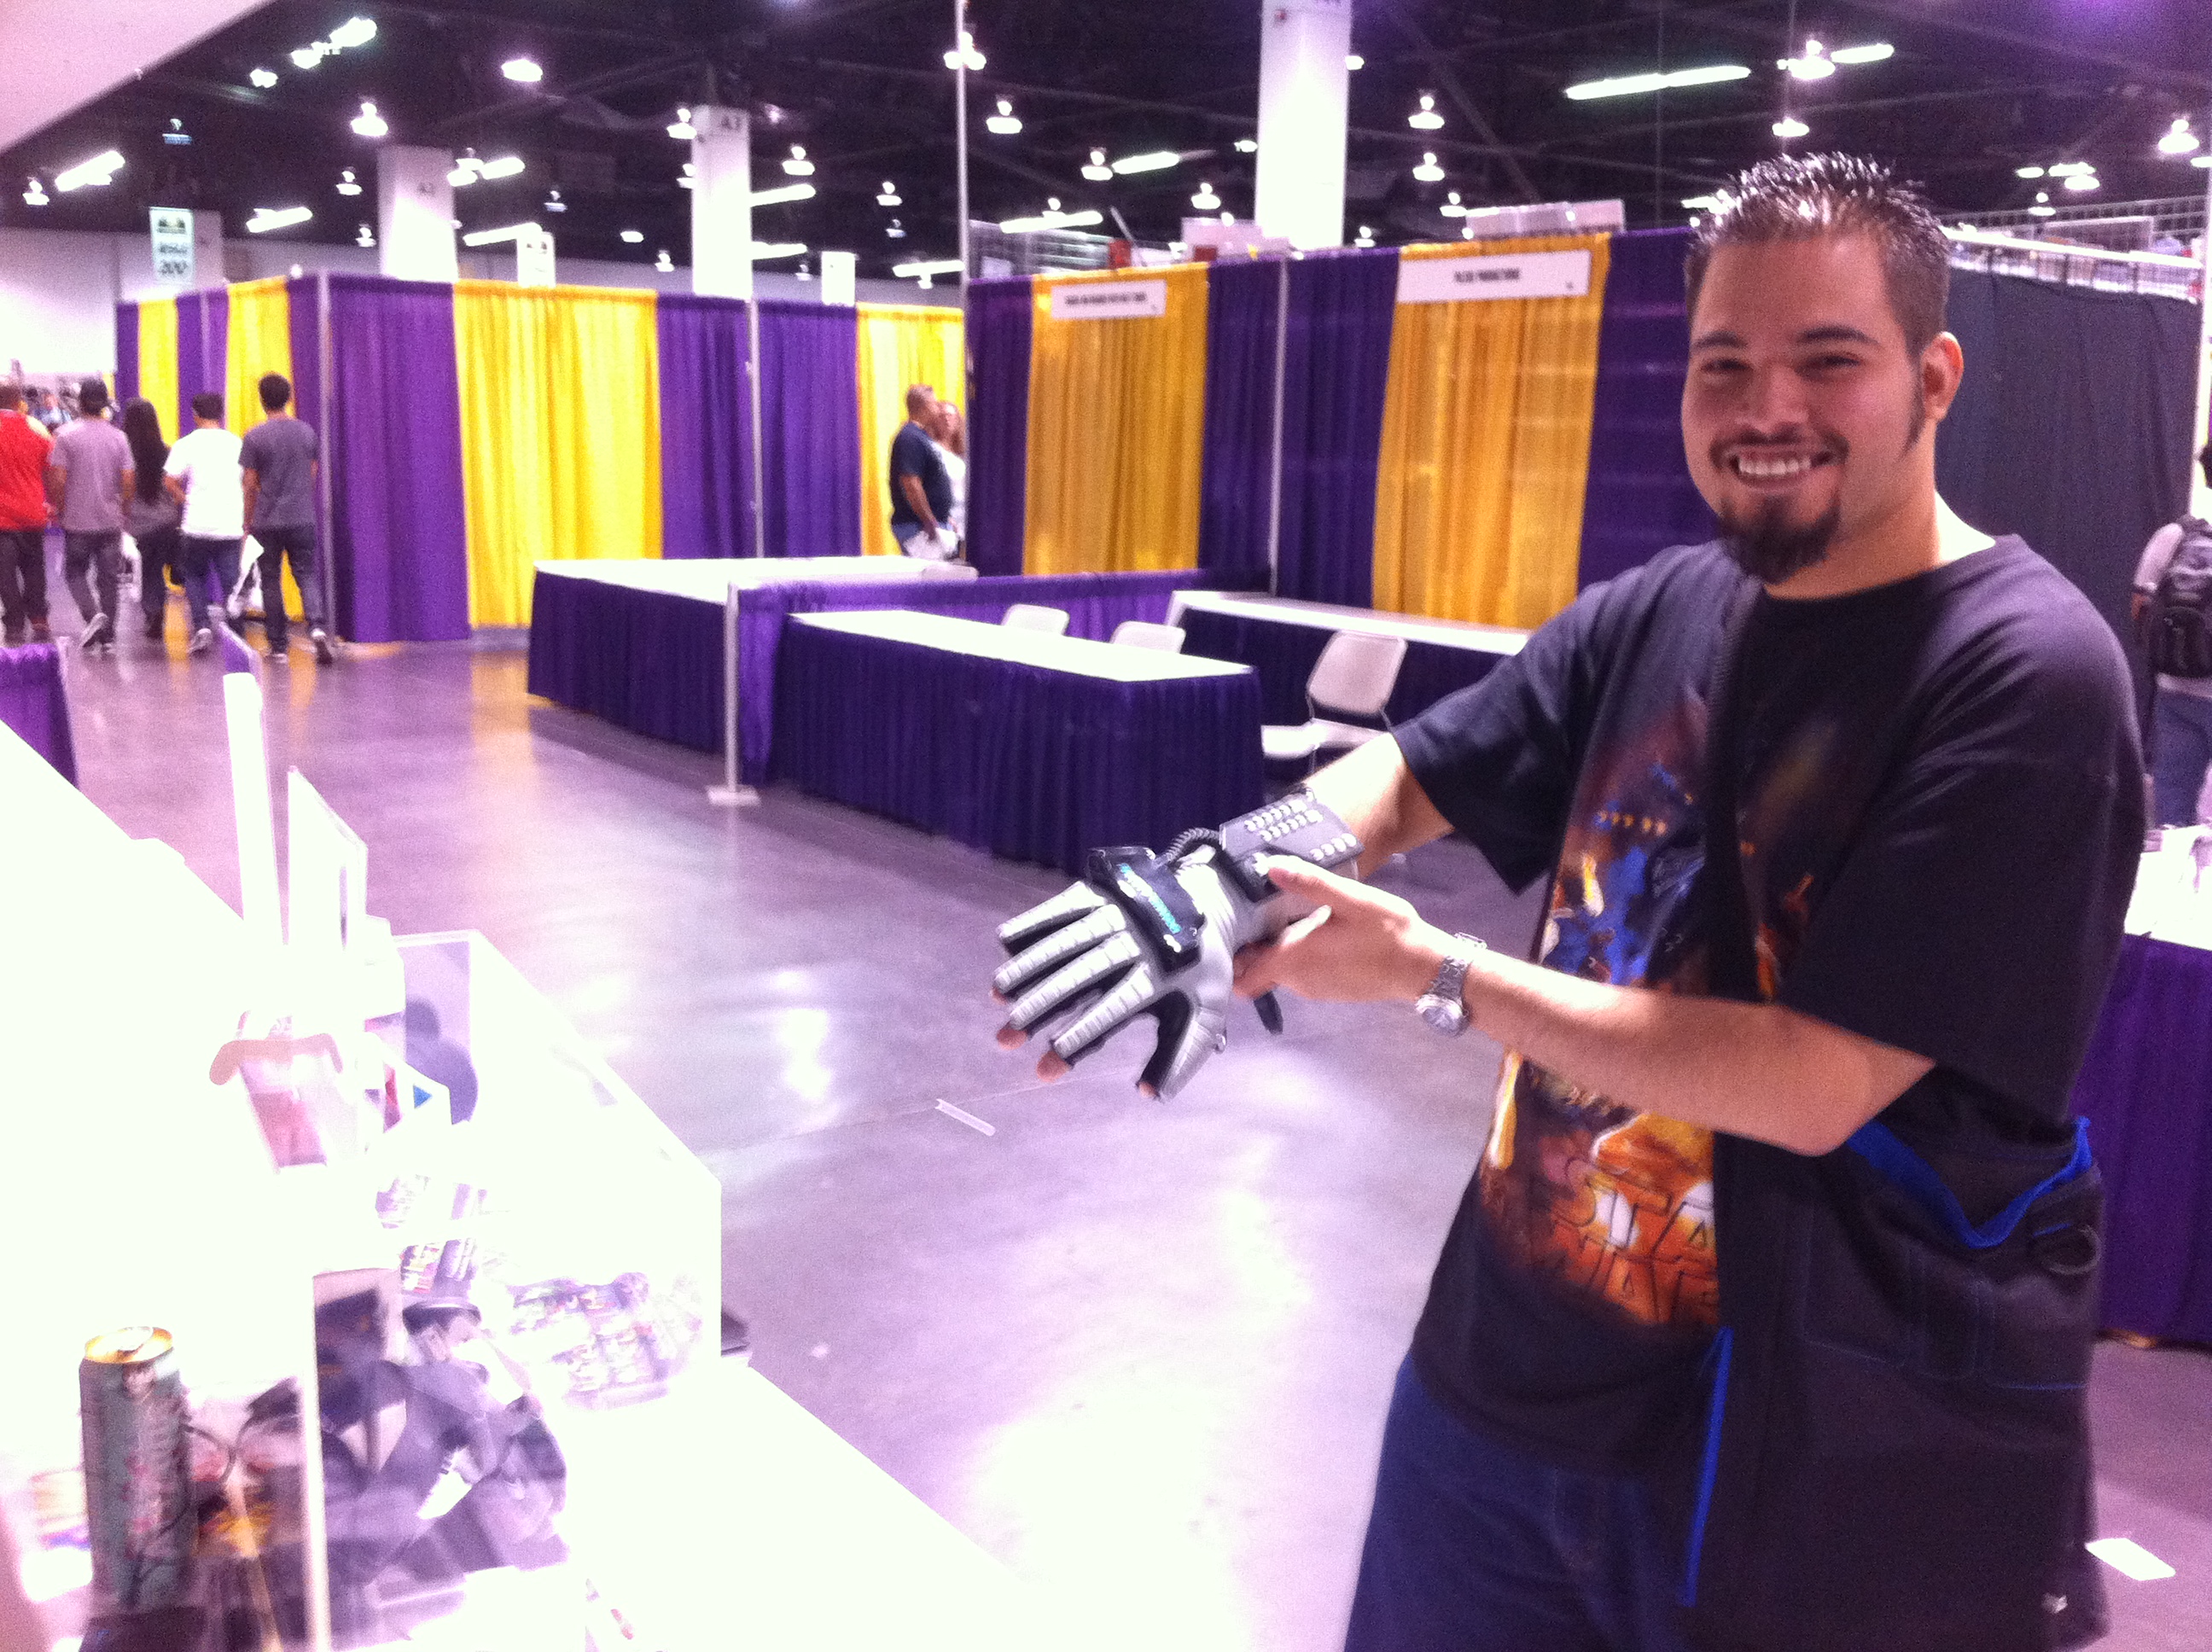
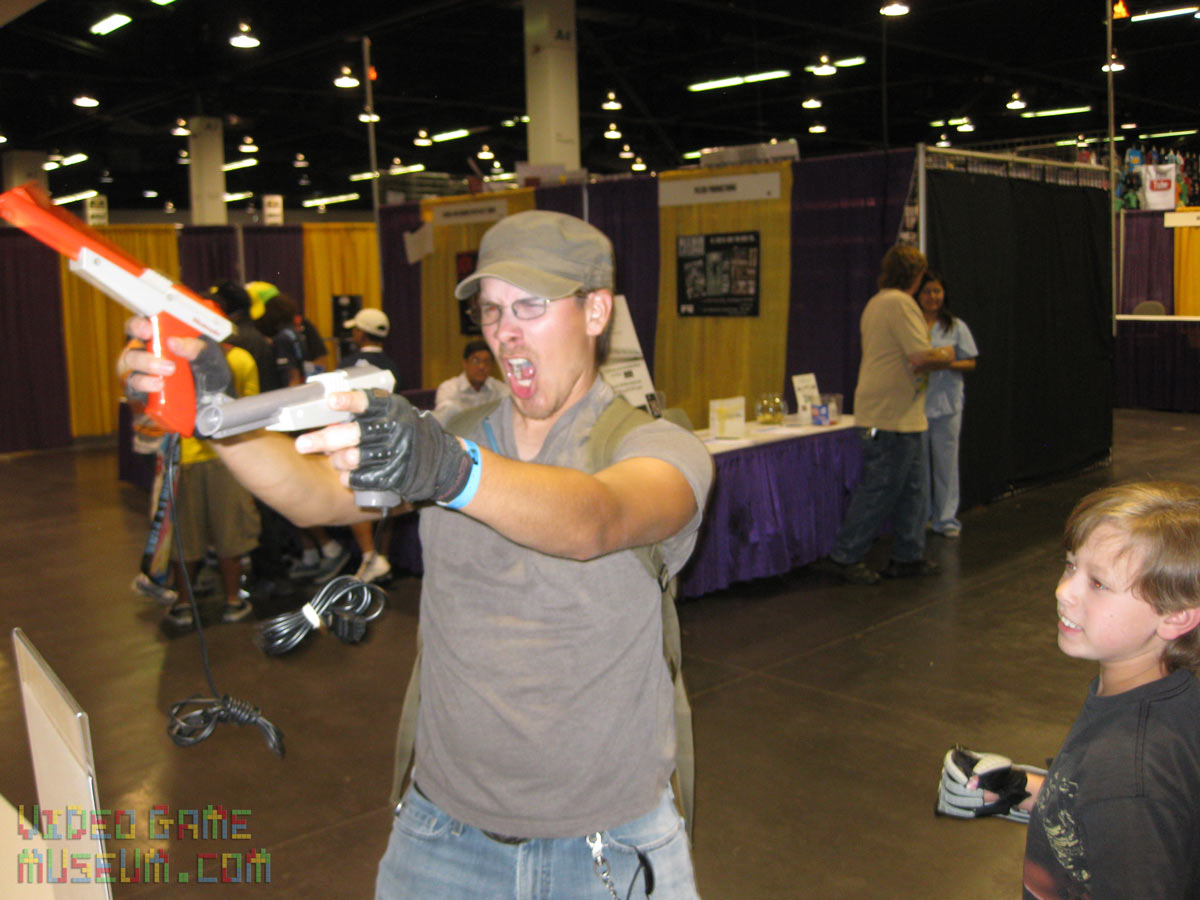
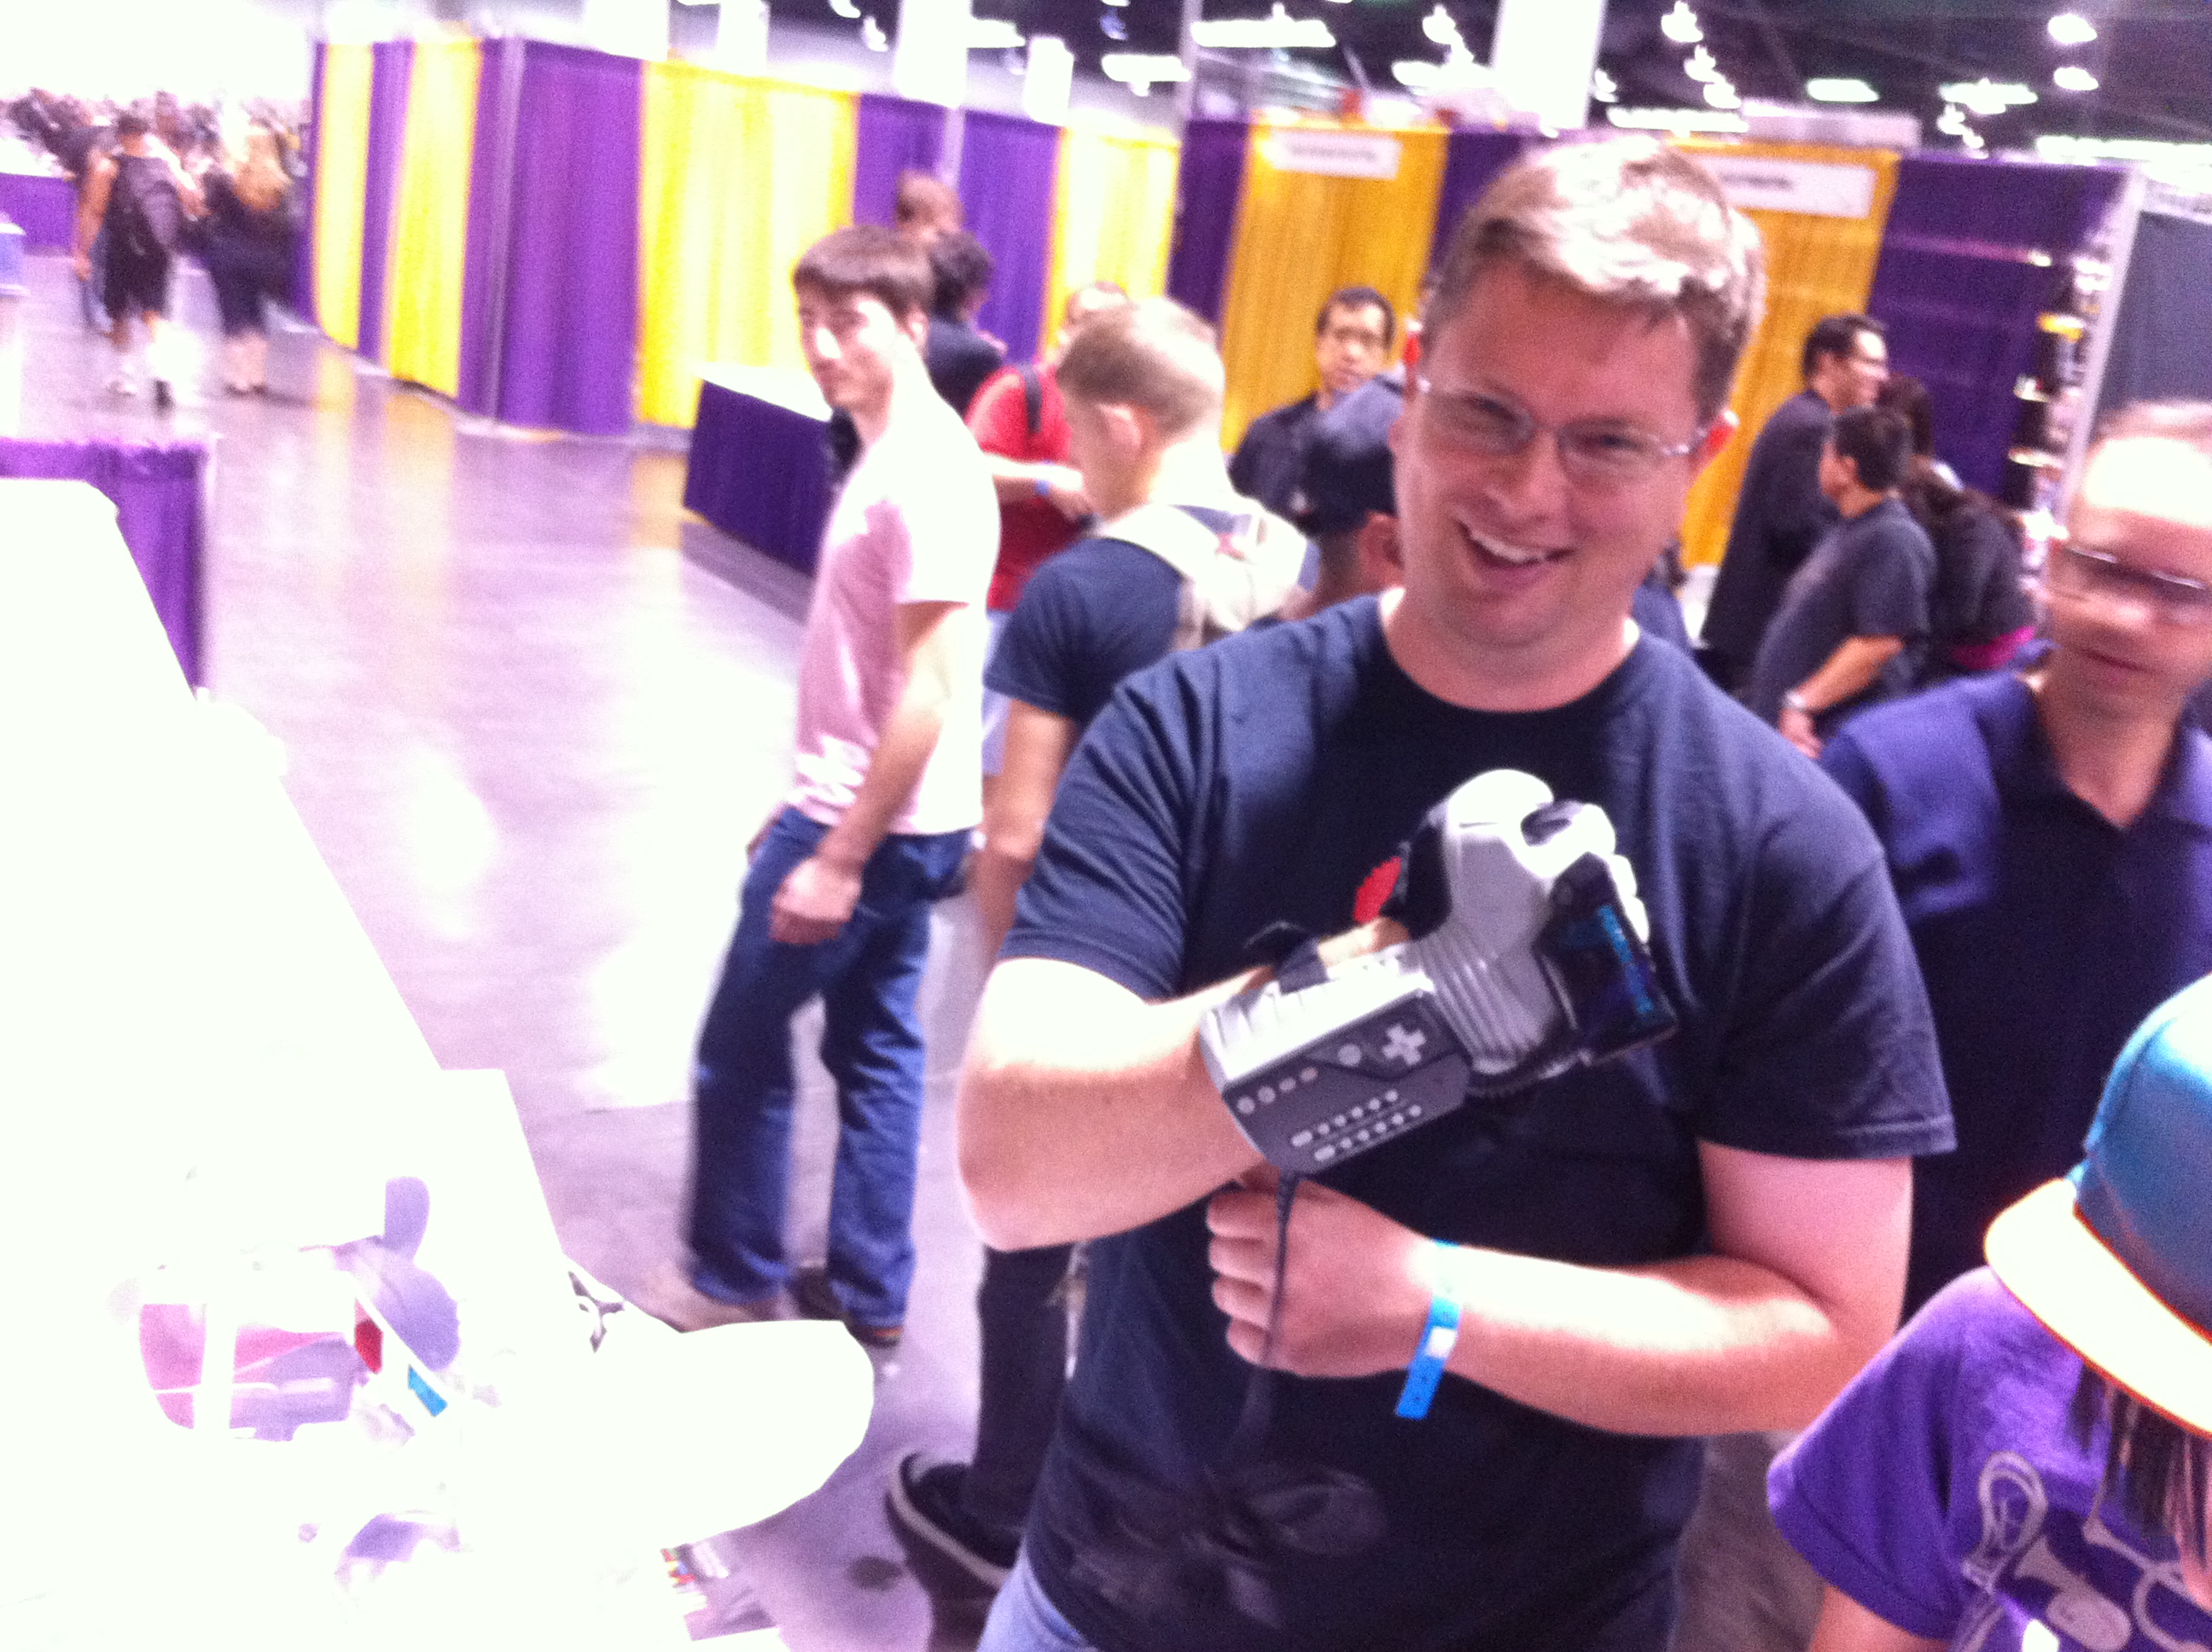
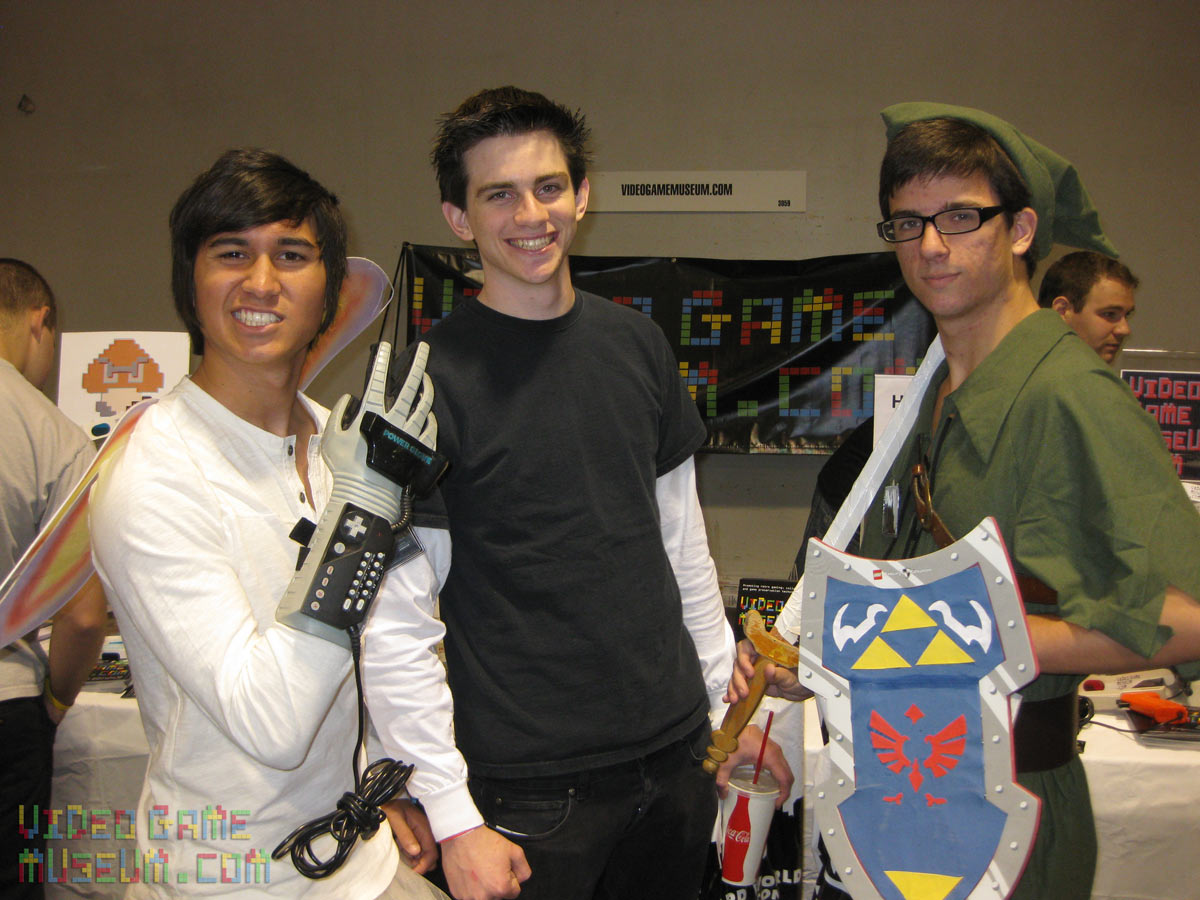
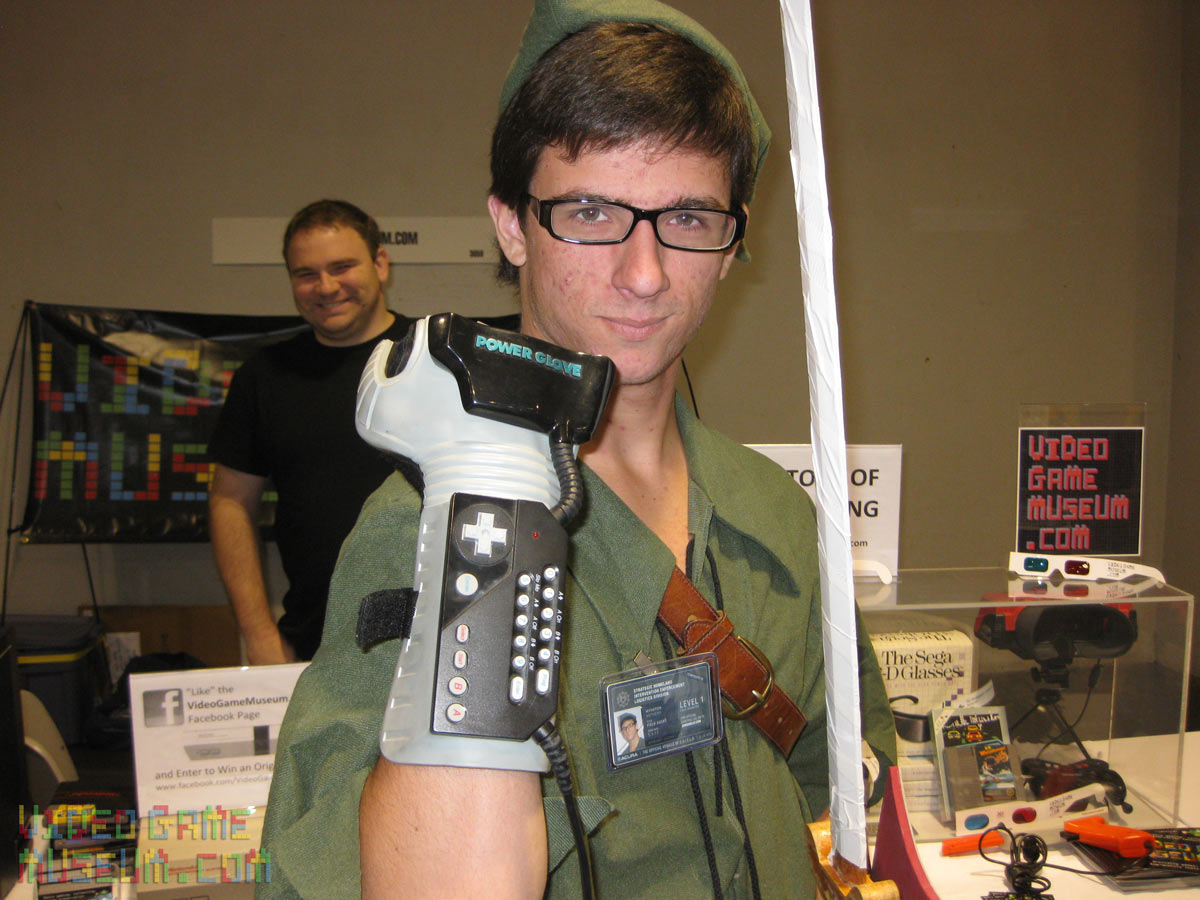
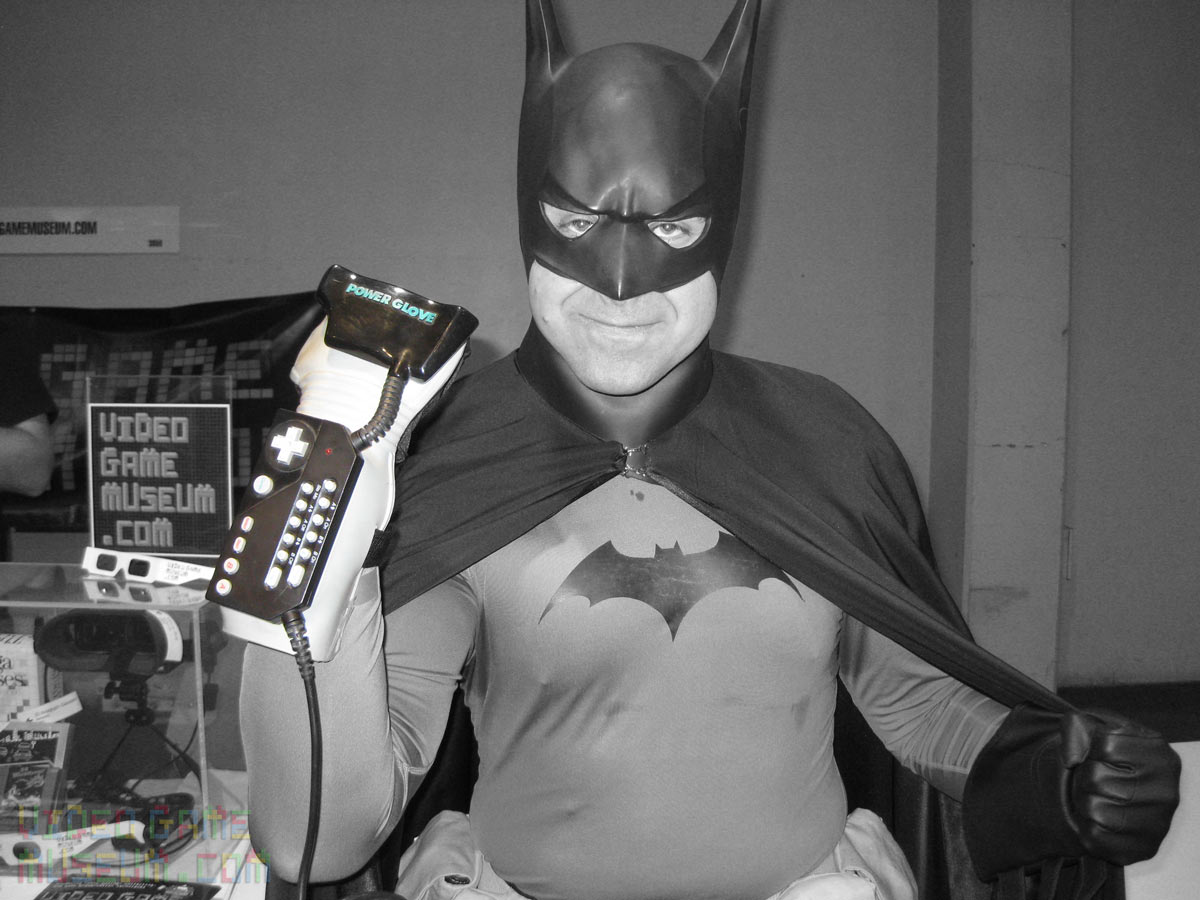
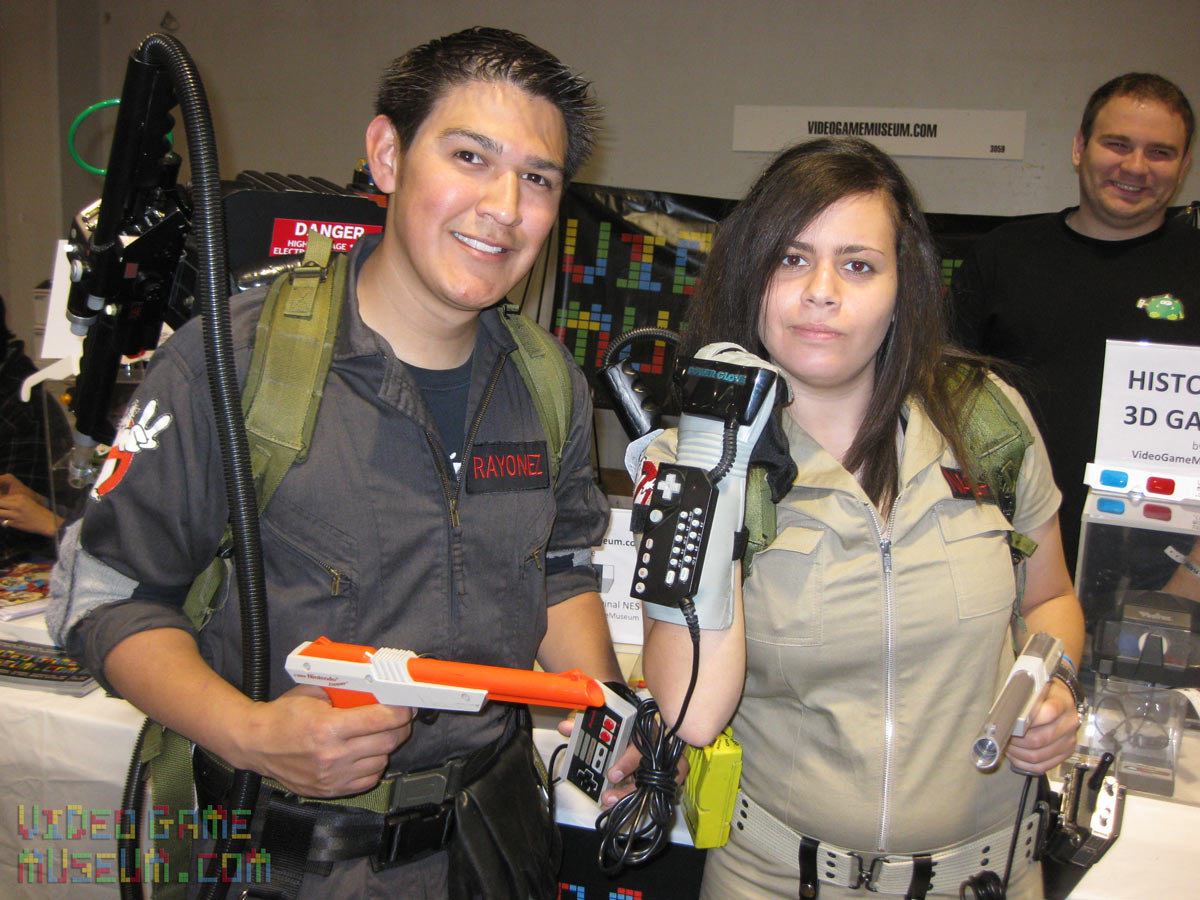
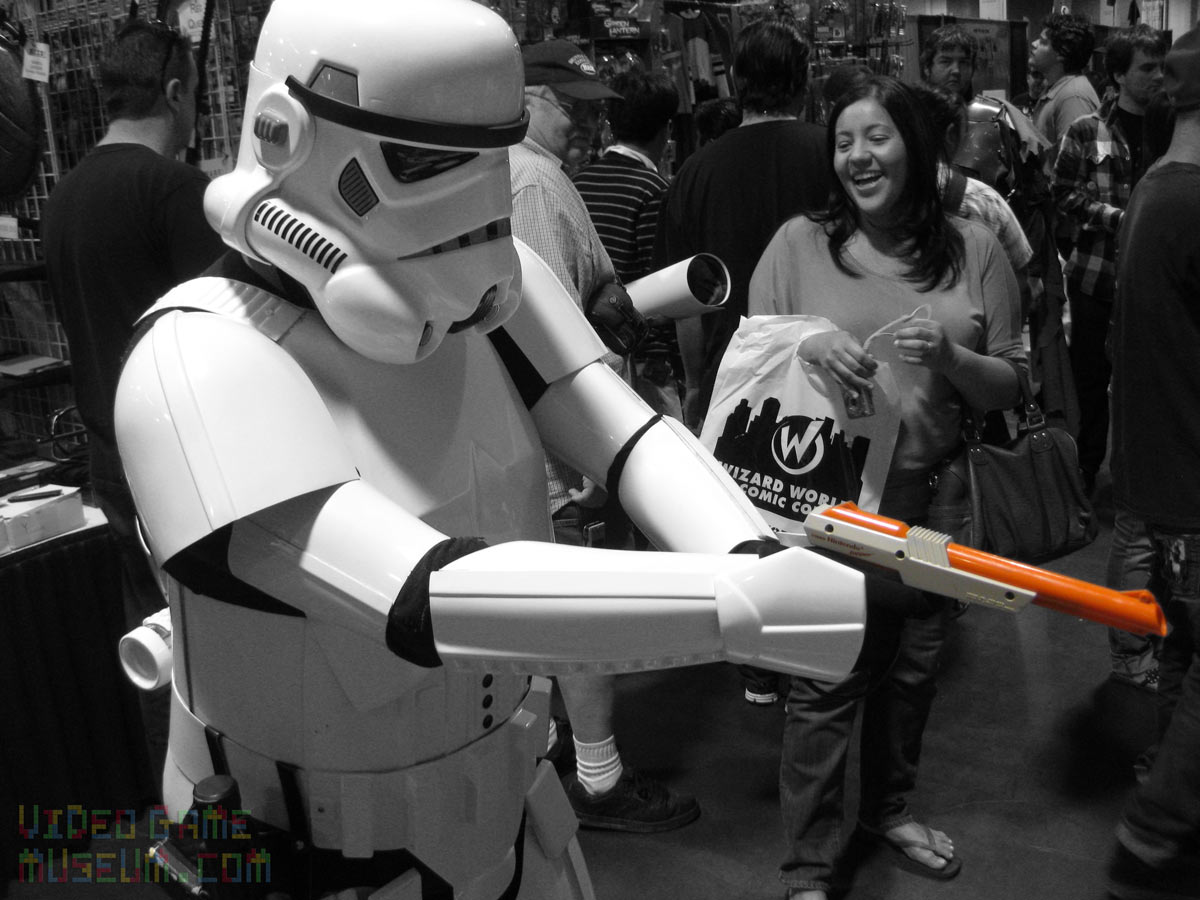
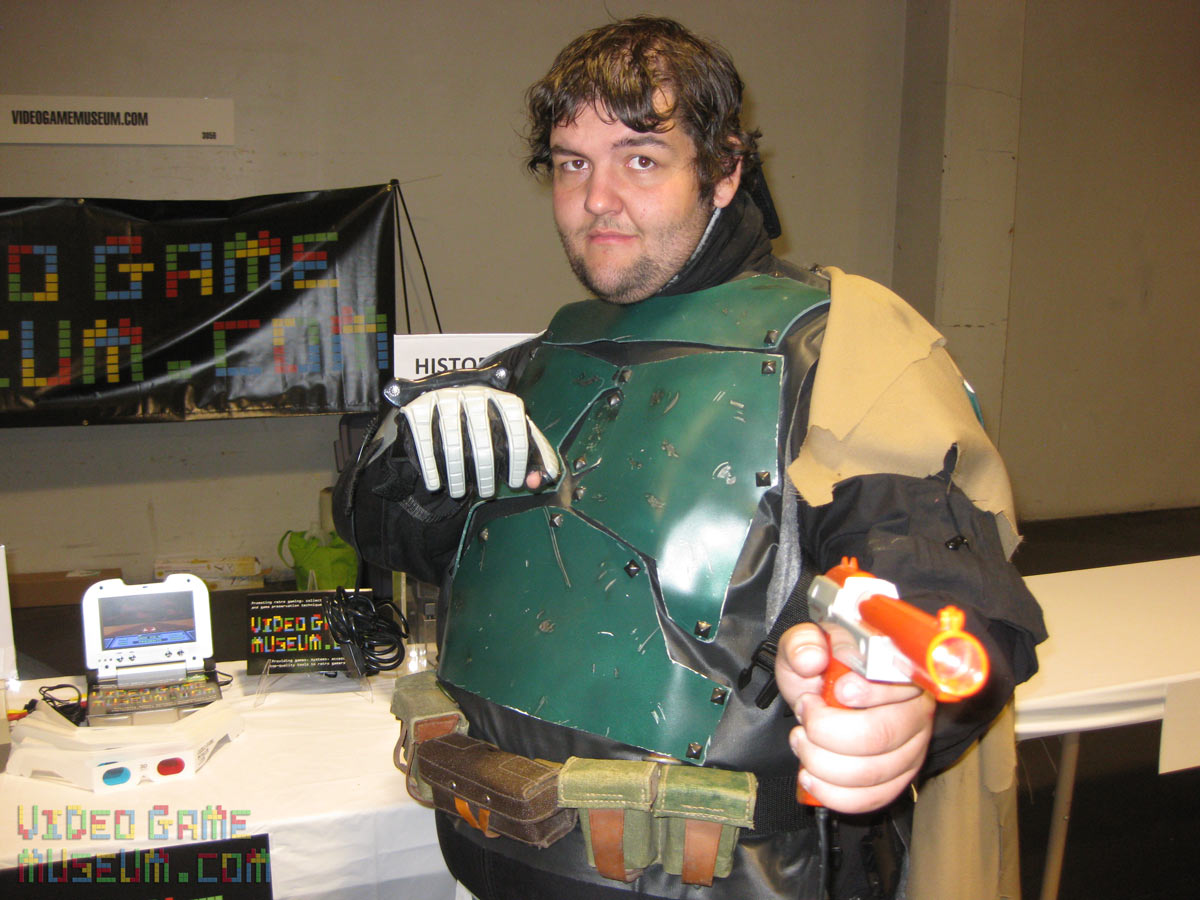
You want to know the power of a NES Power Glove? Add it (or a NES Zapper) to a bunch of Comic-Con fans, stormtroopers, Batman, Link, or other people in costumes, and you’ll be amazed at the results.
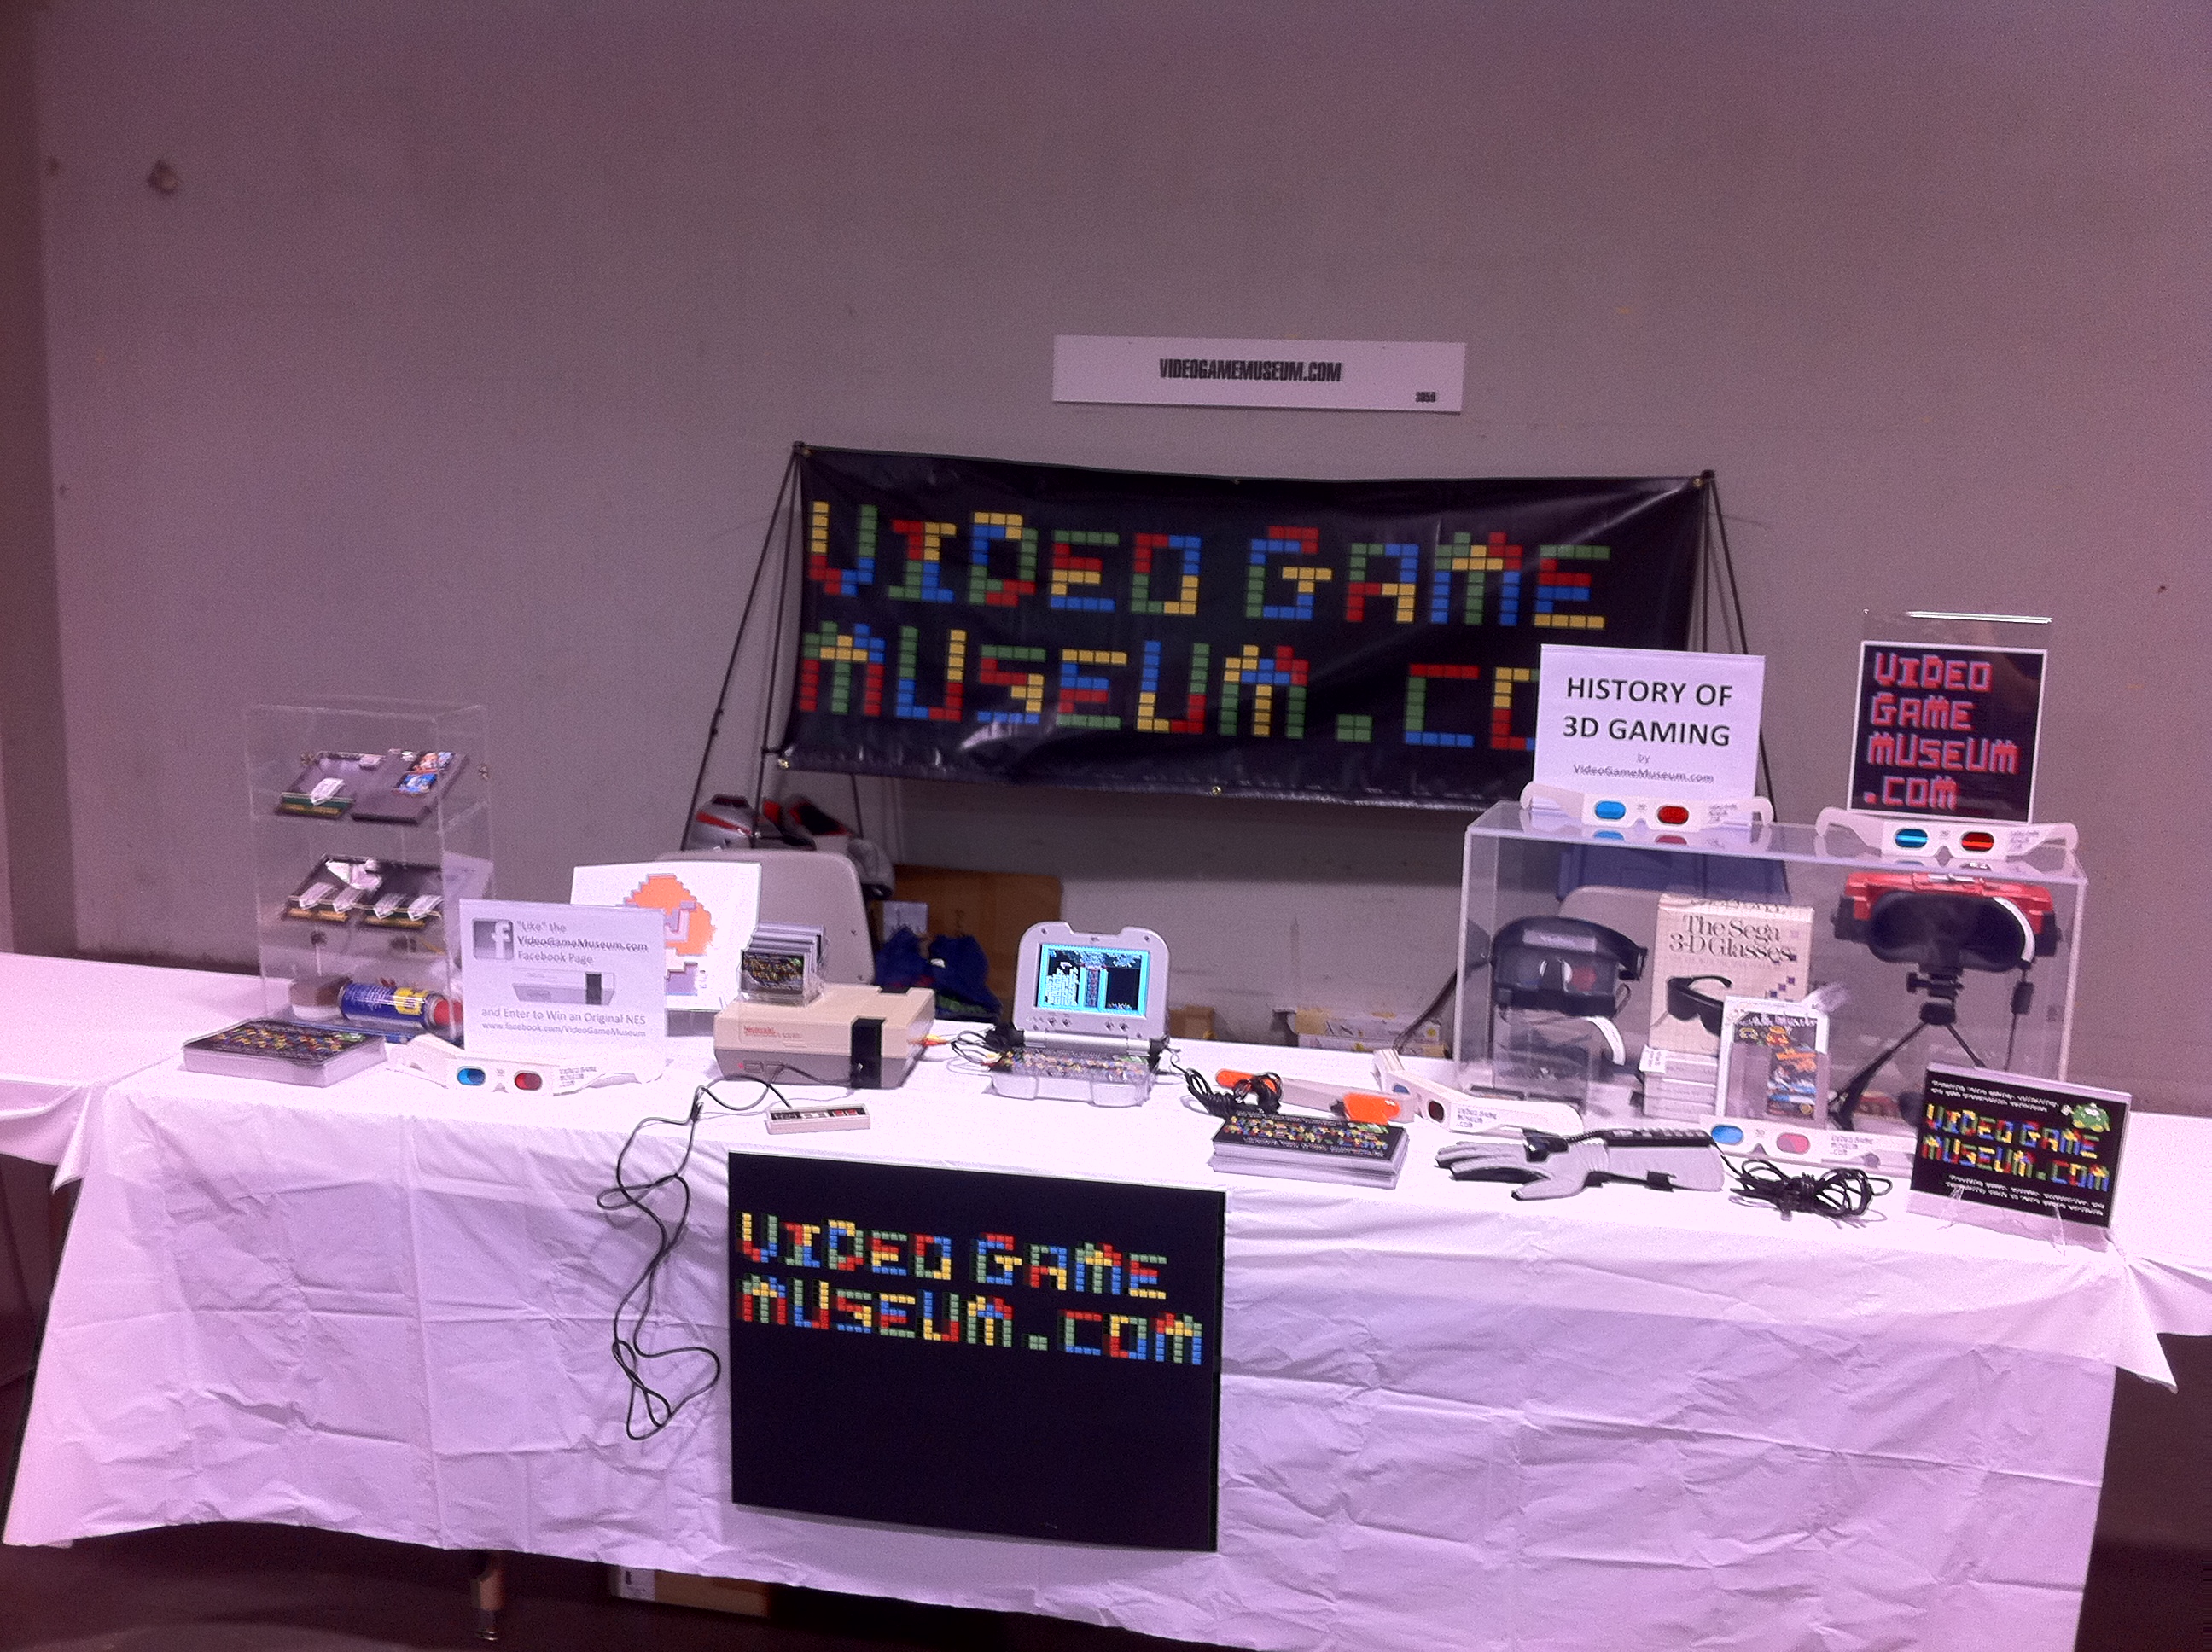
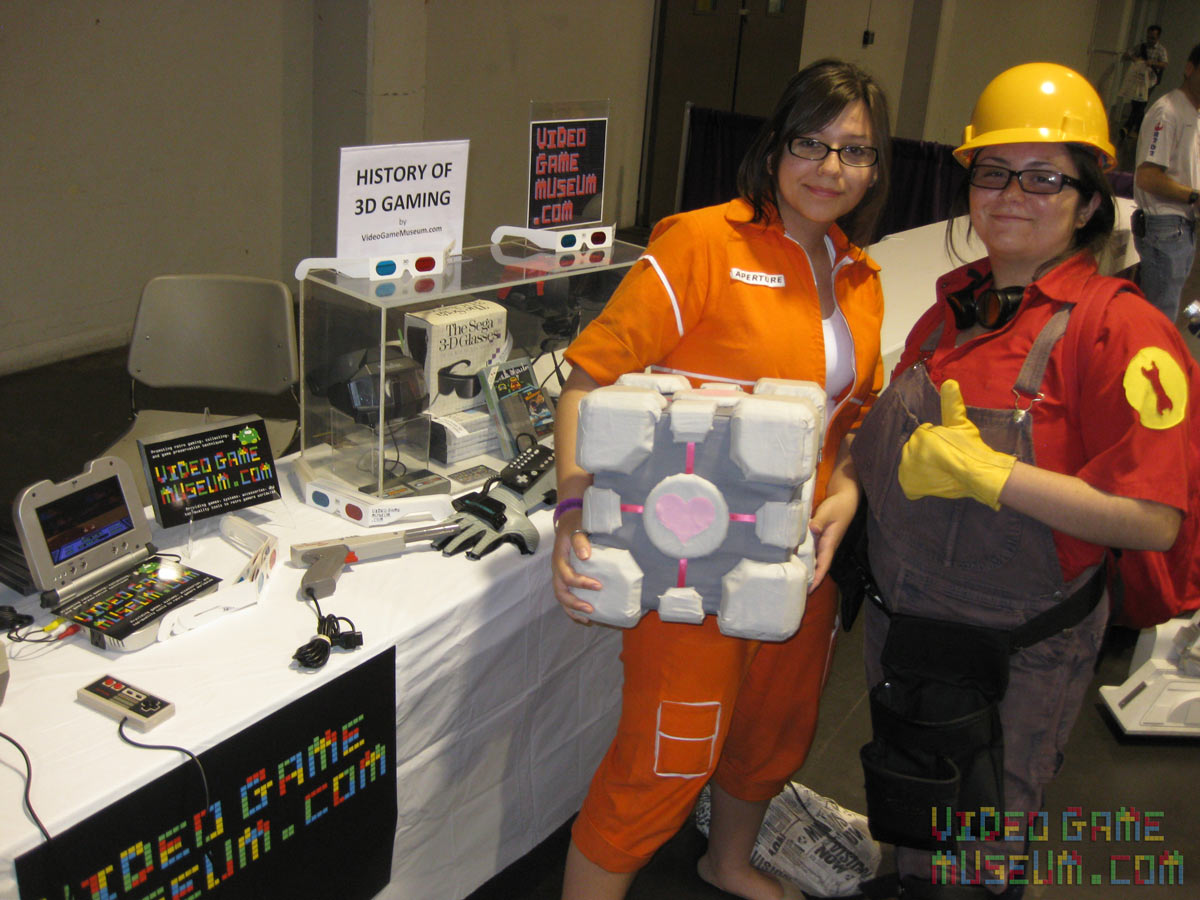
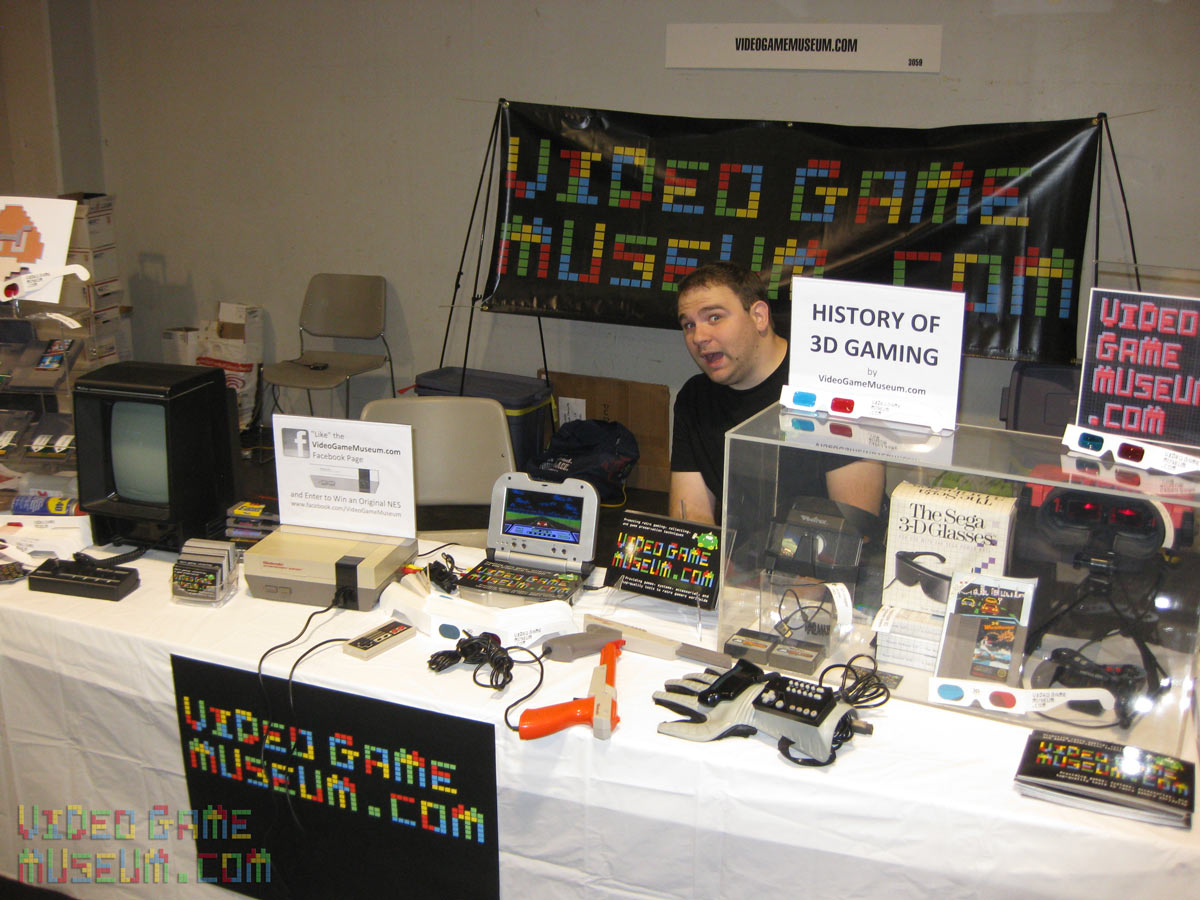
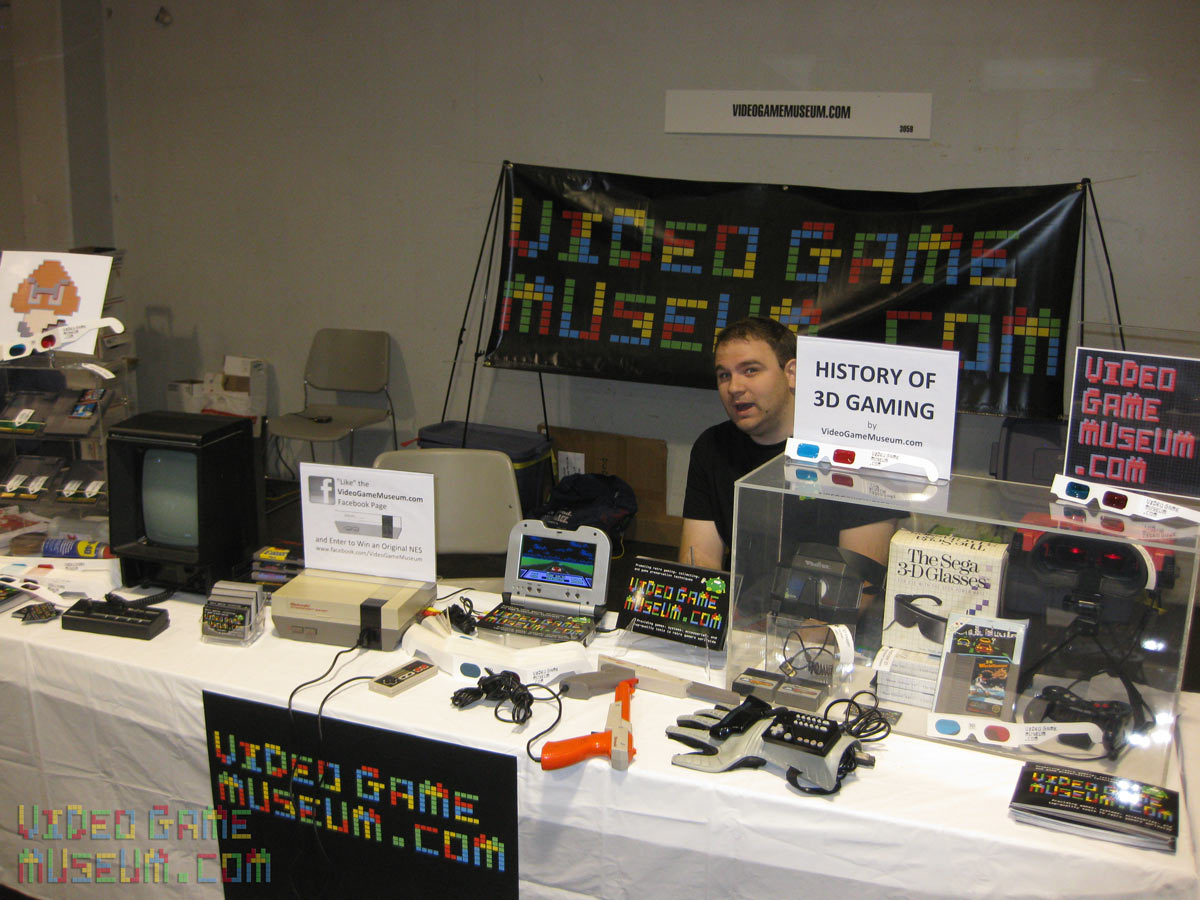
This past weekend thousands of Comic Con fans converged on Wizard World’s Anaheim Comic Con, and it was an absolute blast! ?We had a table there to promote retro gaming, showcasing the history of 3D gaming, game cleaning techniques, and, naturally, this site. I can’t say enough what a great time we had! ?But then again, that’s pretty evident from the photos.
 R2D2 Power Glove")
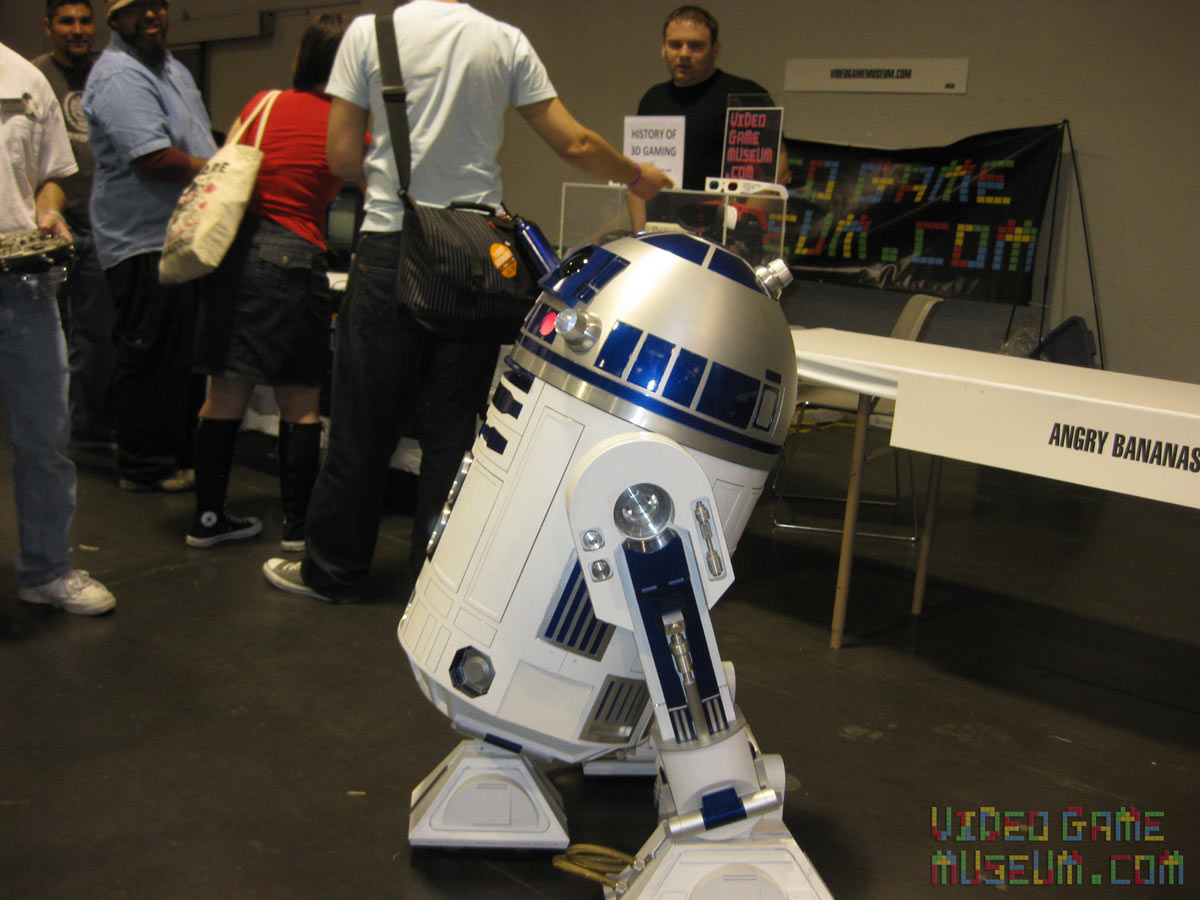
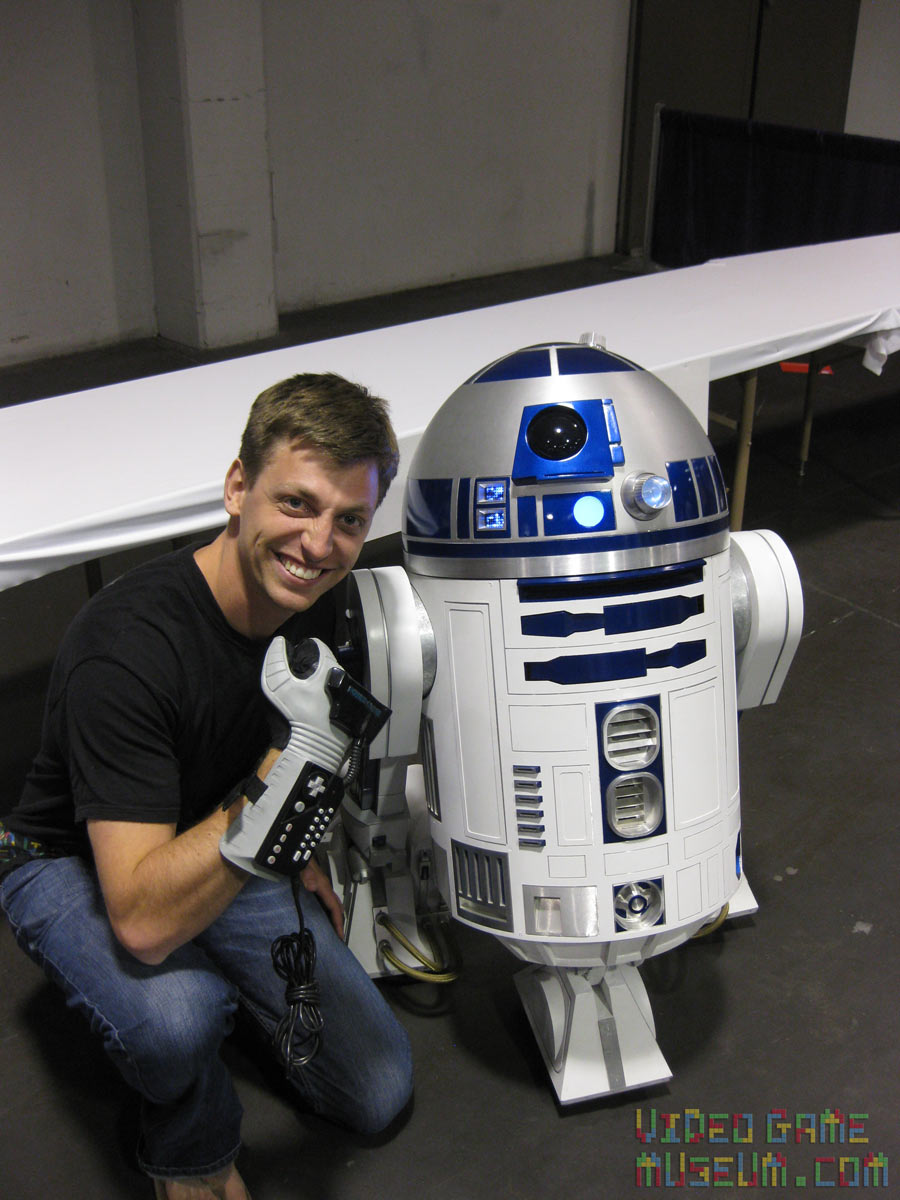
R2-D2
Besides all the fun I had at our booth, I have to say my favorite part was the R2-D2 Builders Club! In case it isn’t obvious from the title, this is a group of guys and gals who literally build their own driods! Each “R” unit is custom built…and loved. It was beyond awesome to watch guys driving their R2s around the showroom floor. ?From the guys I talked to, the units with batteries generally weigh between 120-160 lbs. Depending on setup and use, they get several hours or more of operation time per charge. Sure enough, the units at the show moved like R2-D2, made his sounds, had spinning heads, and articulating front arms thingys. Freak’n awesome!
Costumes
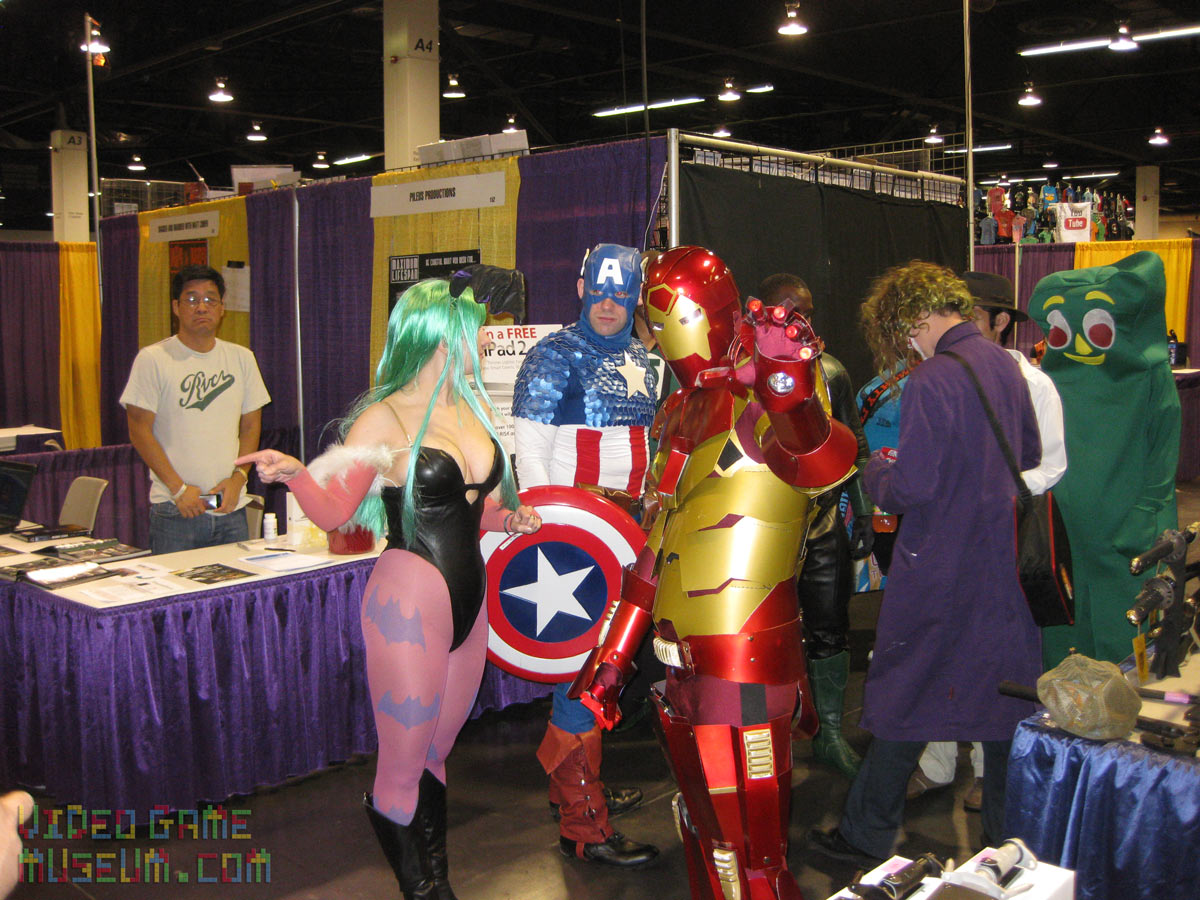
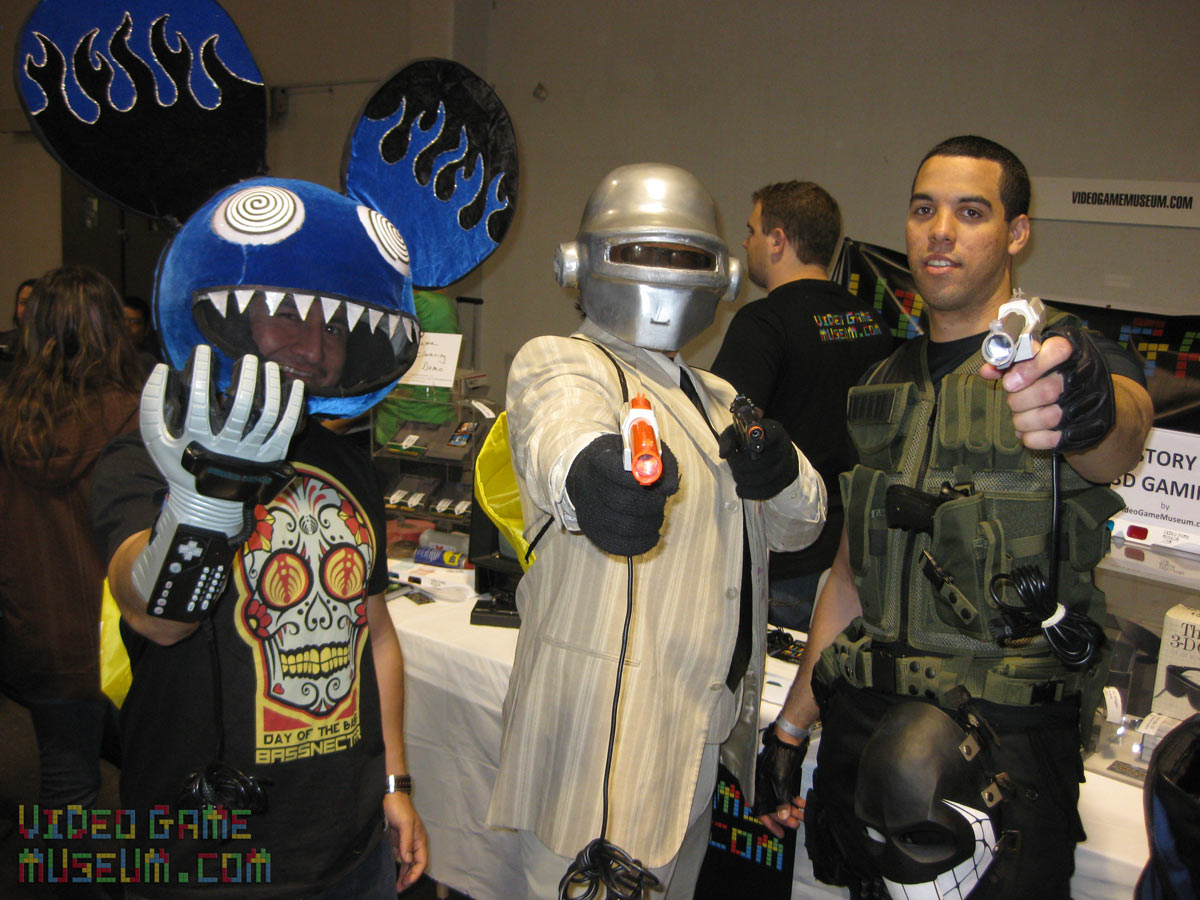
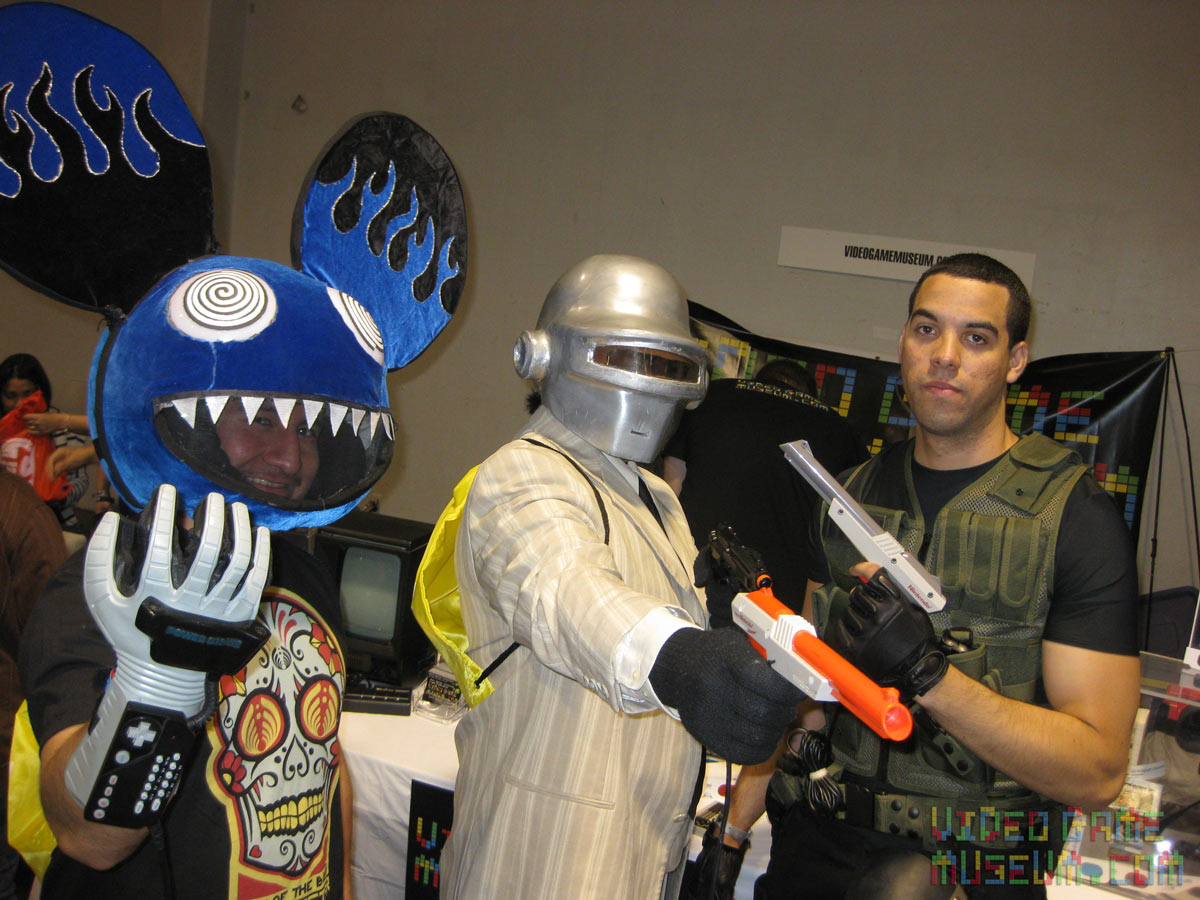
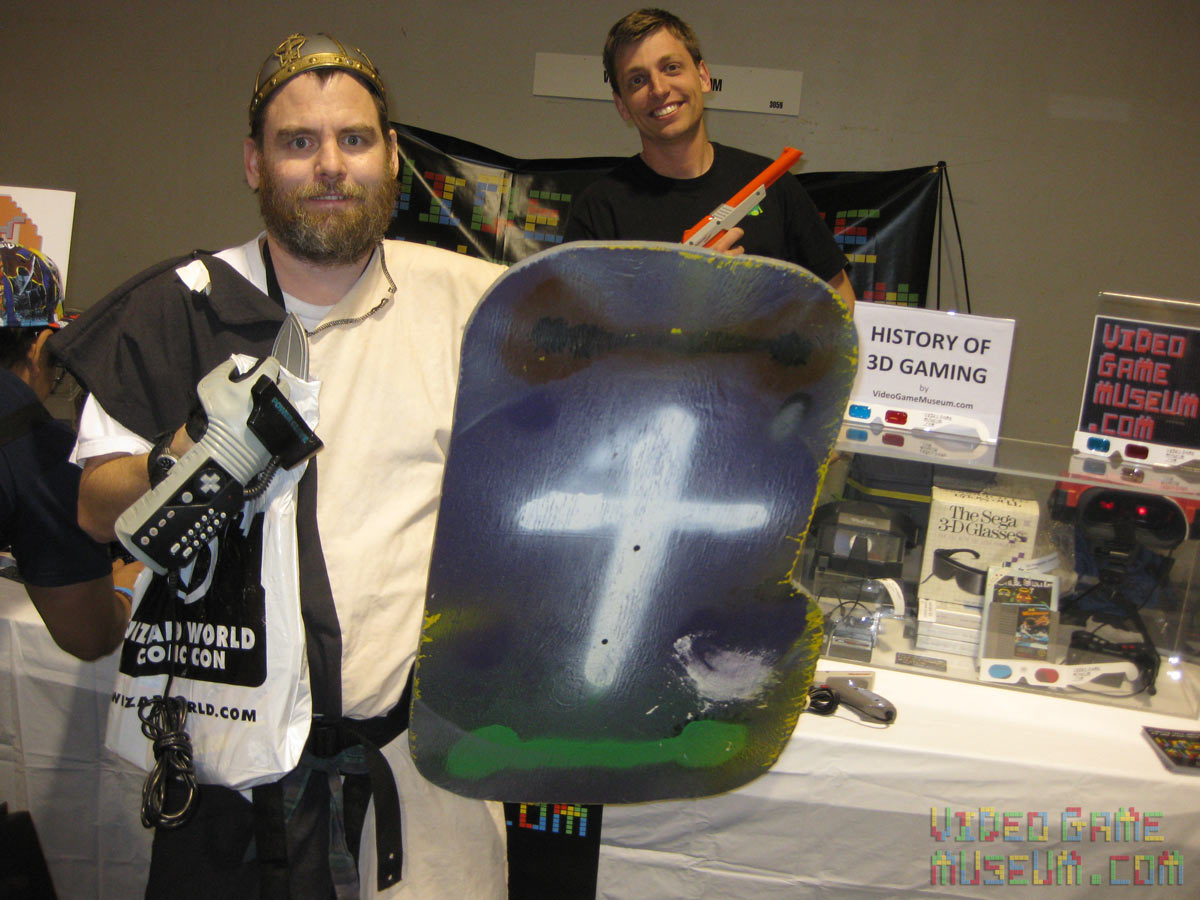
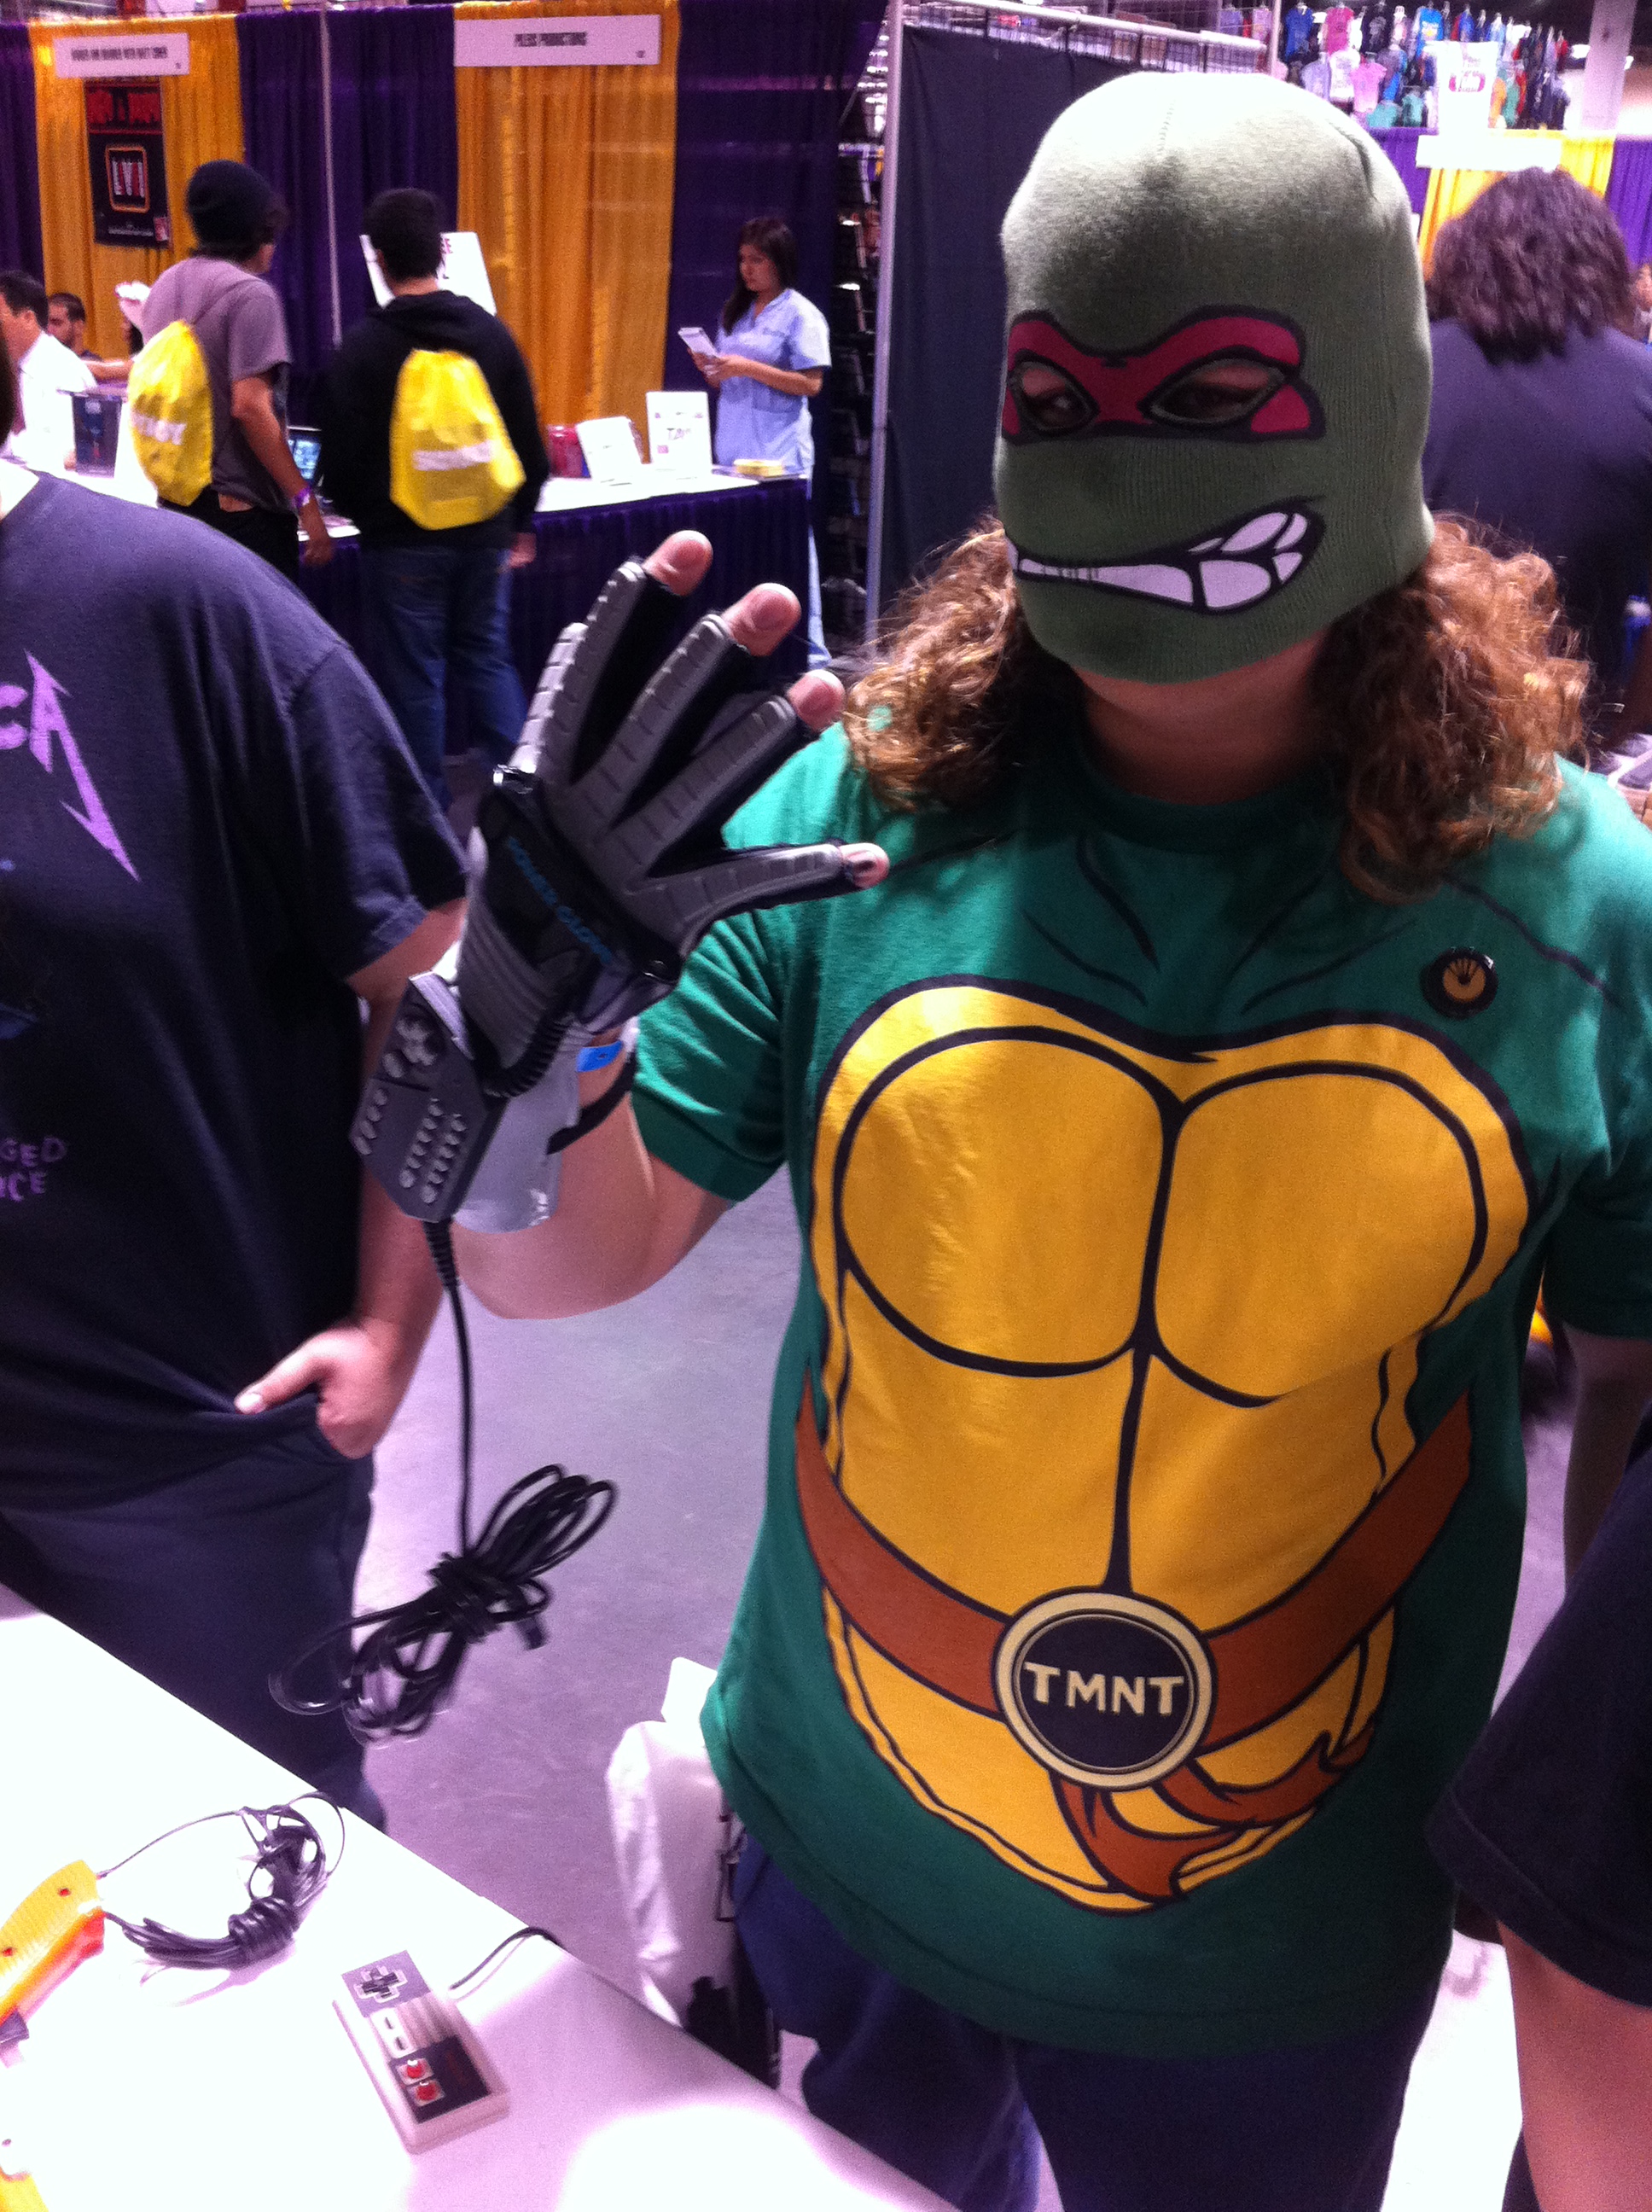
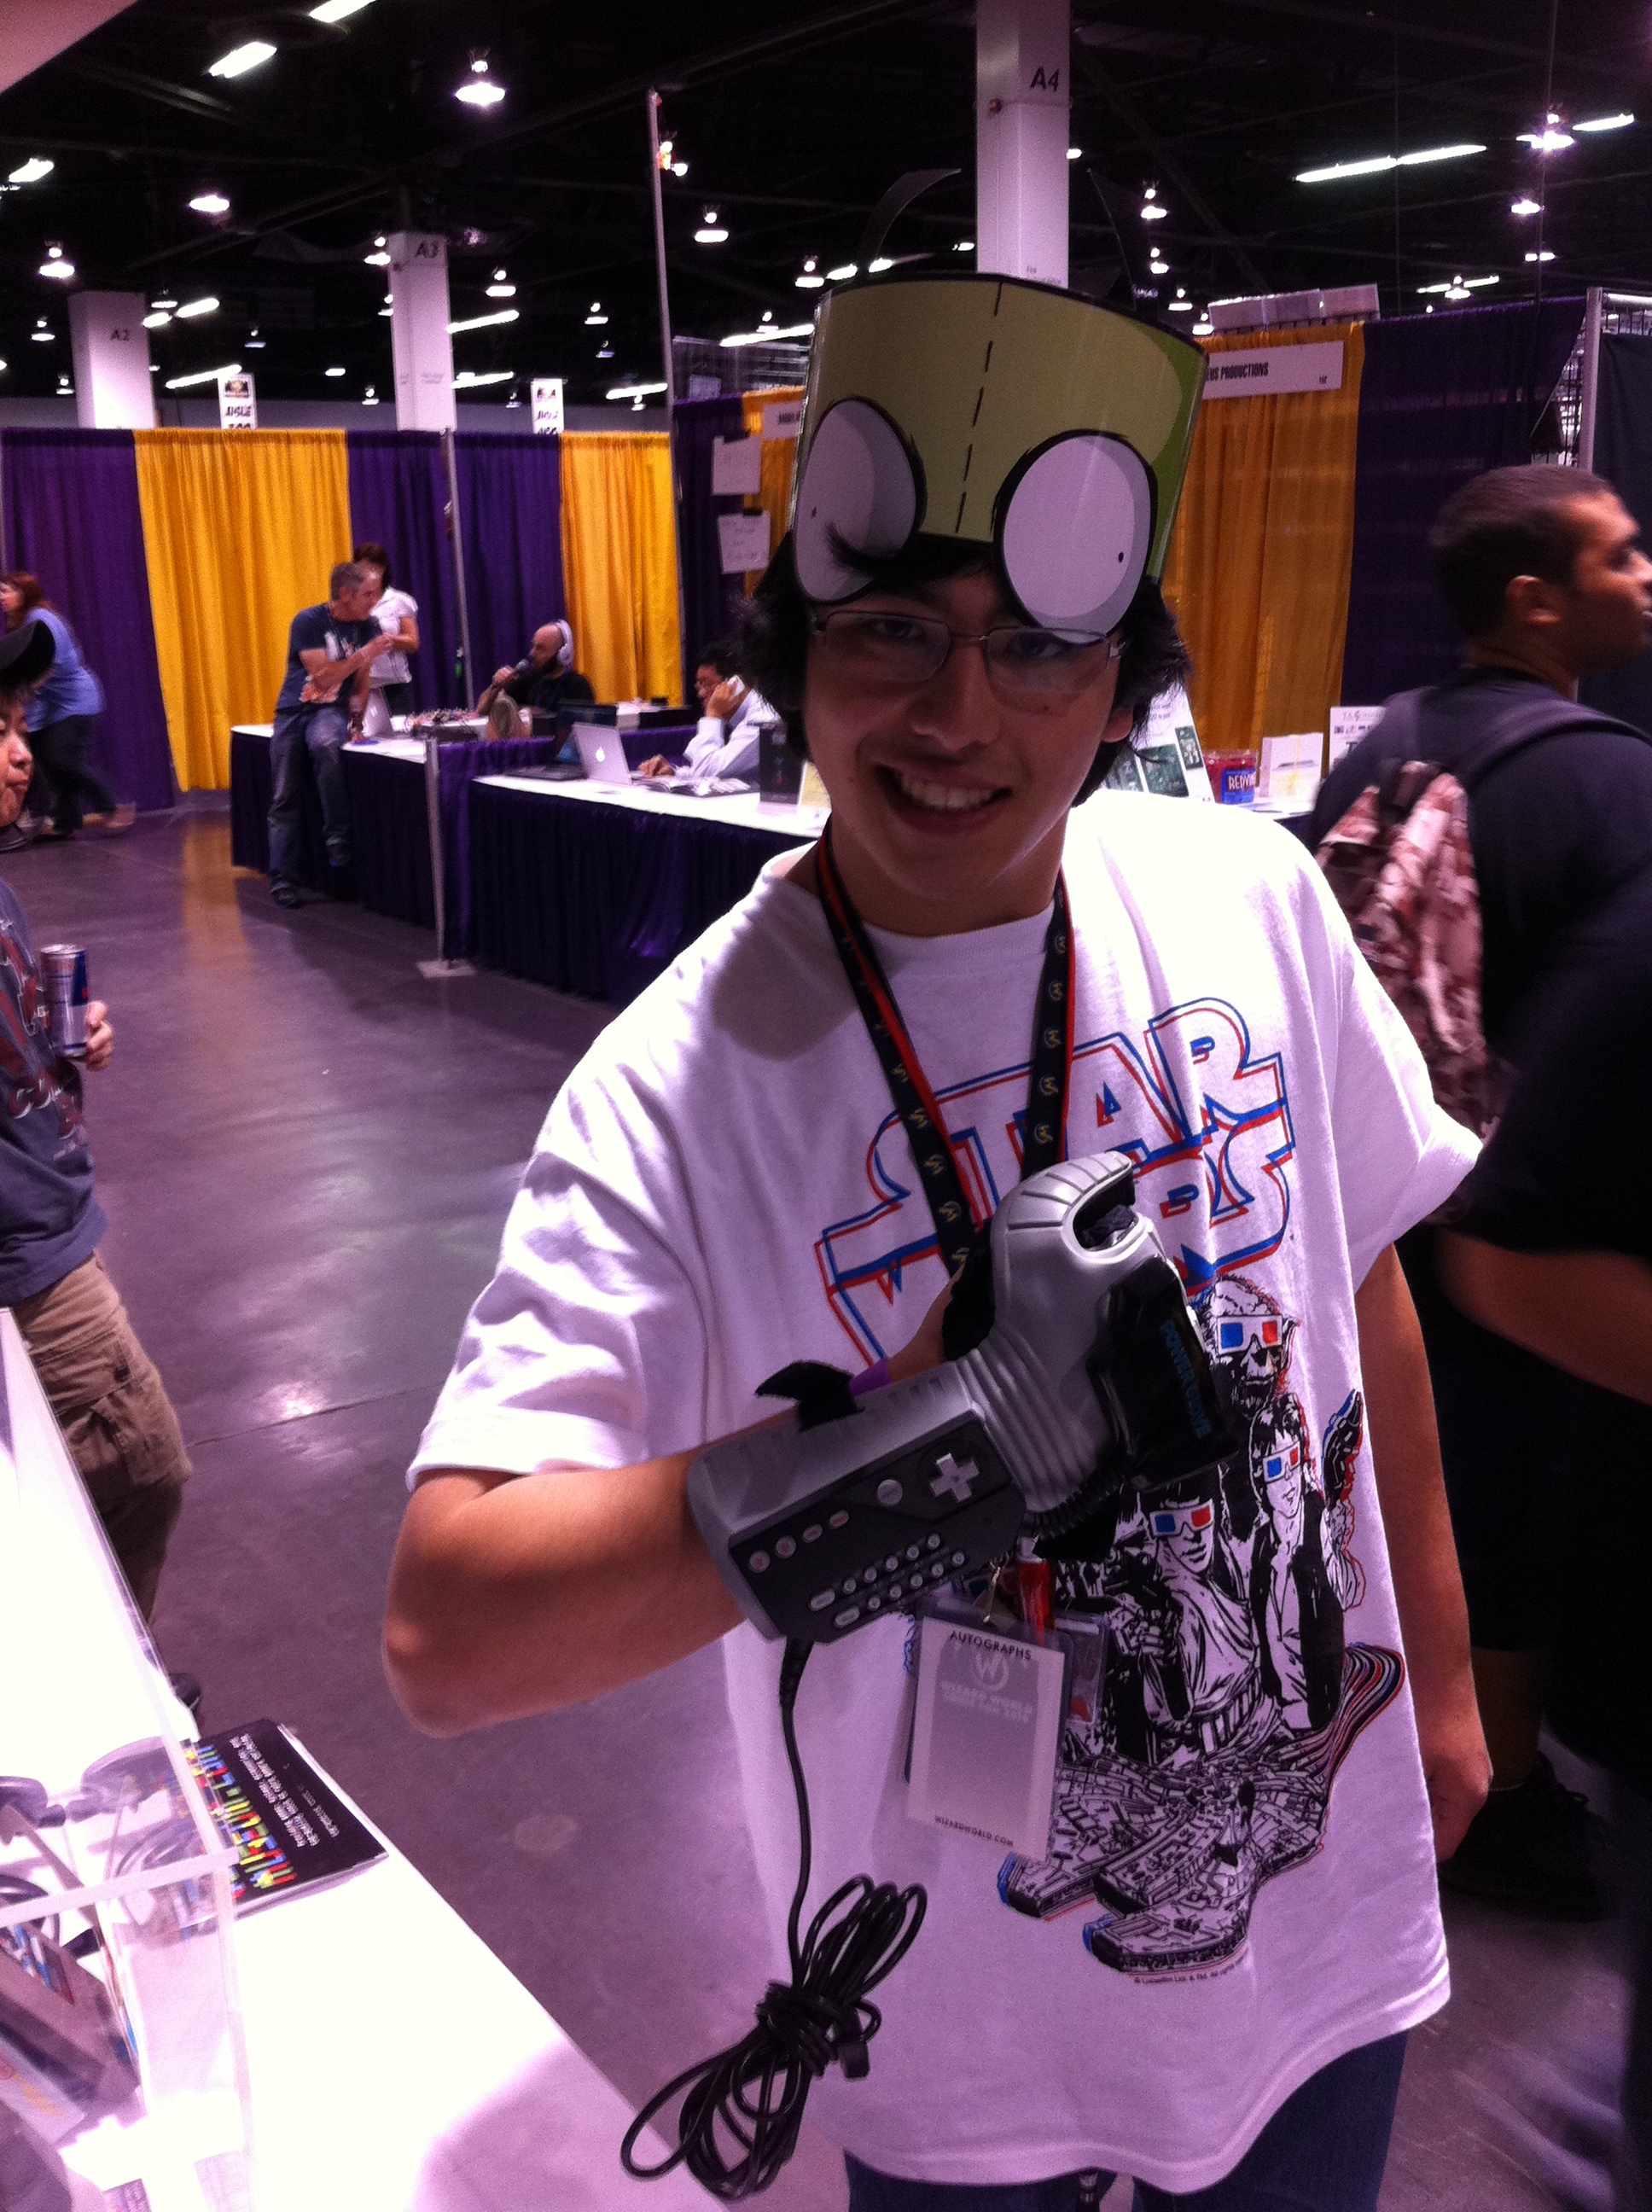
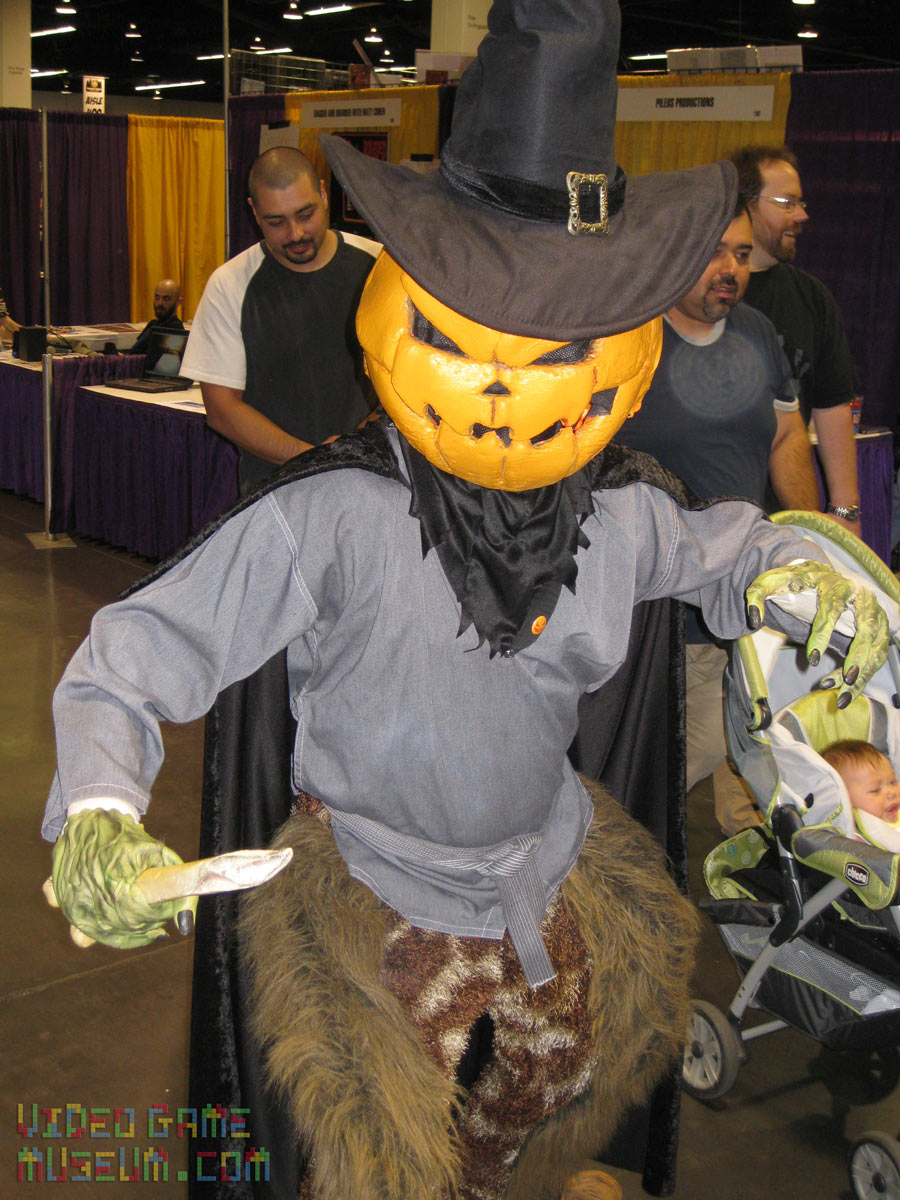
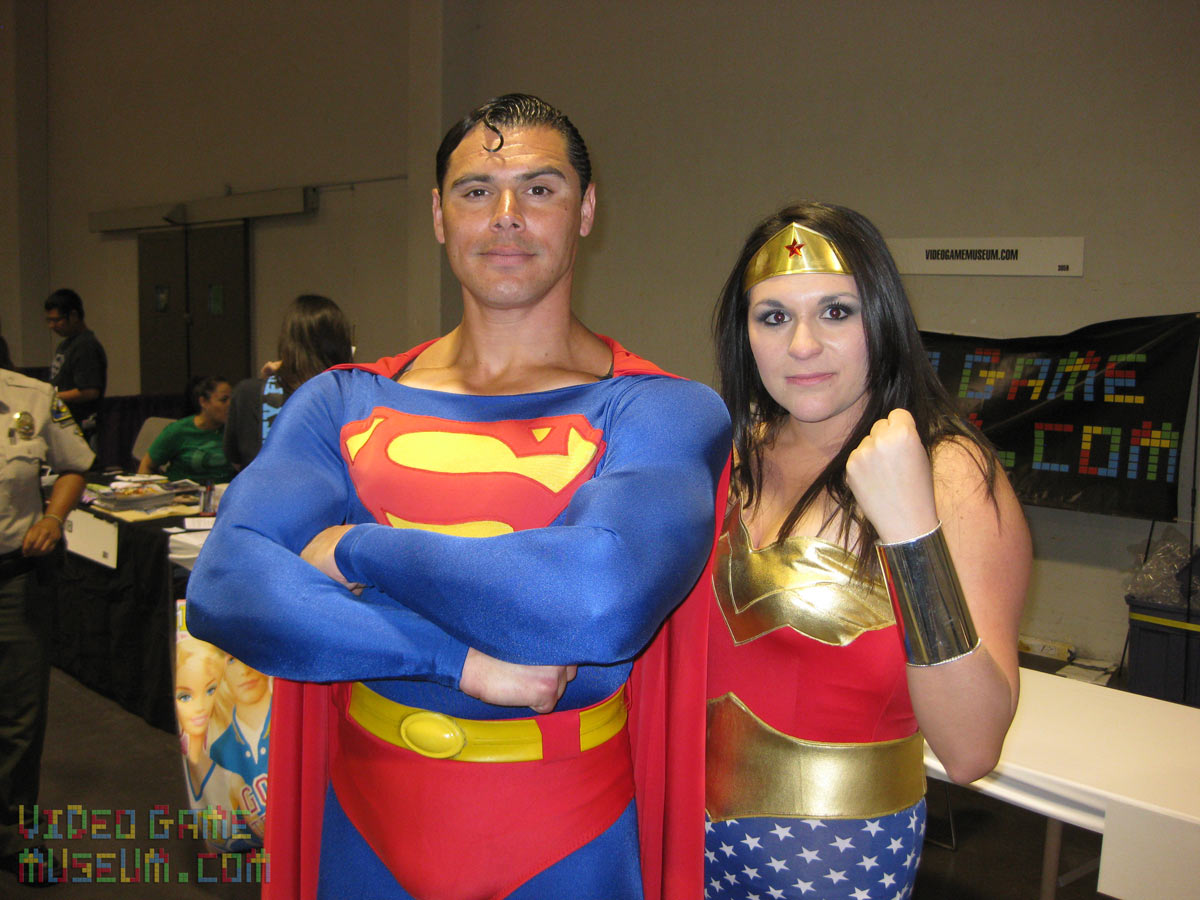
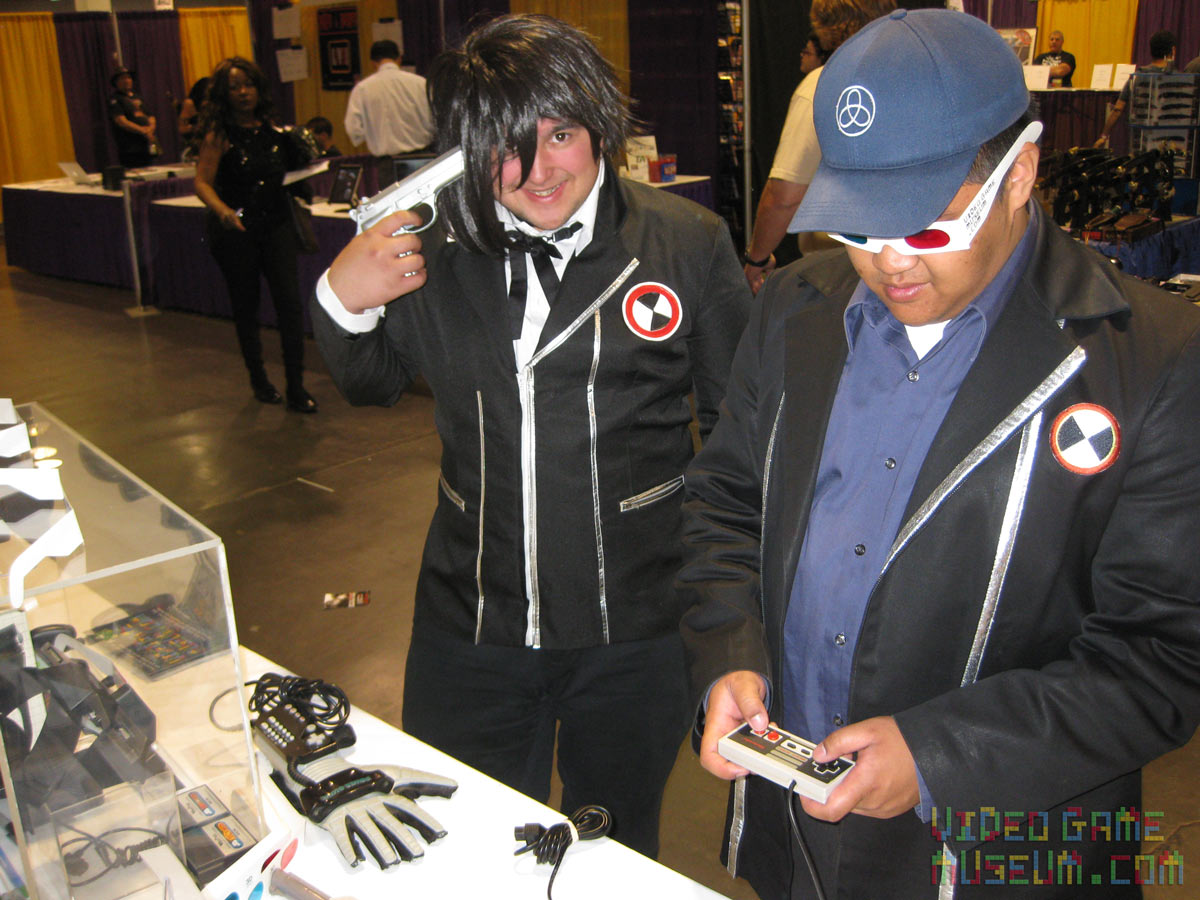
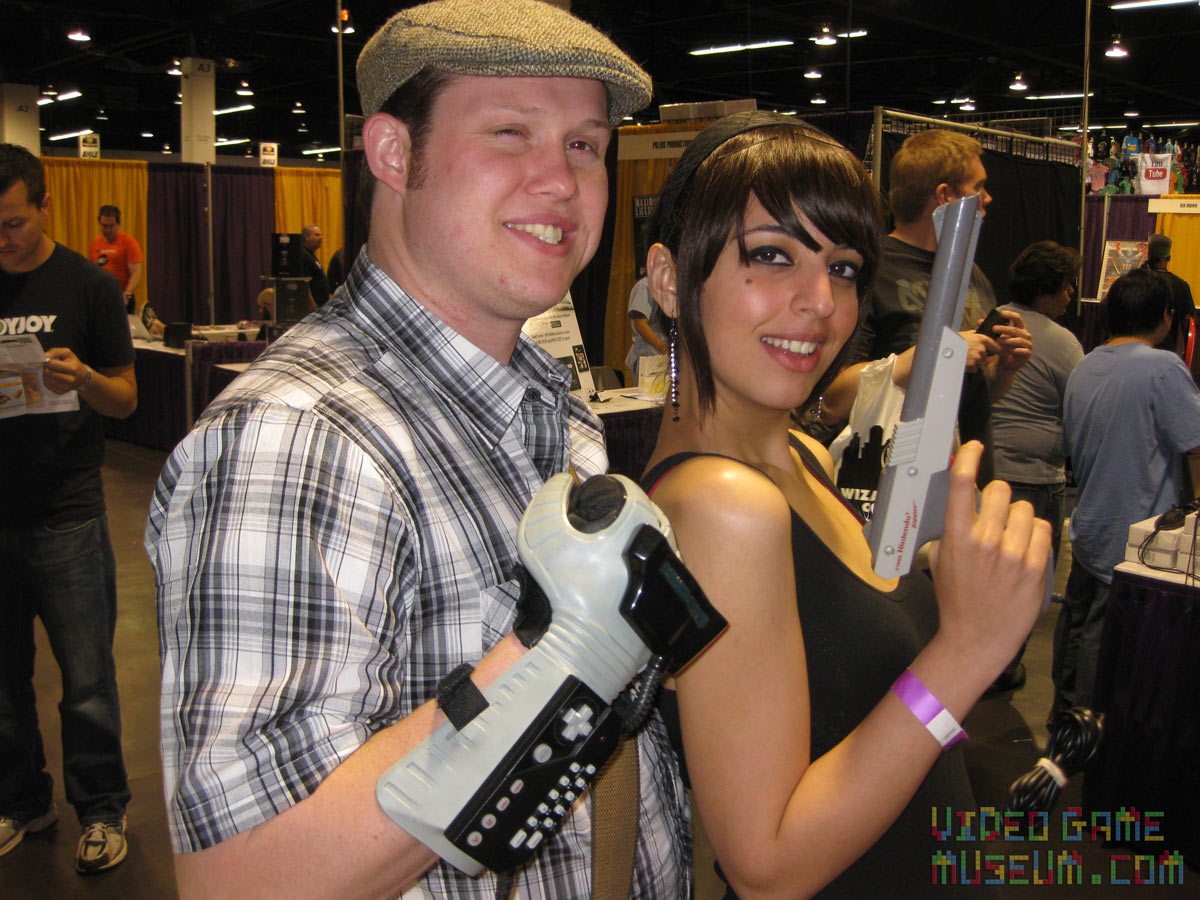
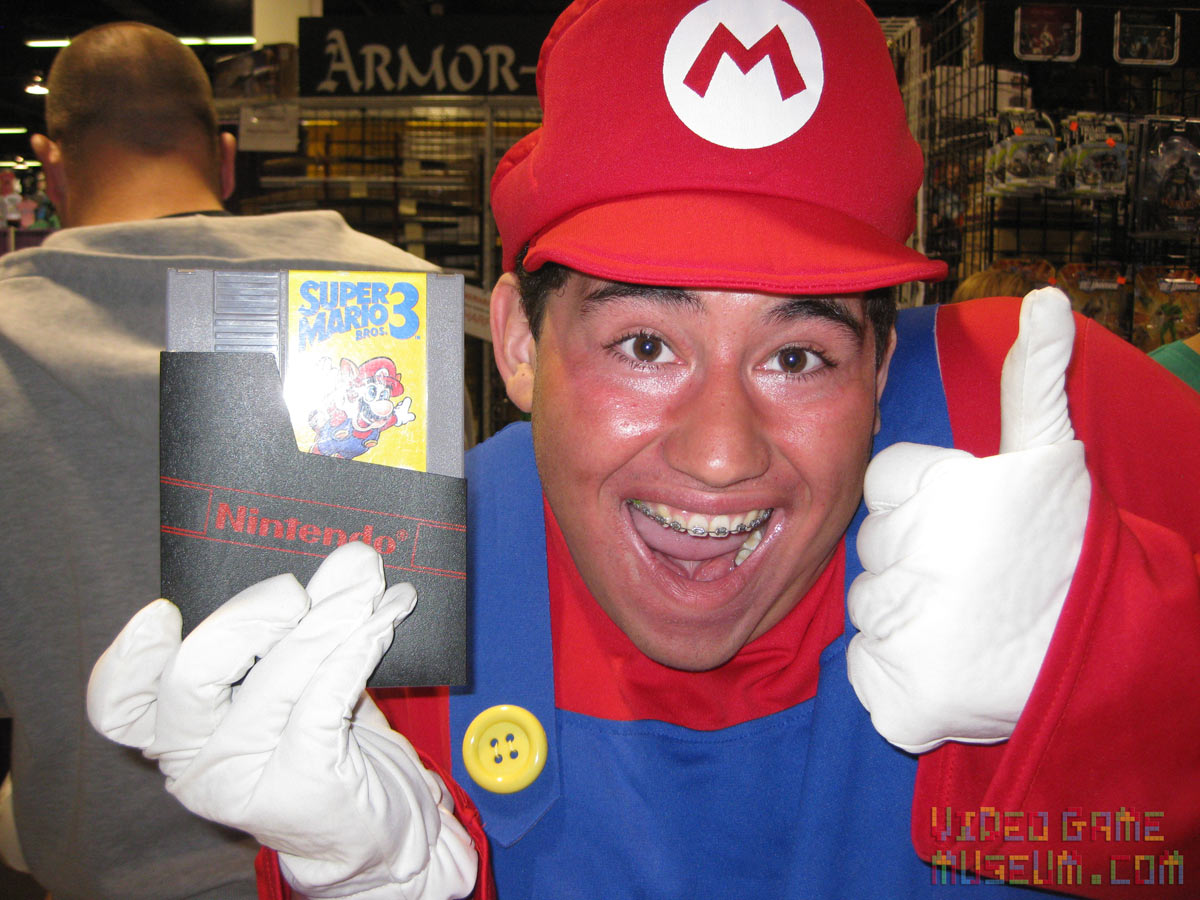
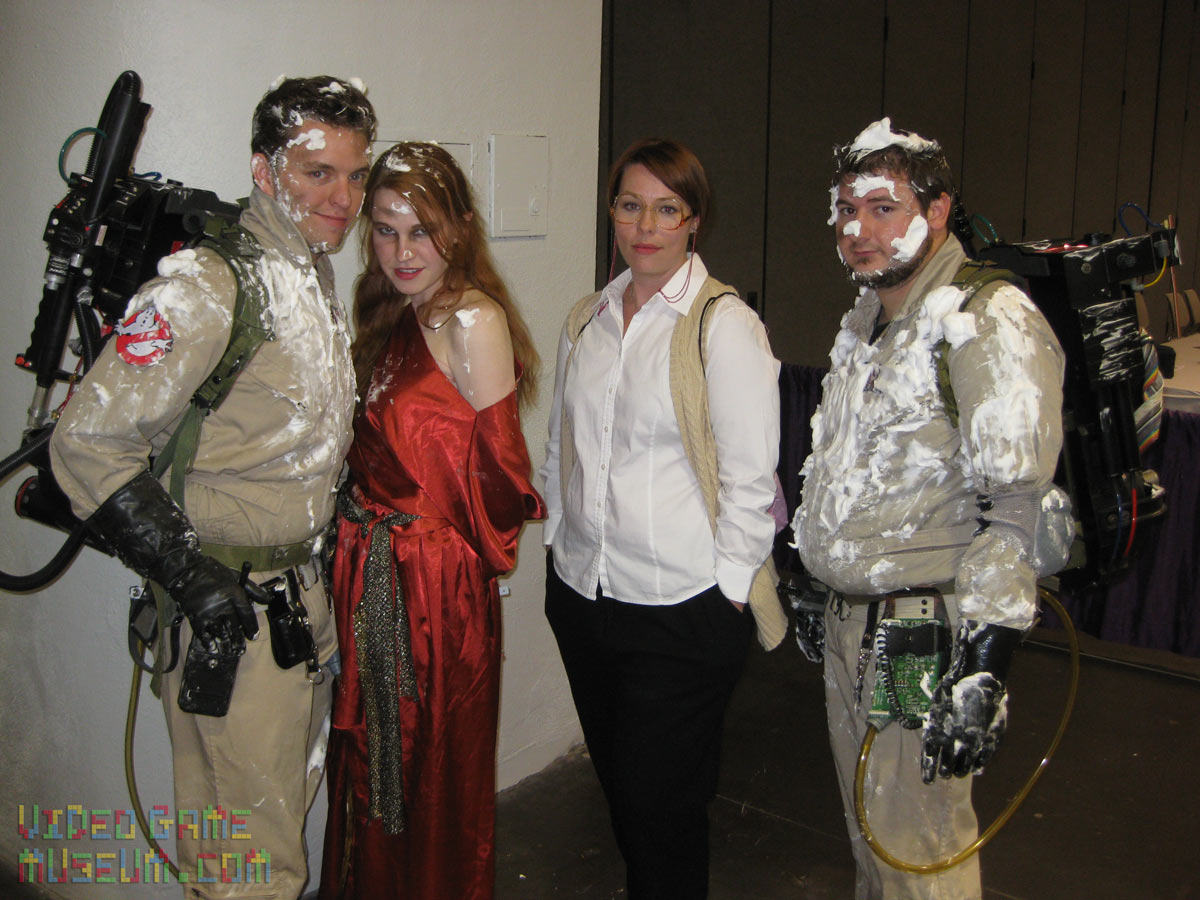
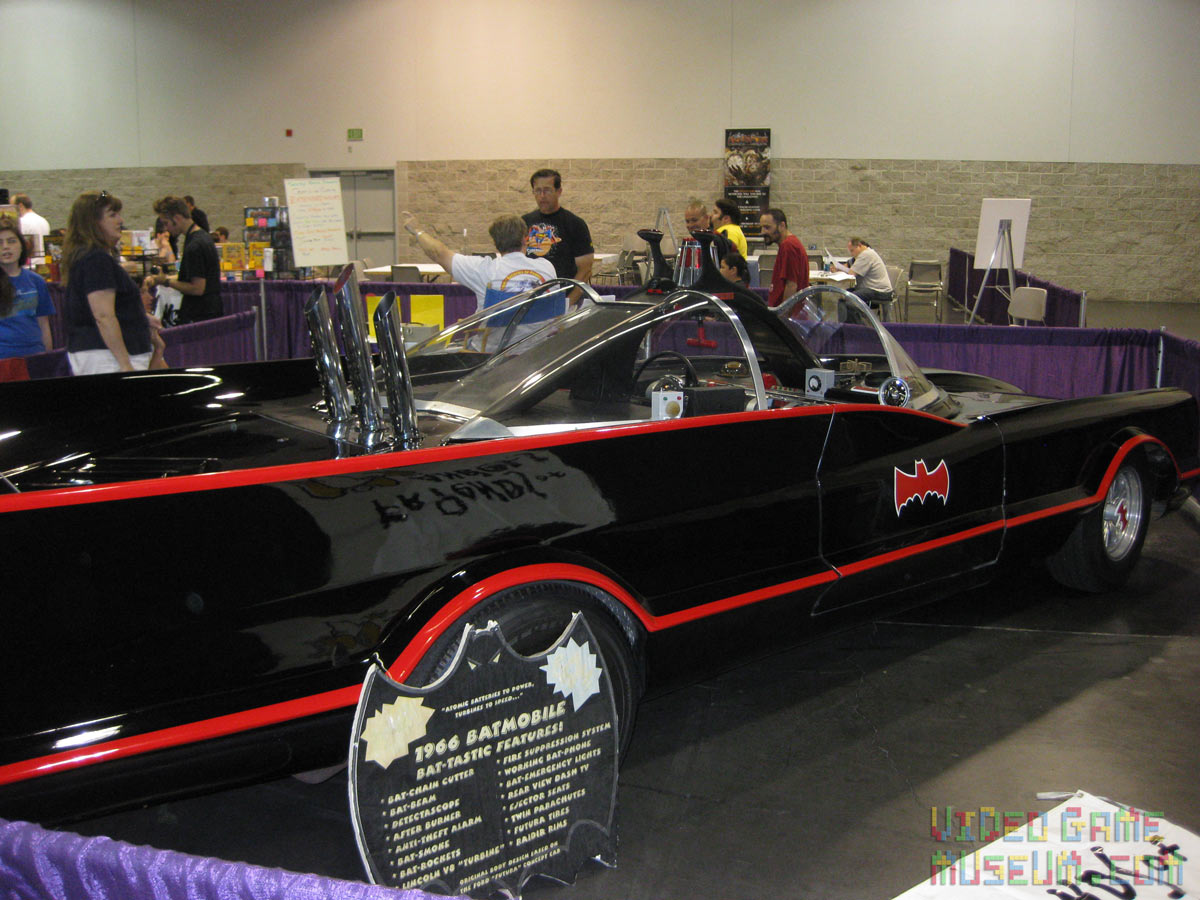
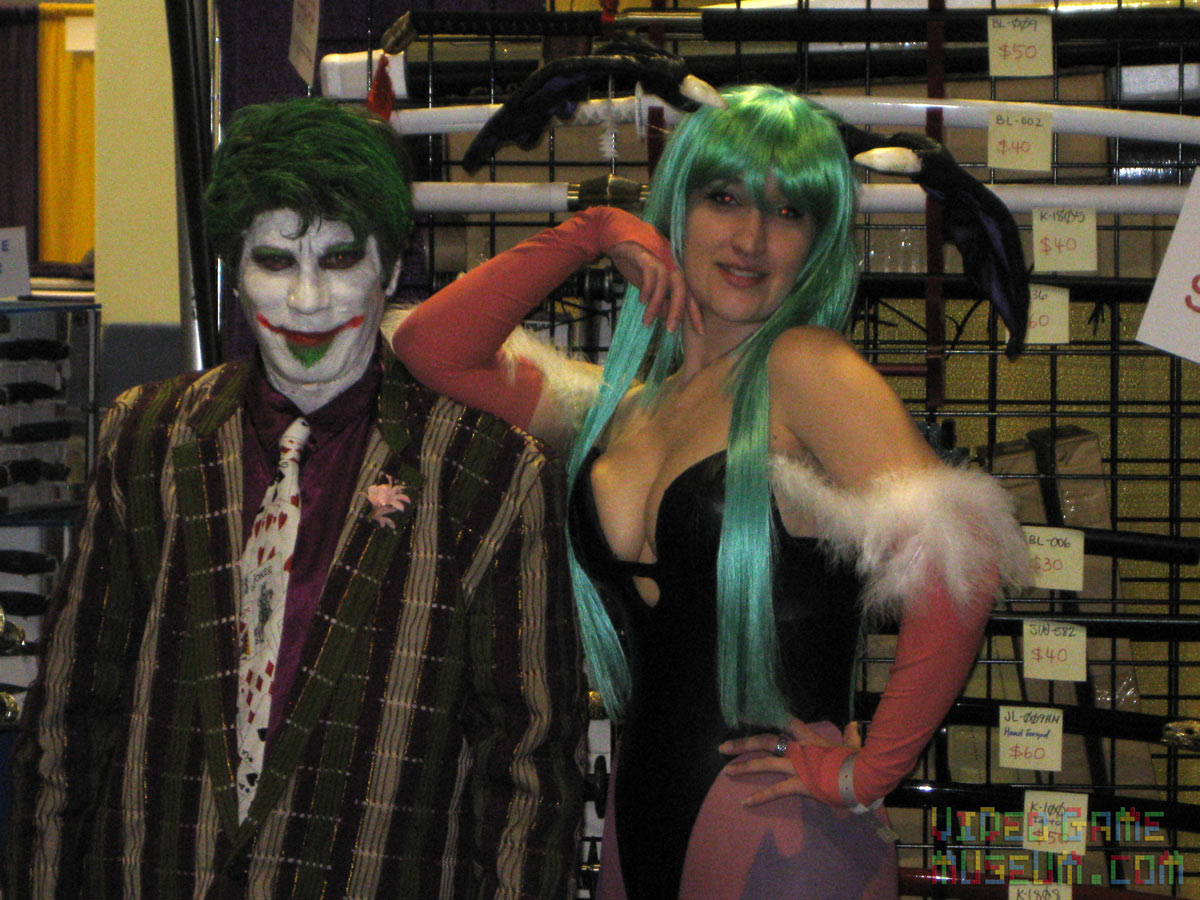
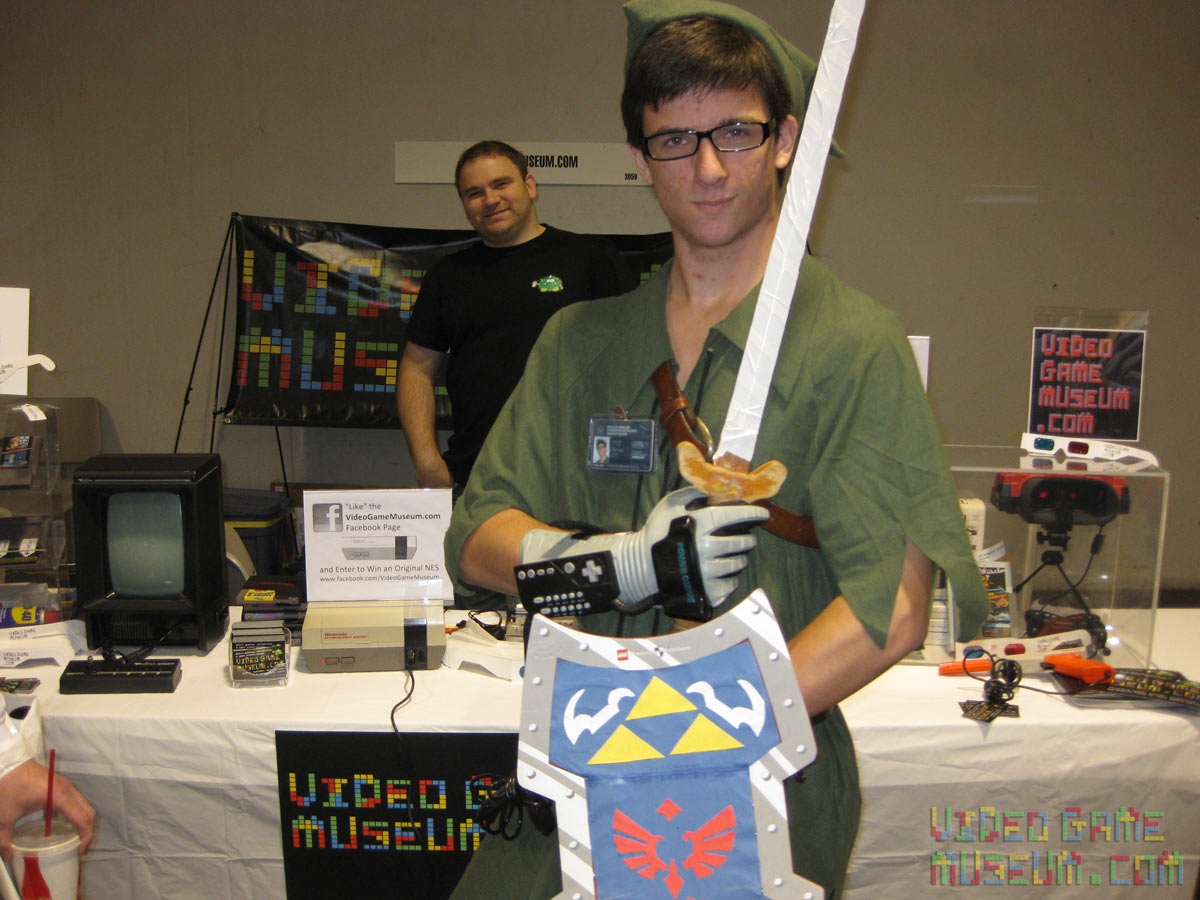
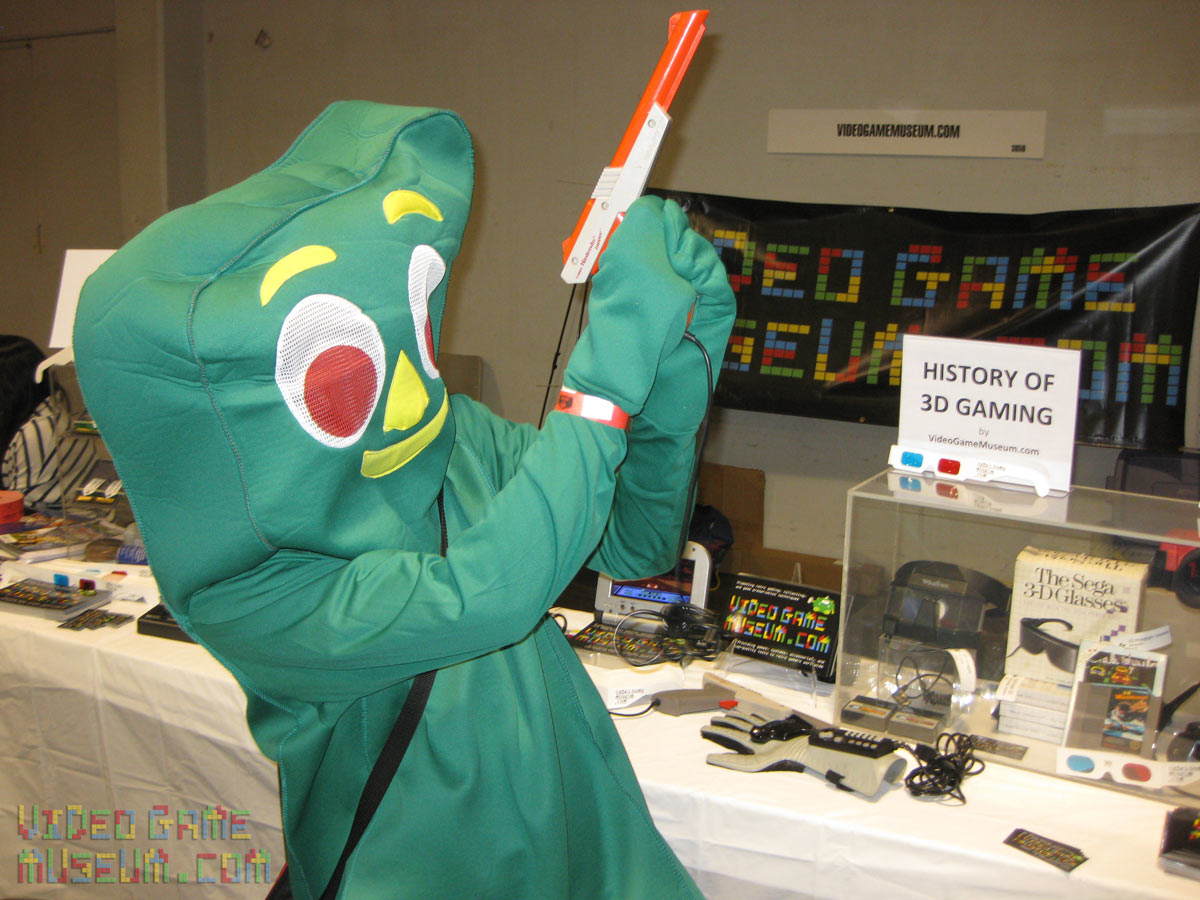
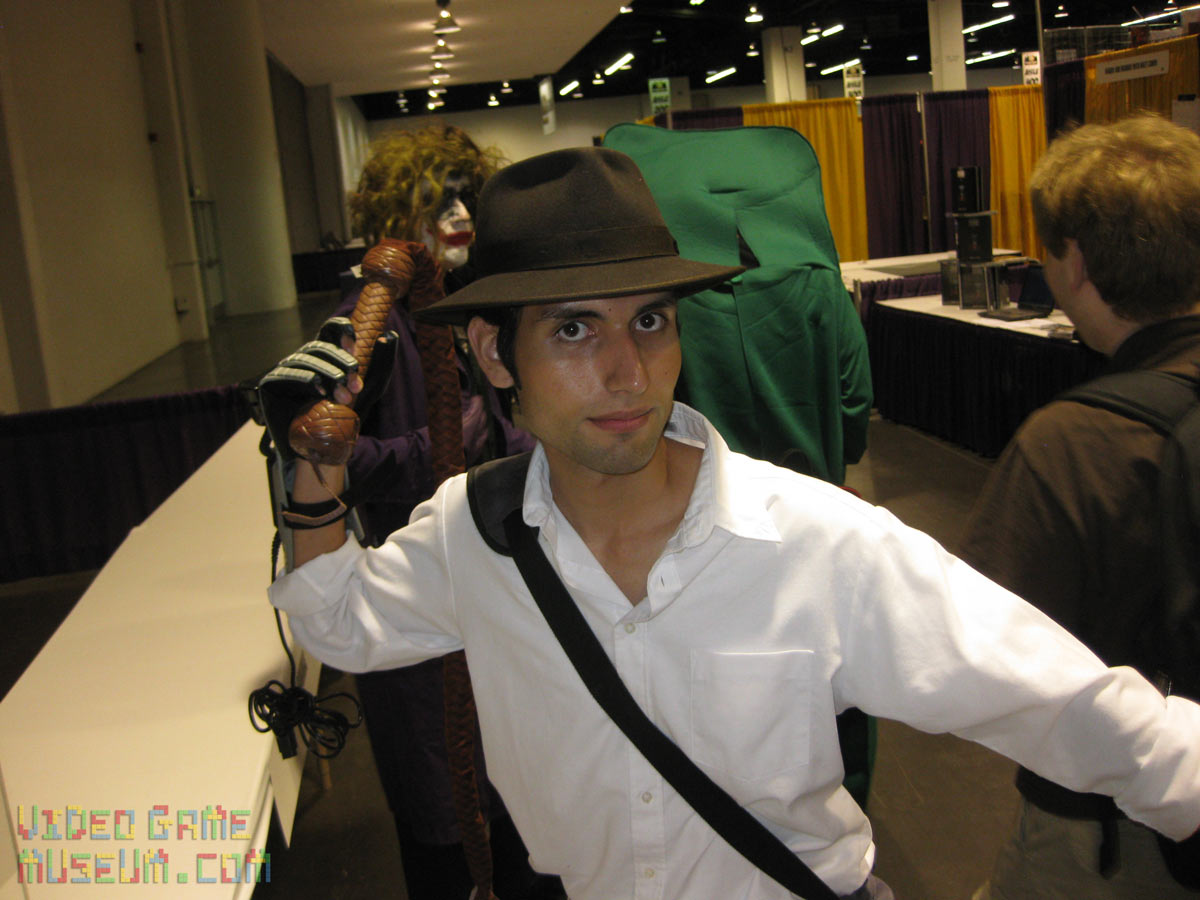
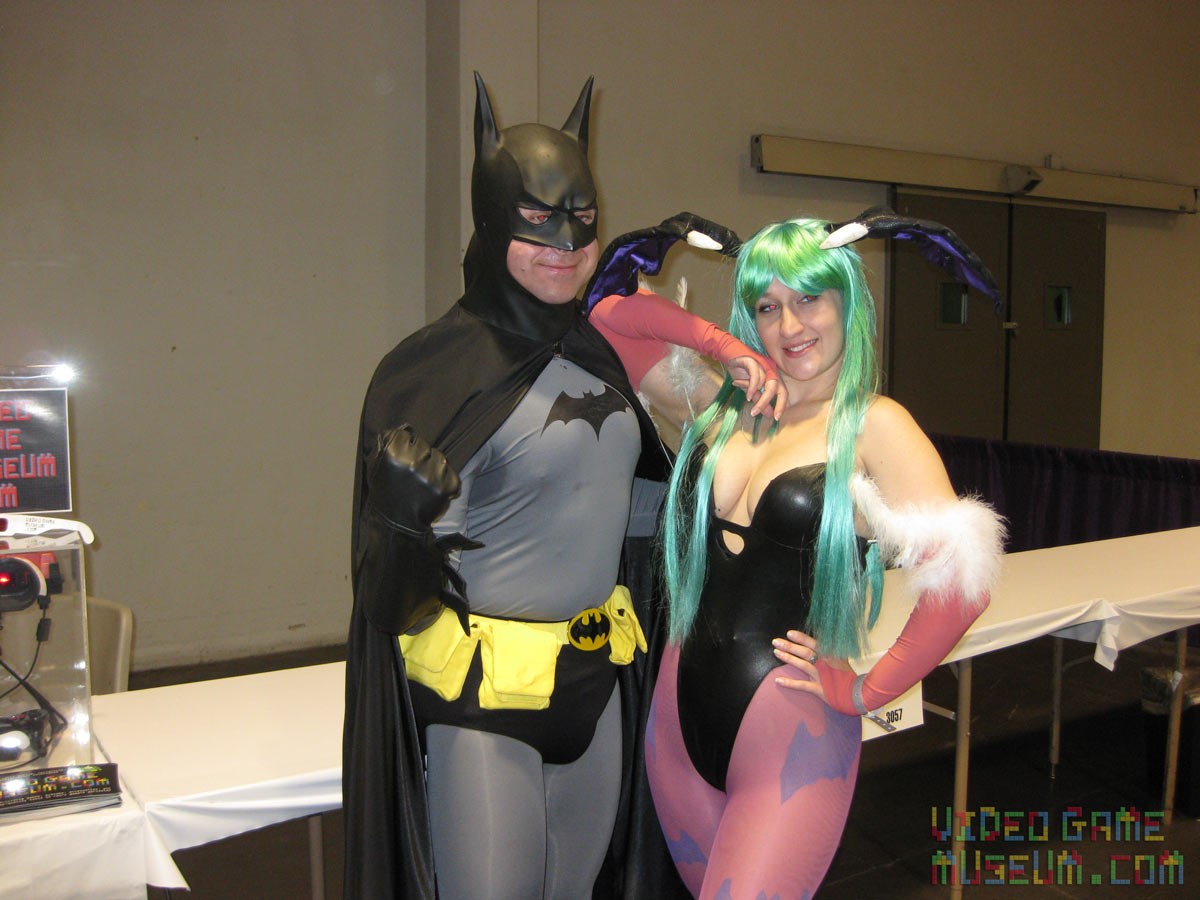
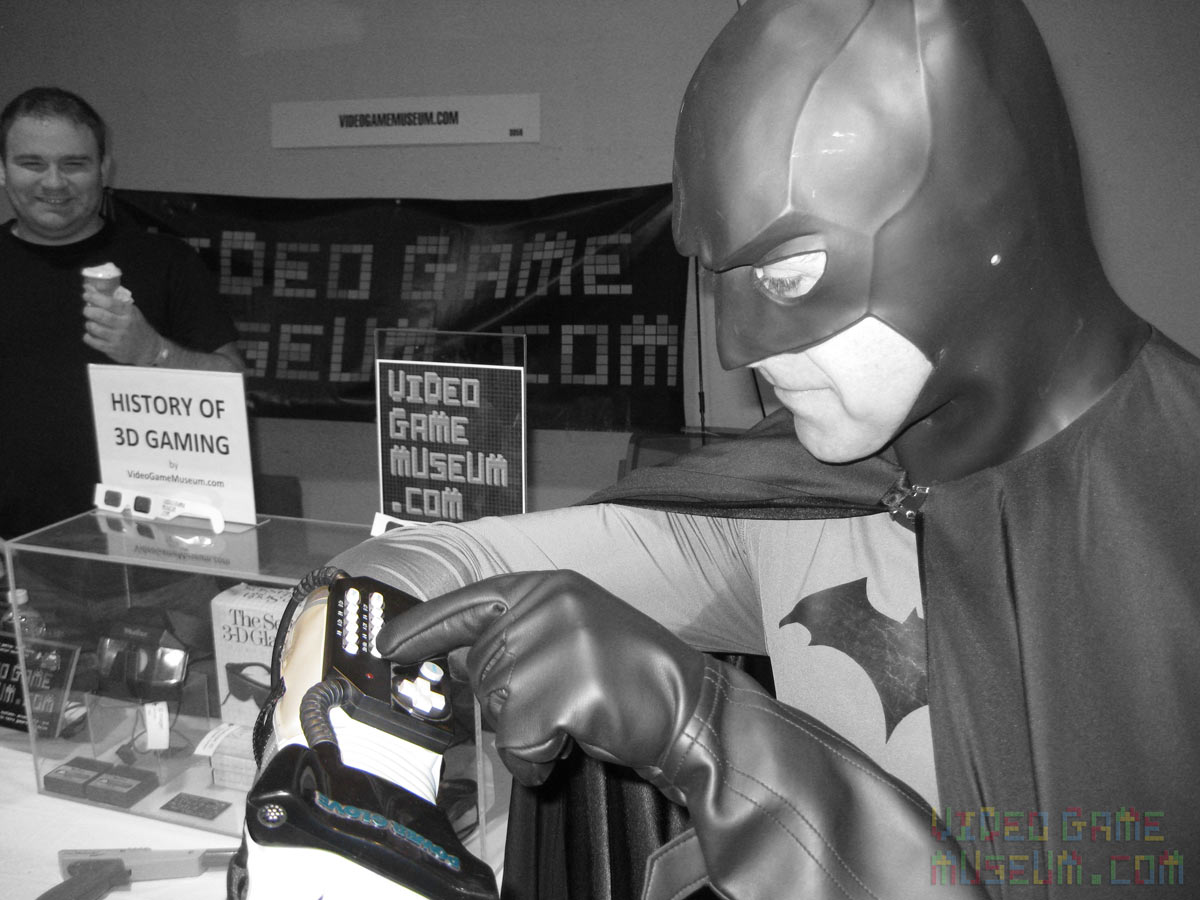
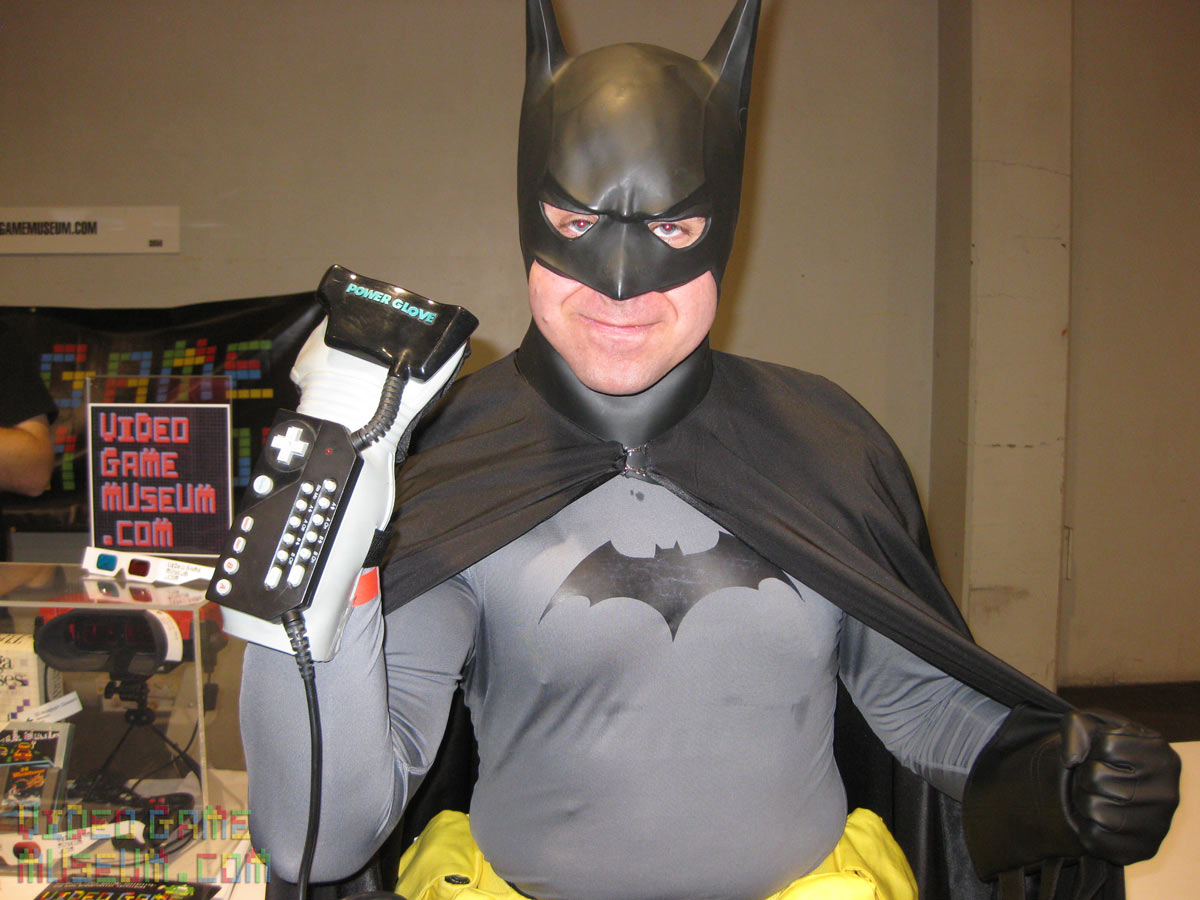
As with any Comic Con, the costumes were the best part. Naturally, there were a good number of Star Wars characters: stormtroopers, bounty hunters, jedi, etc! Other favorites were Batman (posing with my Power Glove…yup, he loves gadgets), Super Man, Wonderwoman, Chun-Lee, Ryu, Deadmou5, Mario, Ghostbusters (pretty popular this year), Indiana Jones, Gumby (check out the Gumby w zapper photo!), Gambit, Wolverine, Captain American, Iron Man, Deadmau5, and I’m probably forgetting a bunch of others!
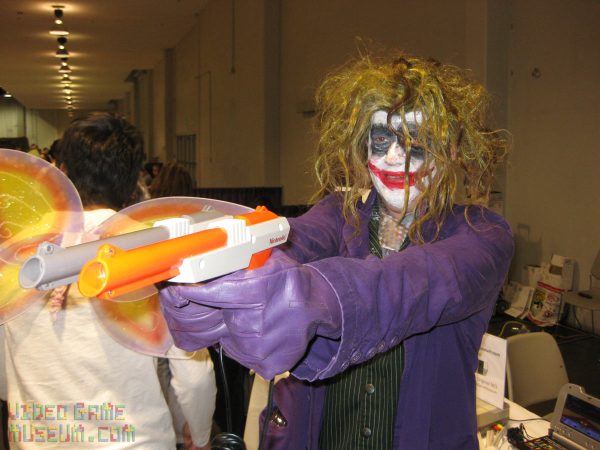


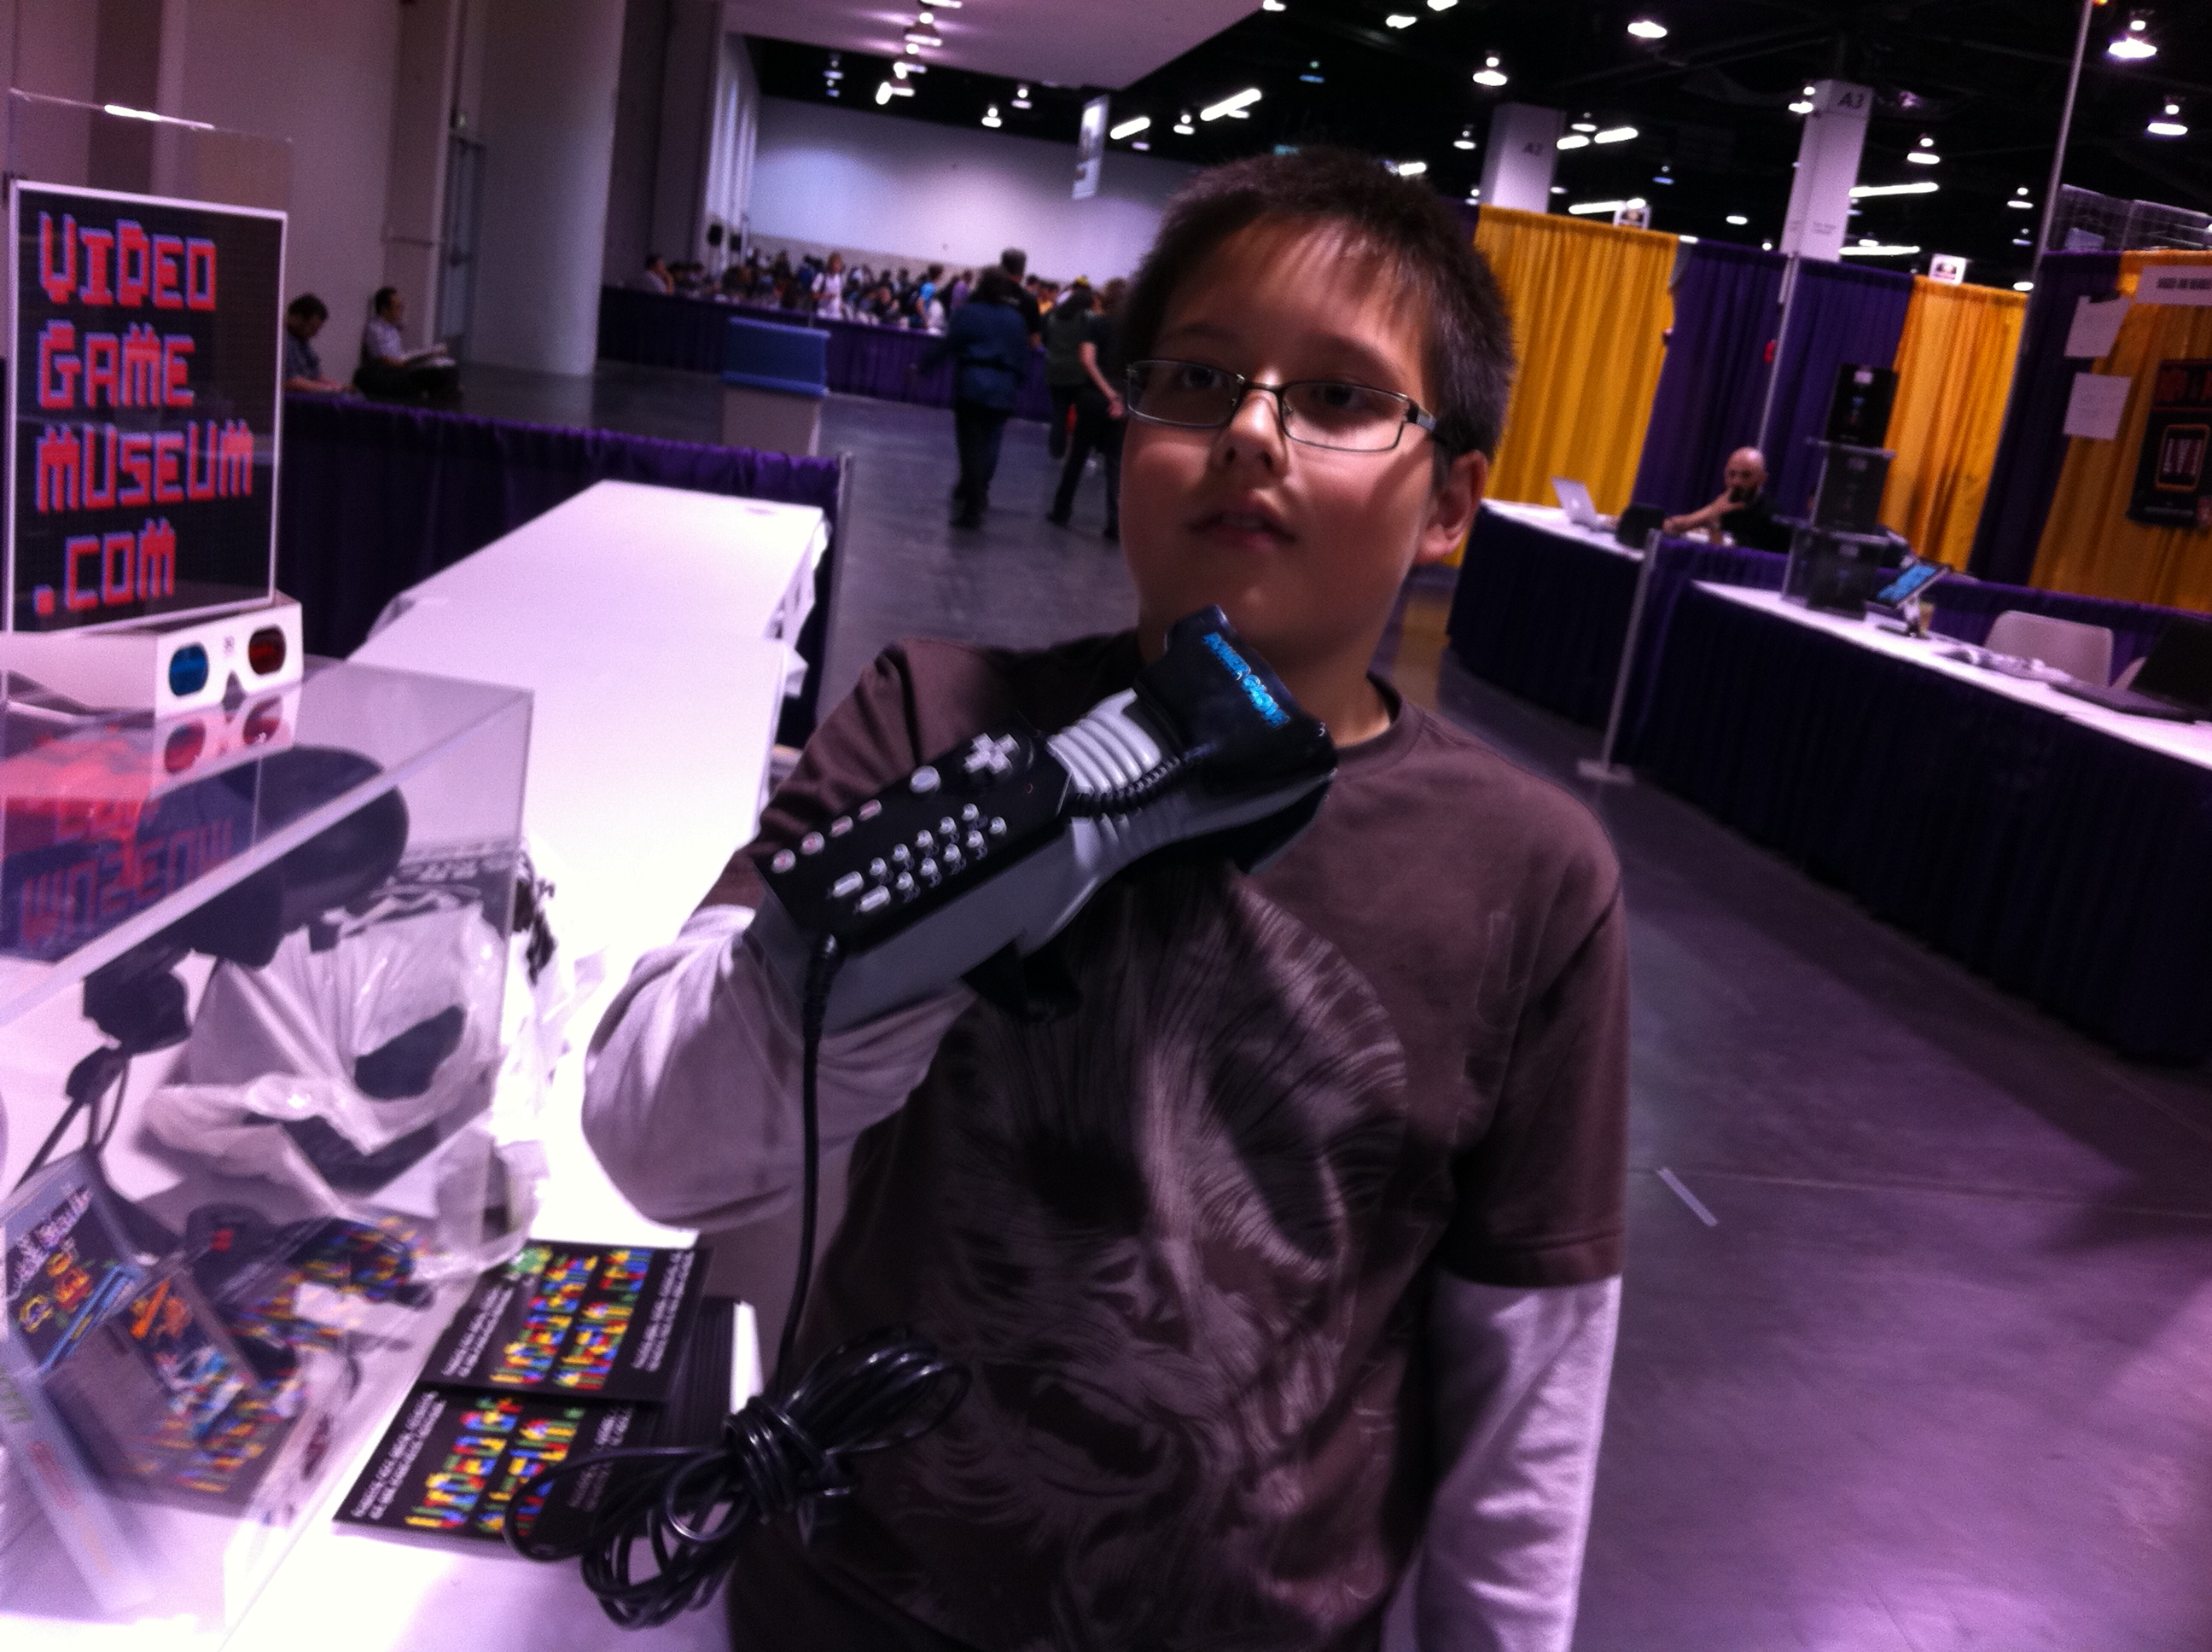
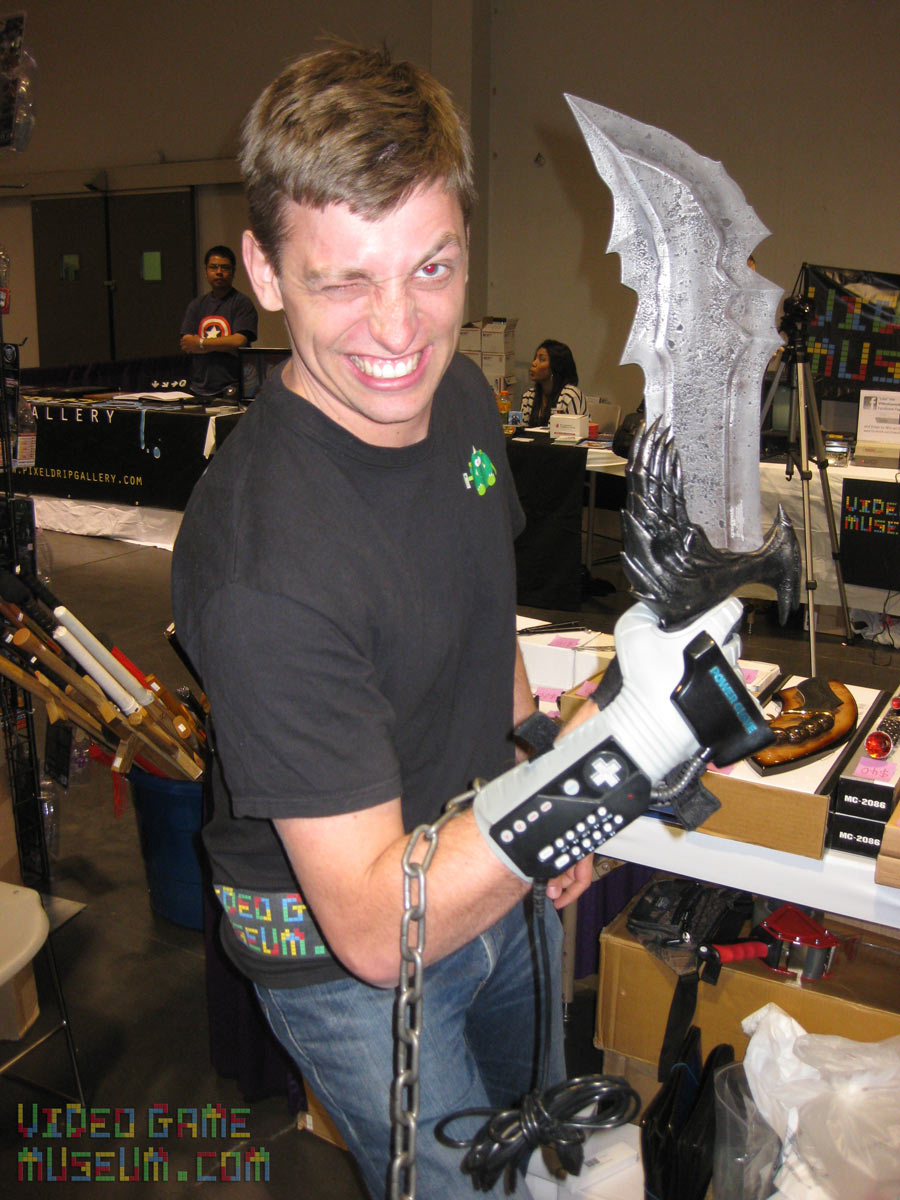
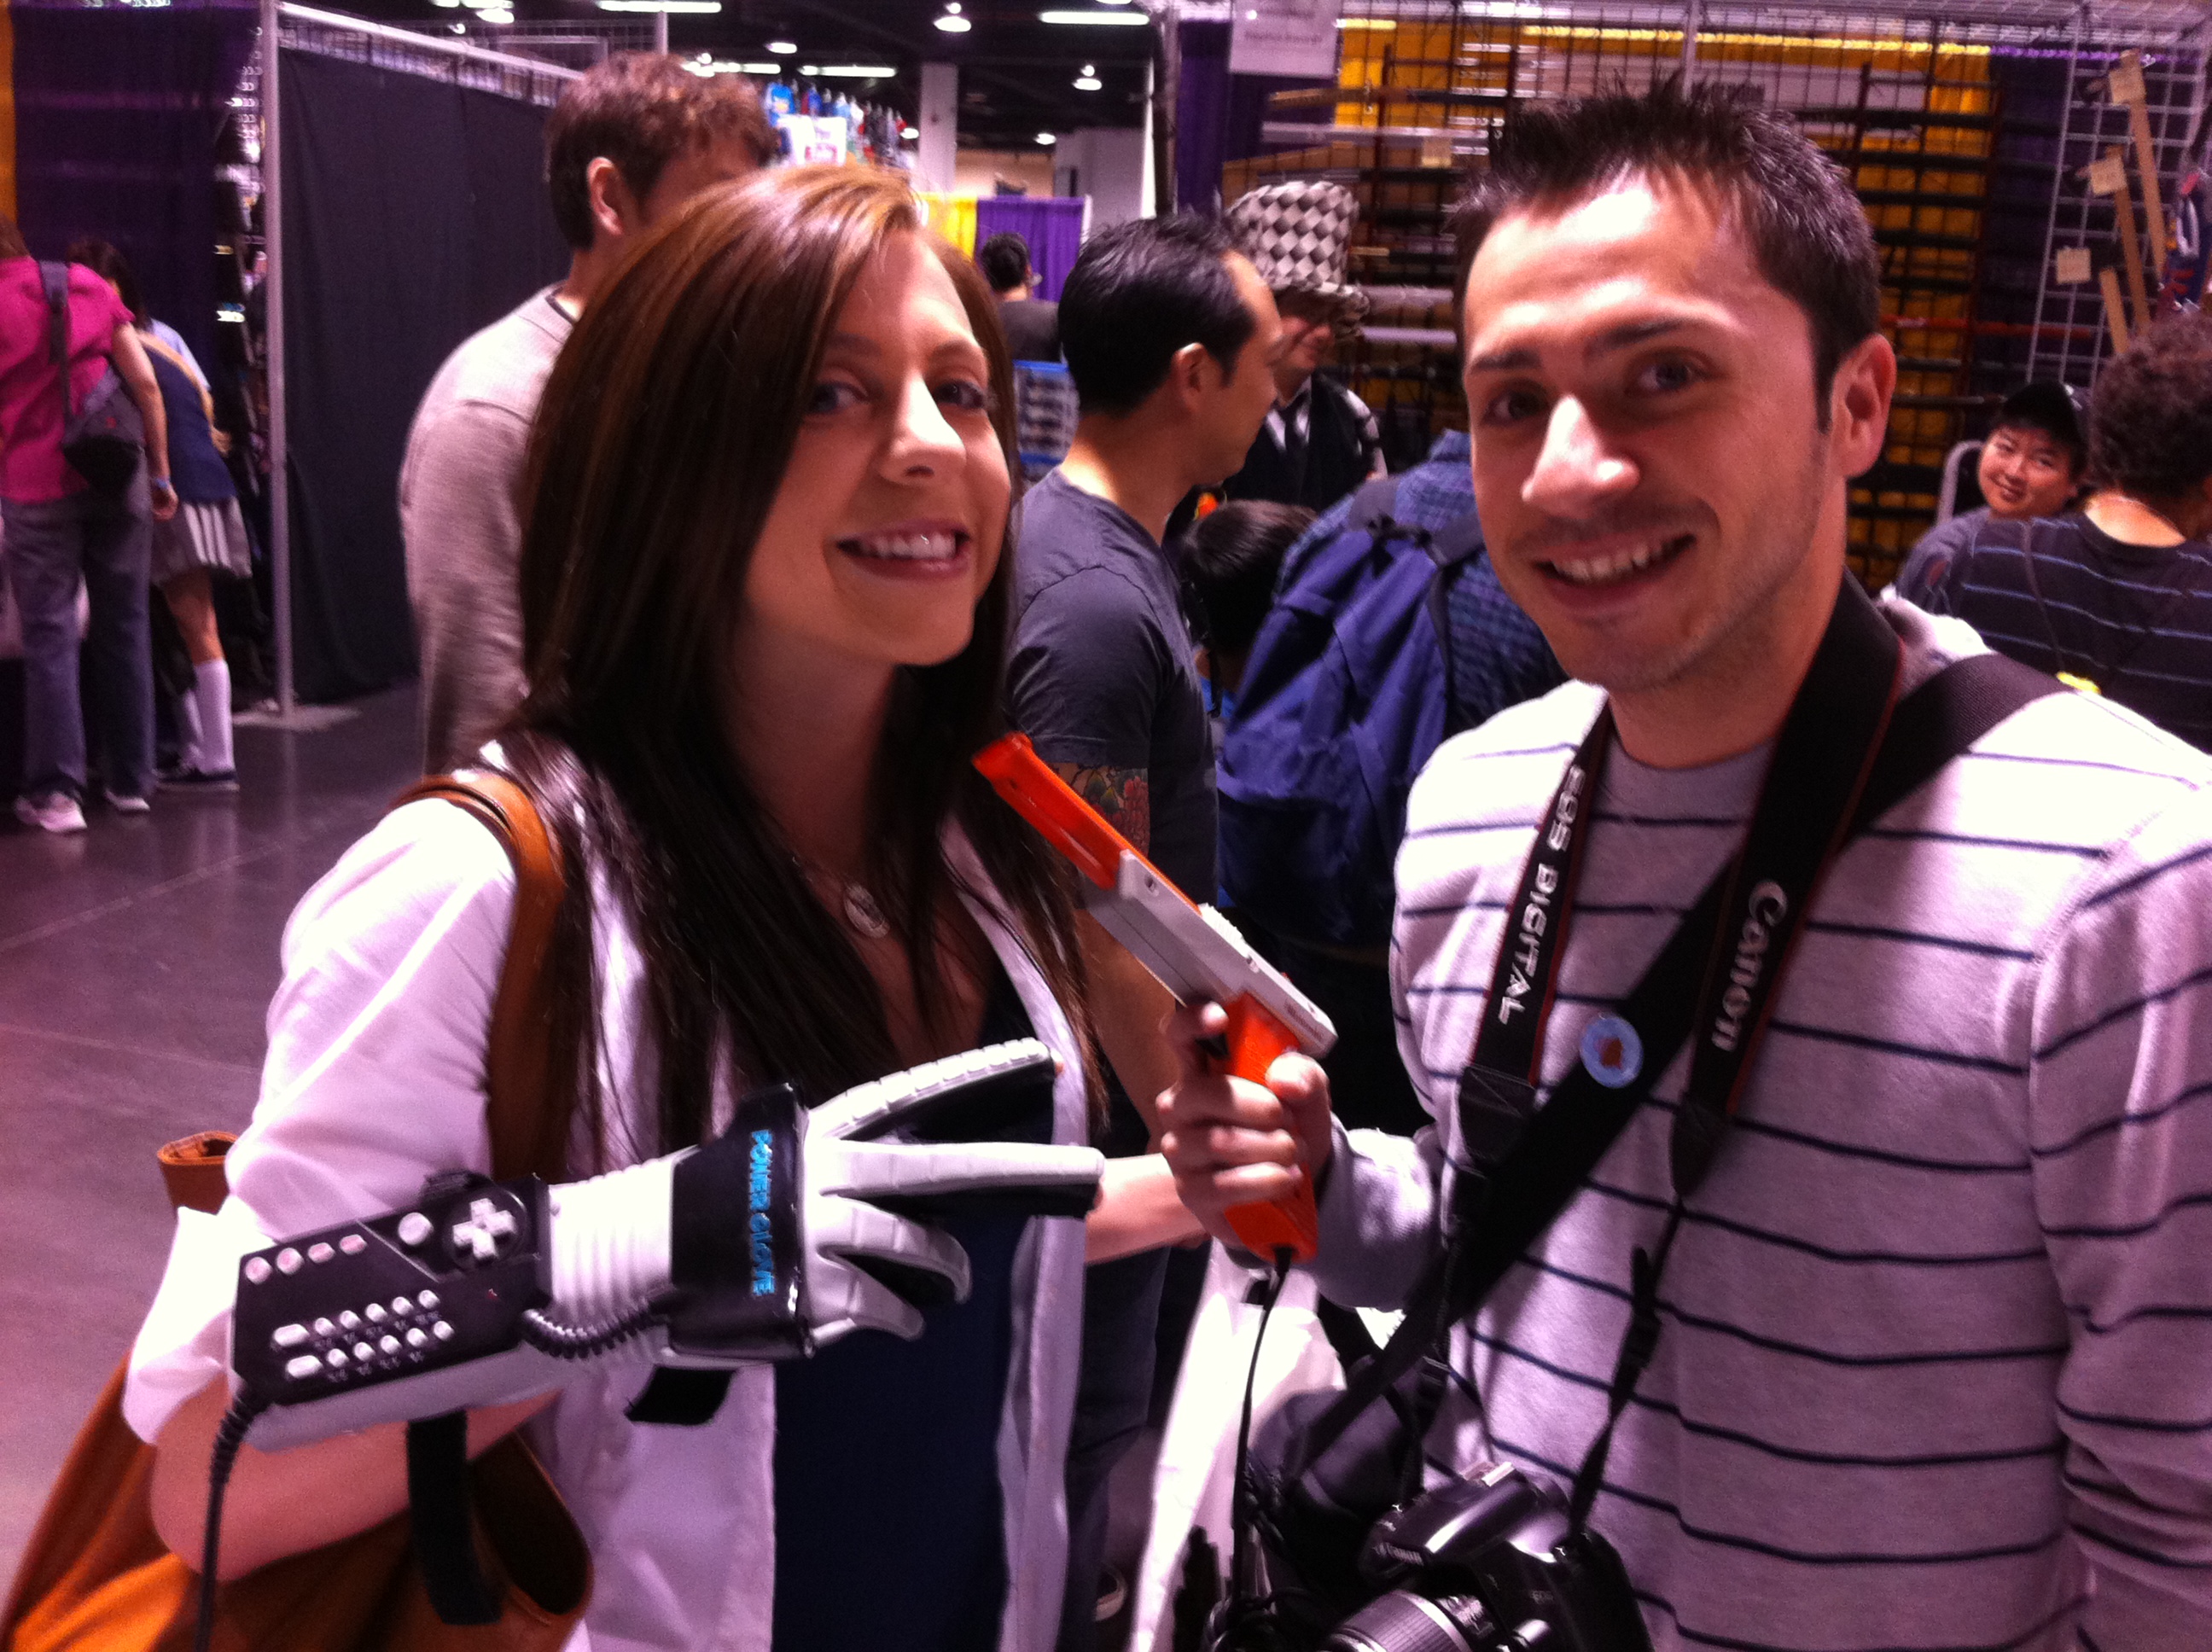
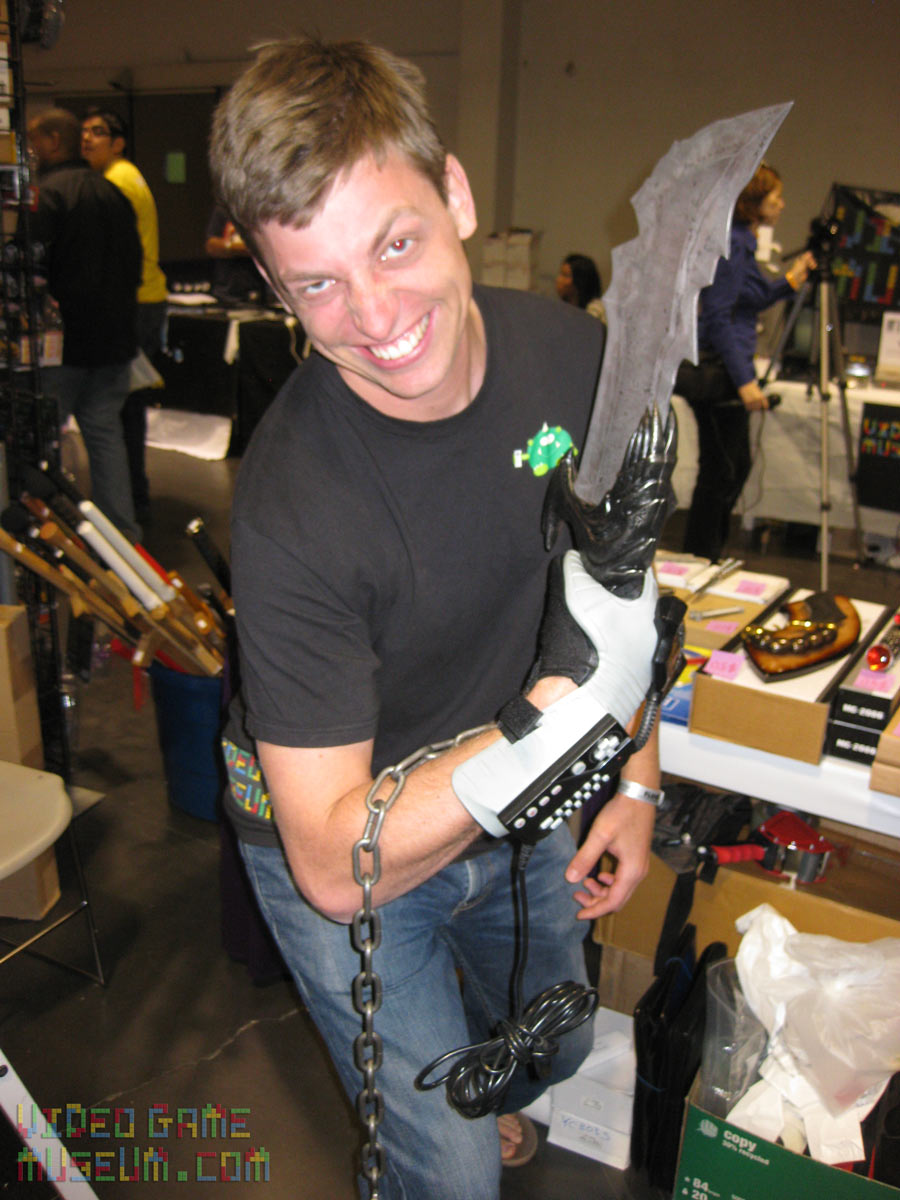
Let’s be honest, what situation isn’t improved by adding a NES Zapper or Power Glove?!
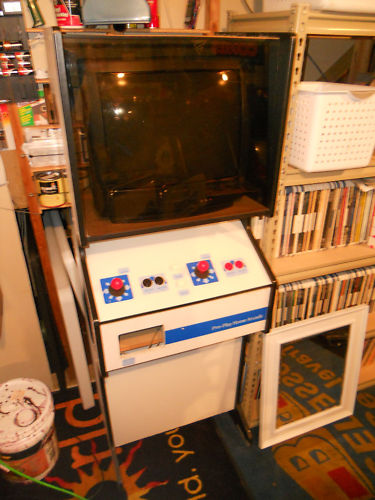
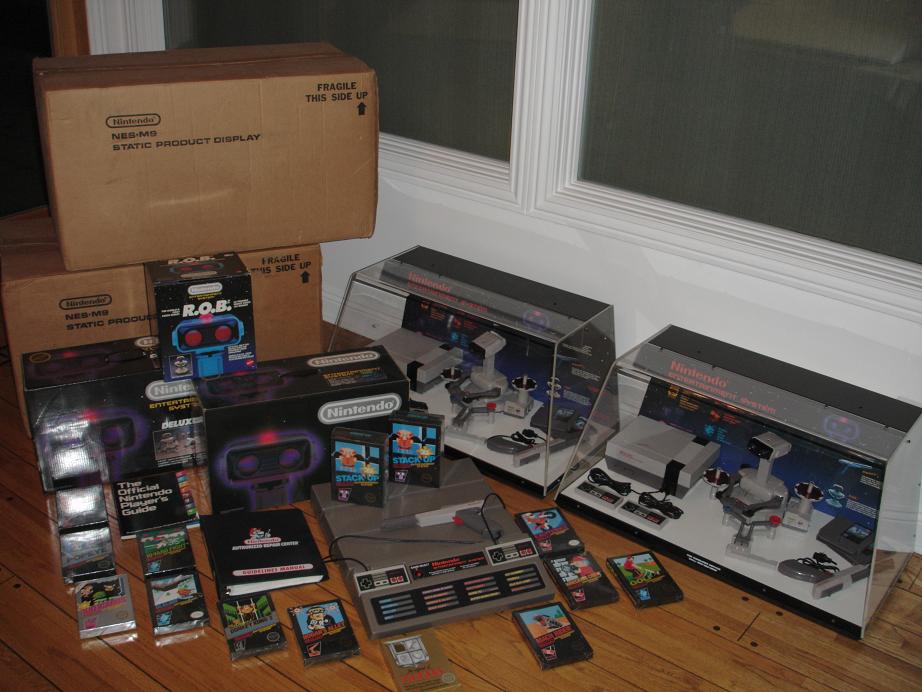
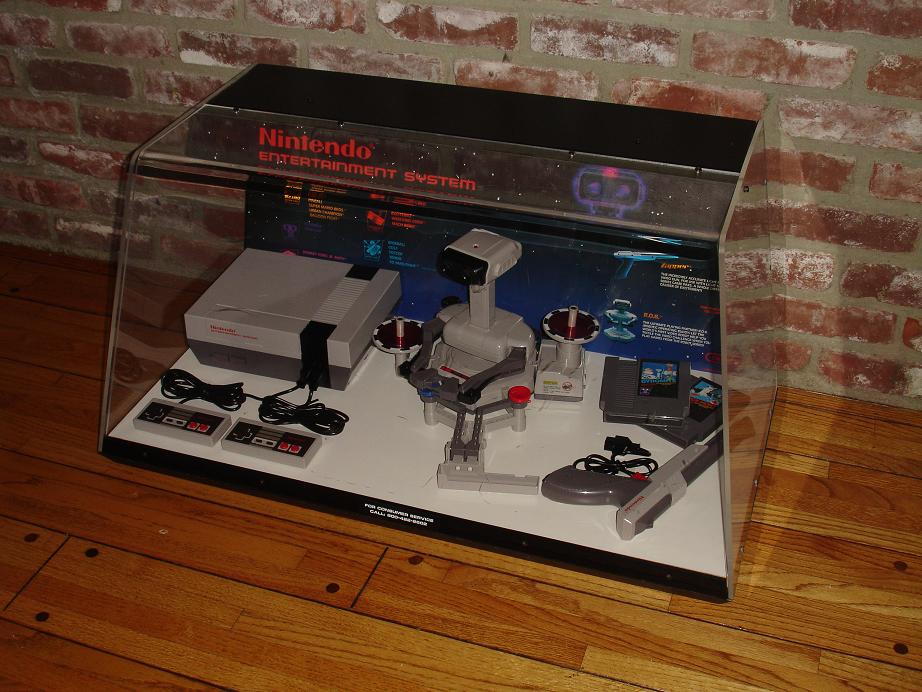
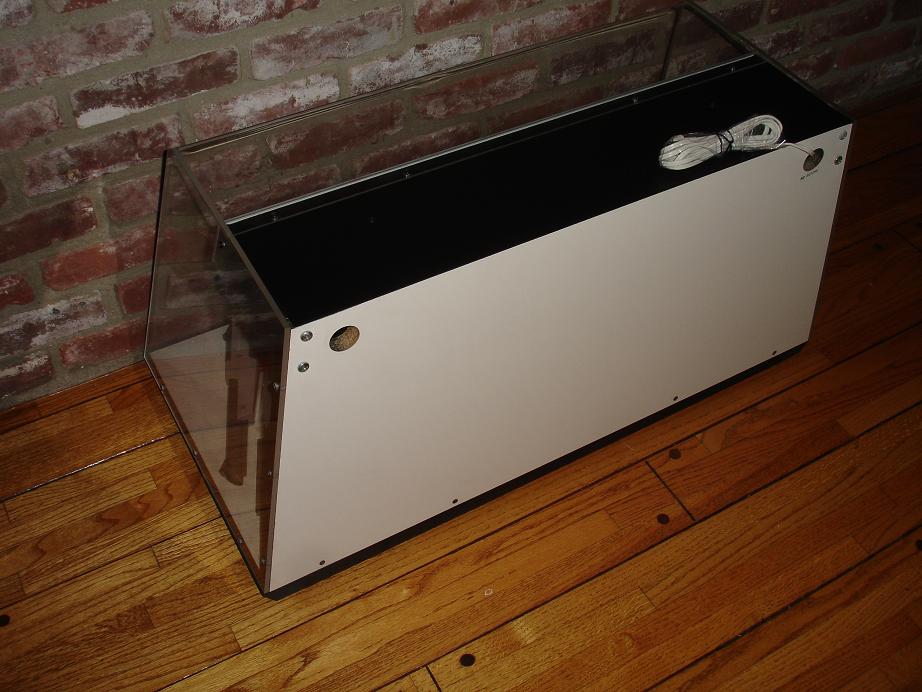
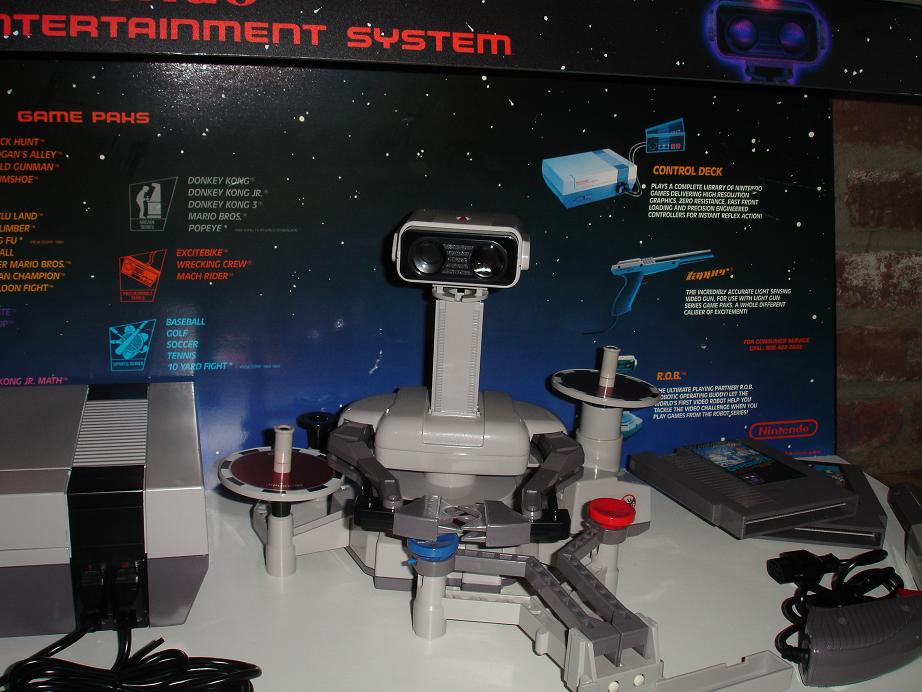
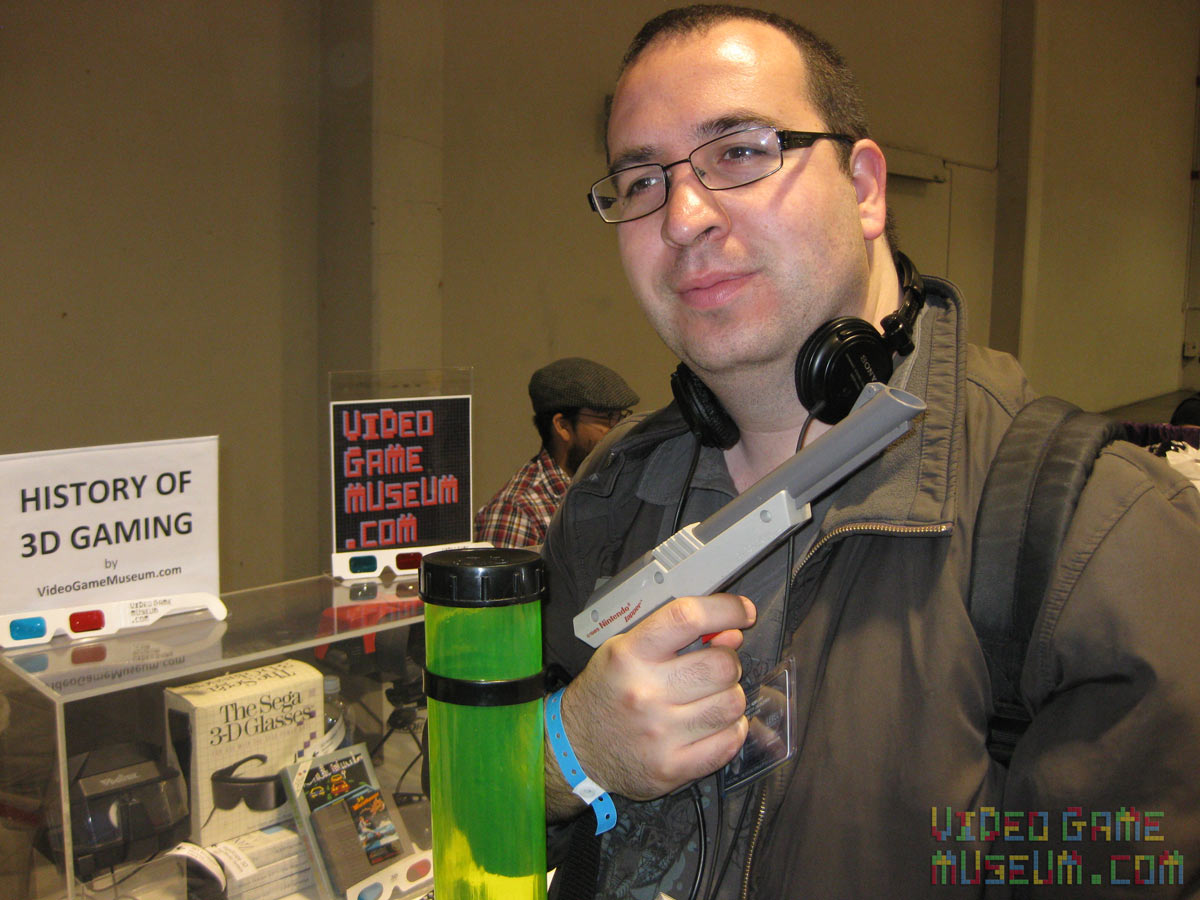
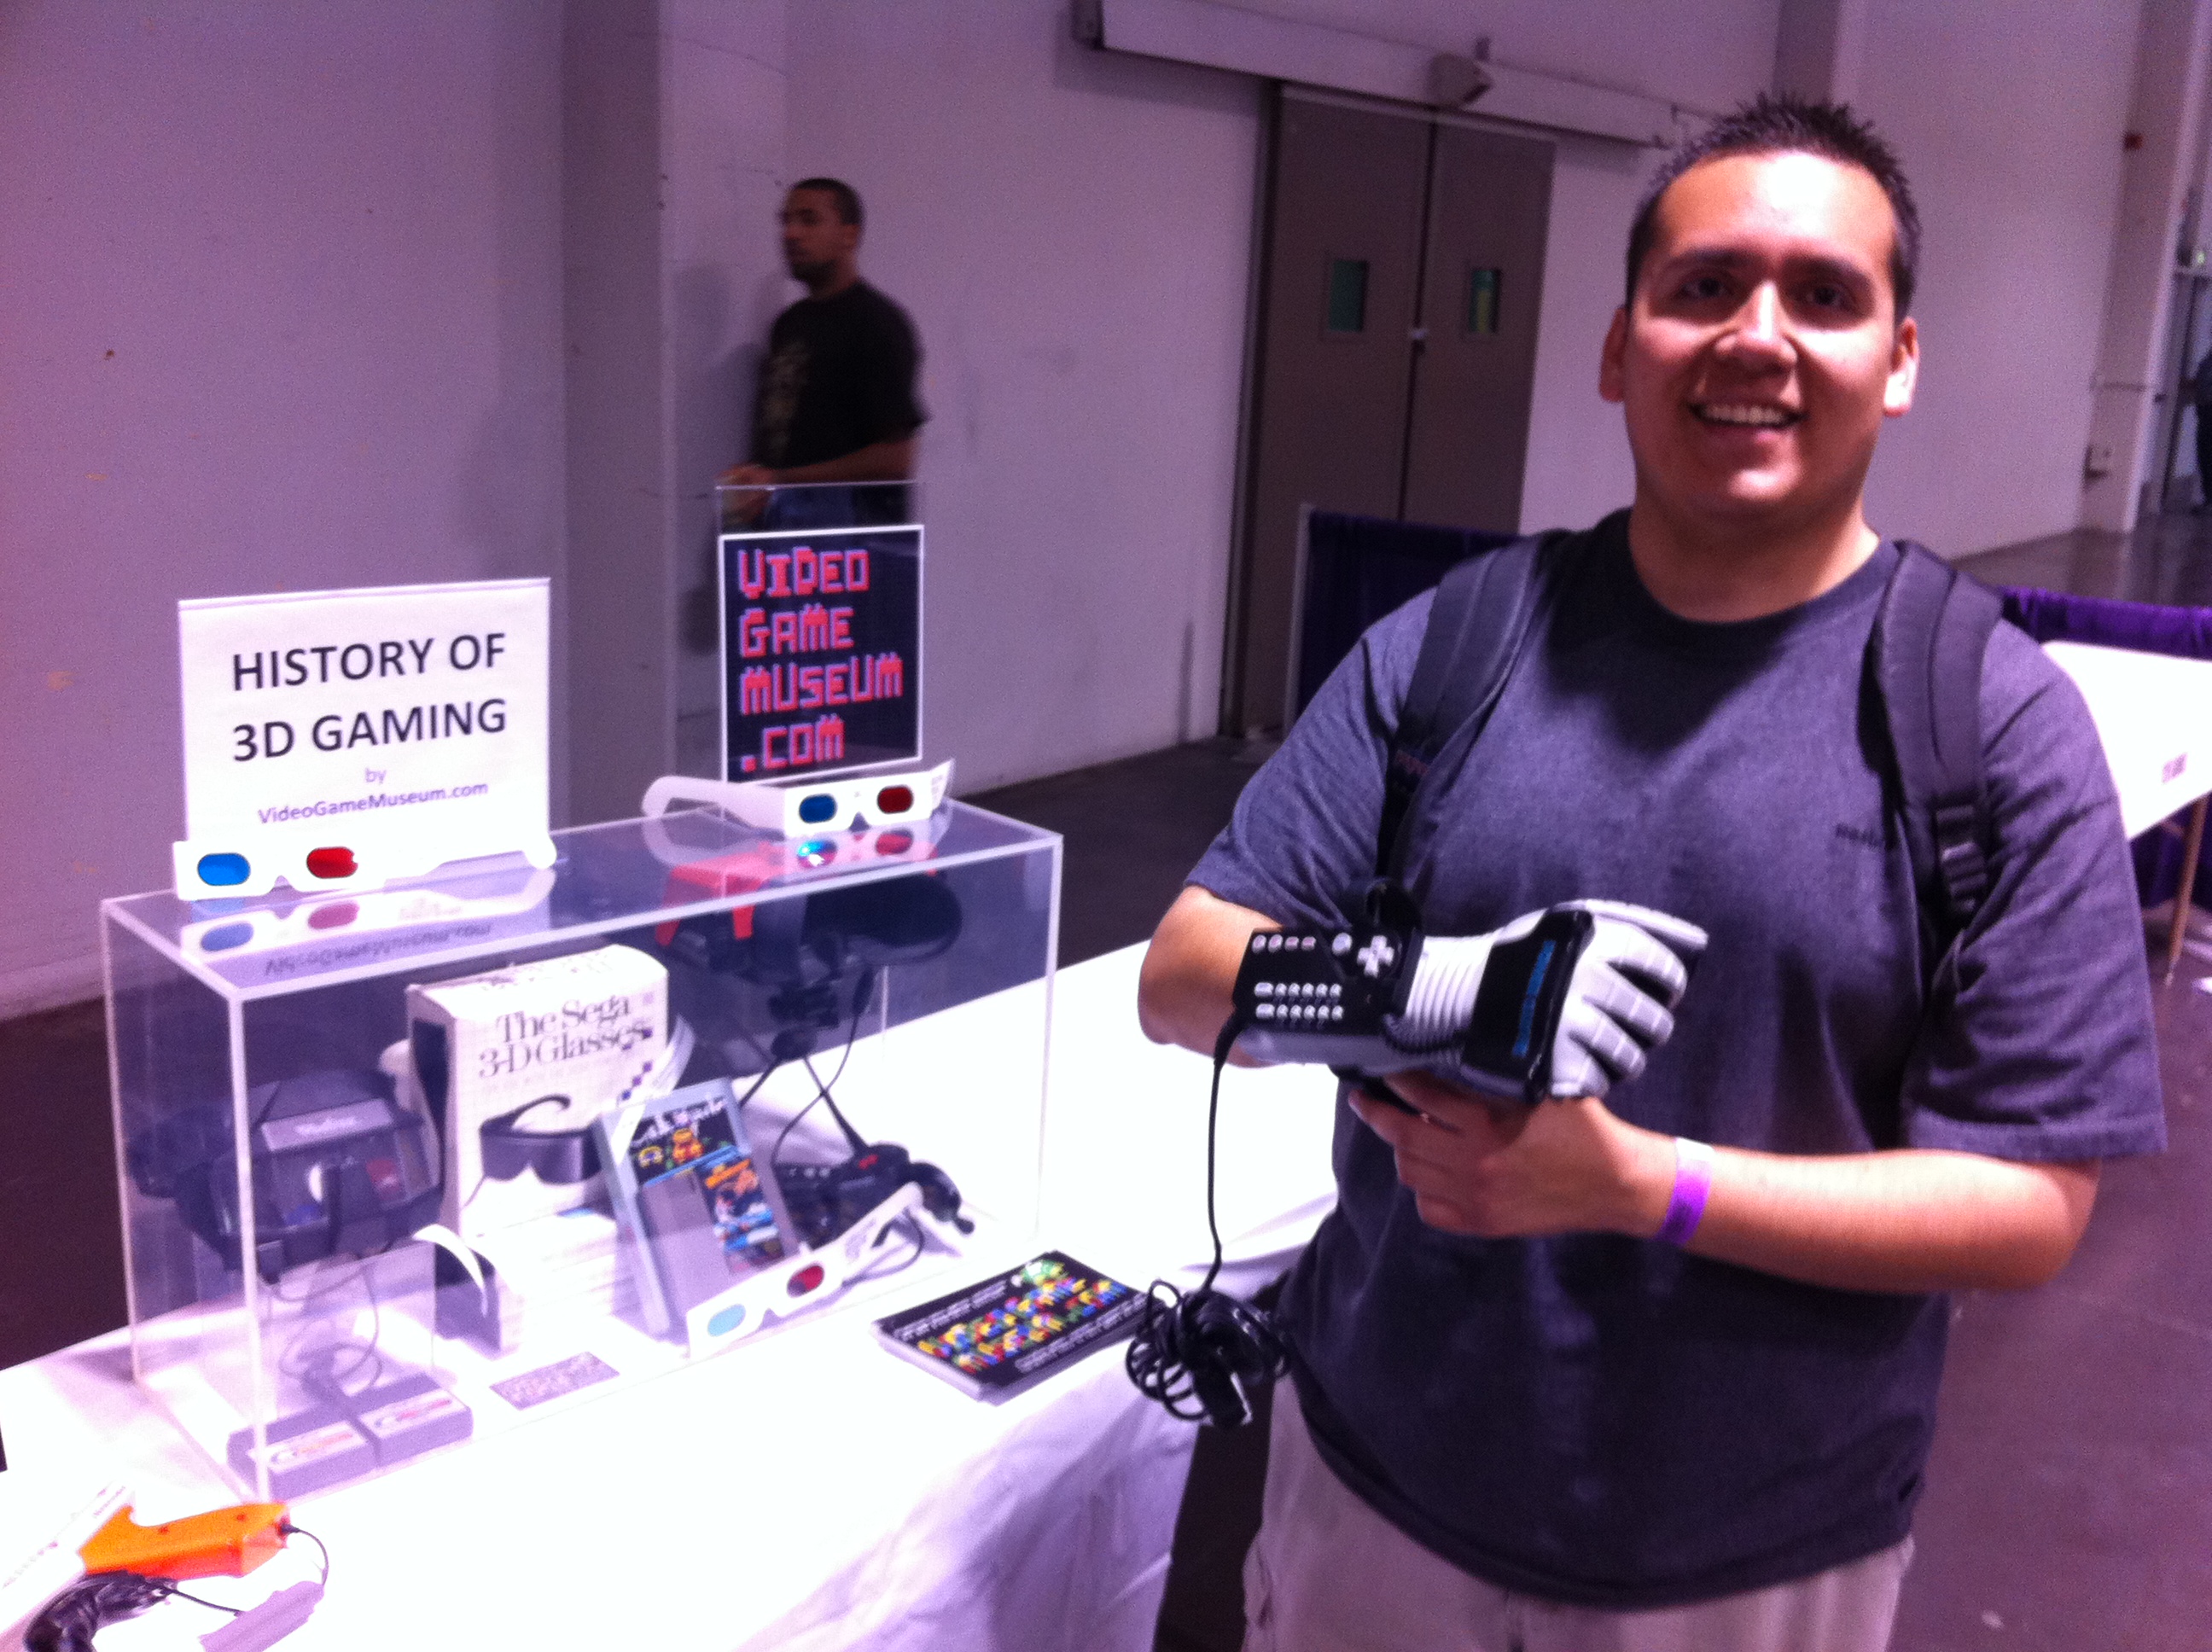
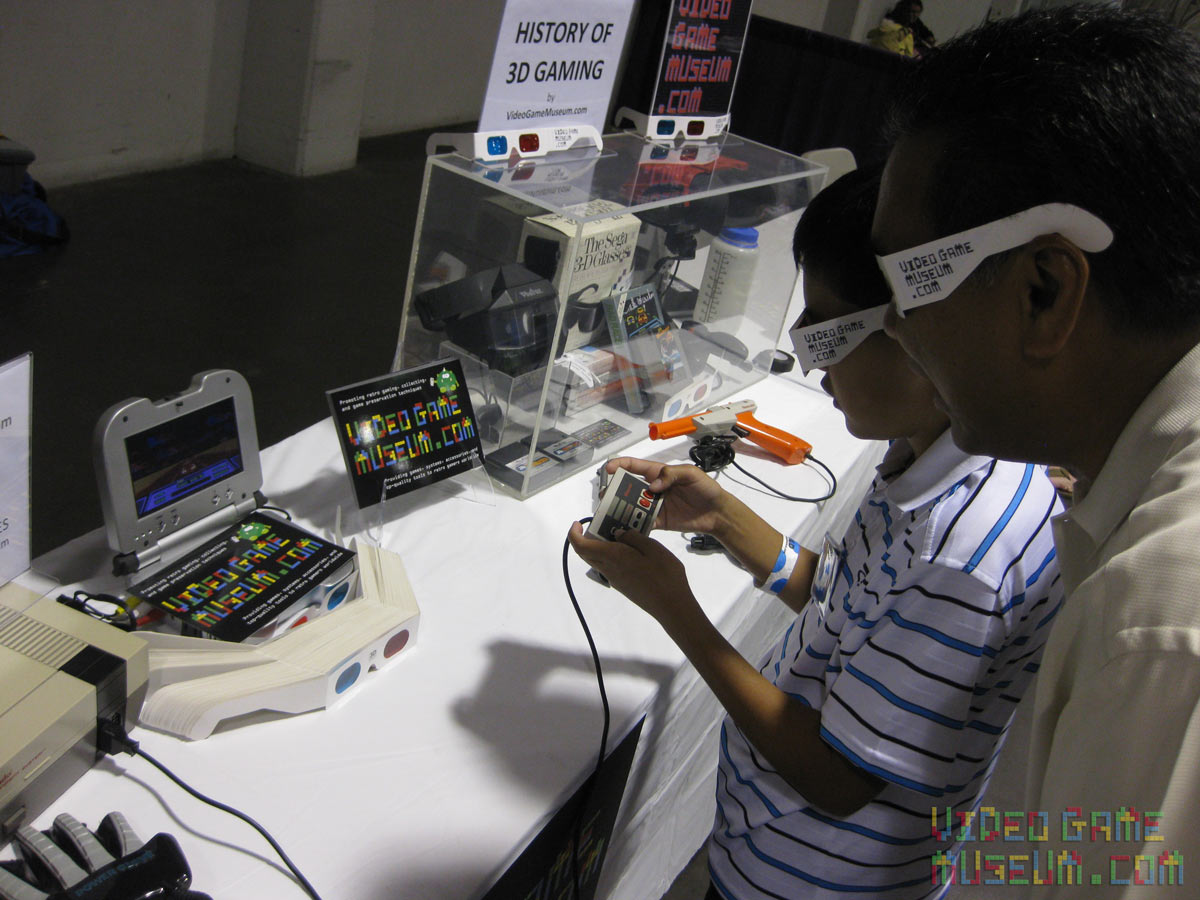
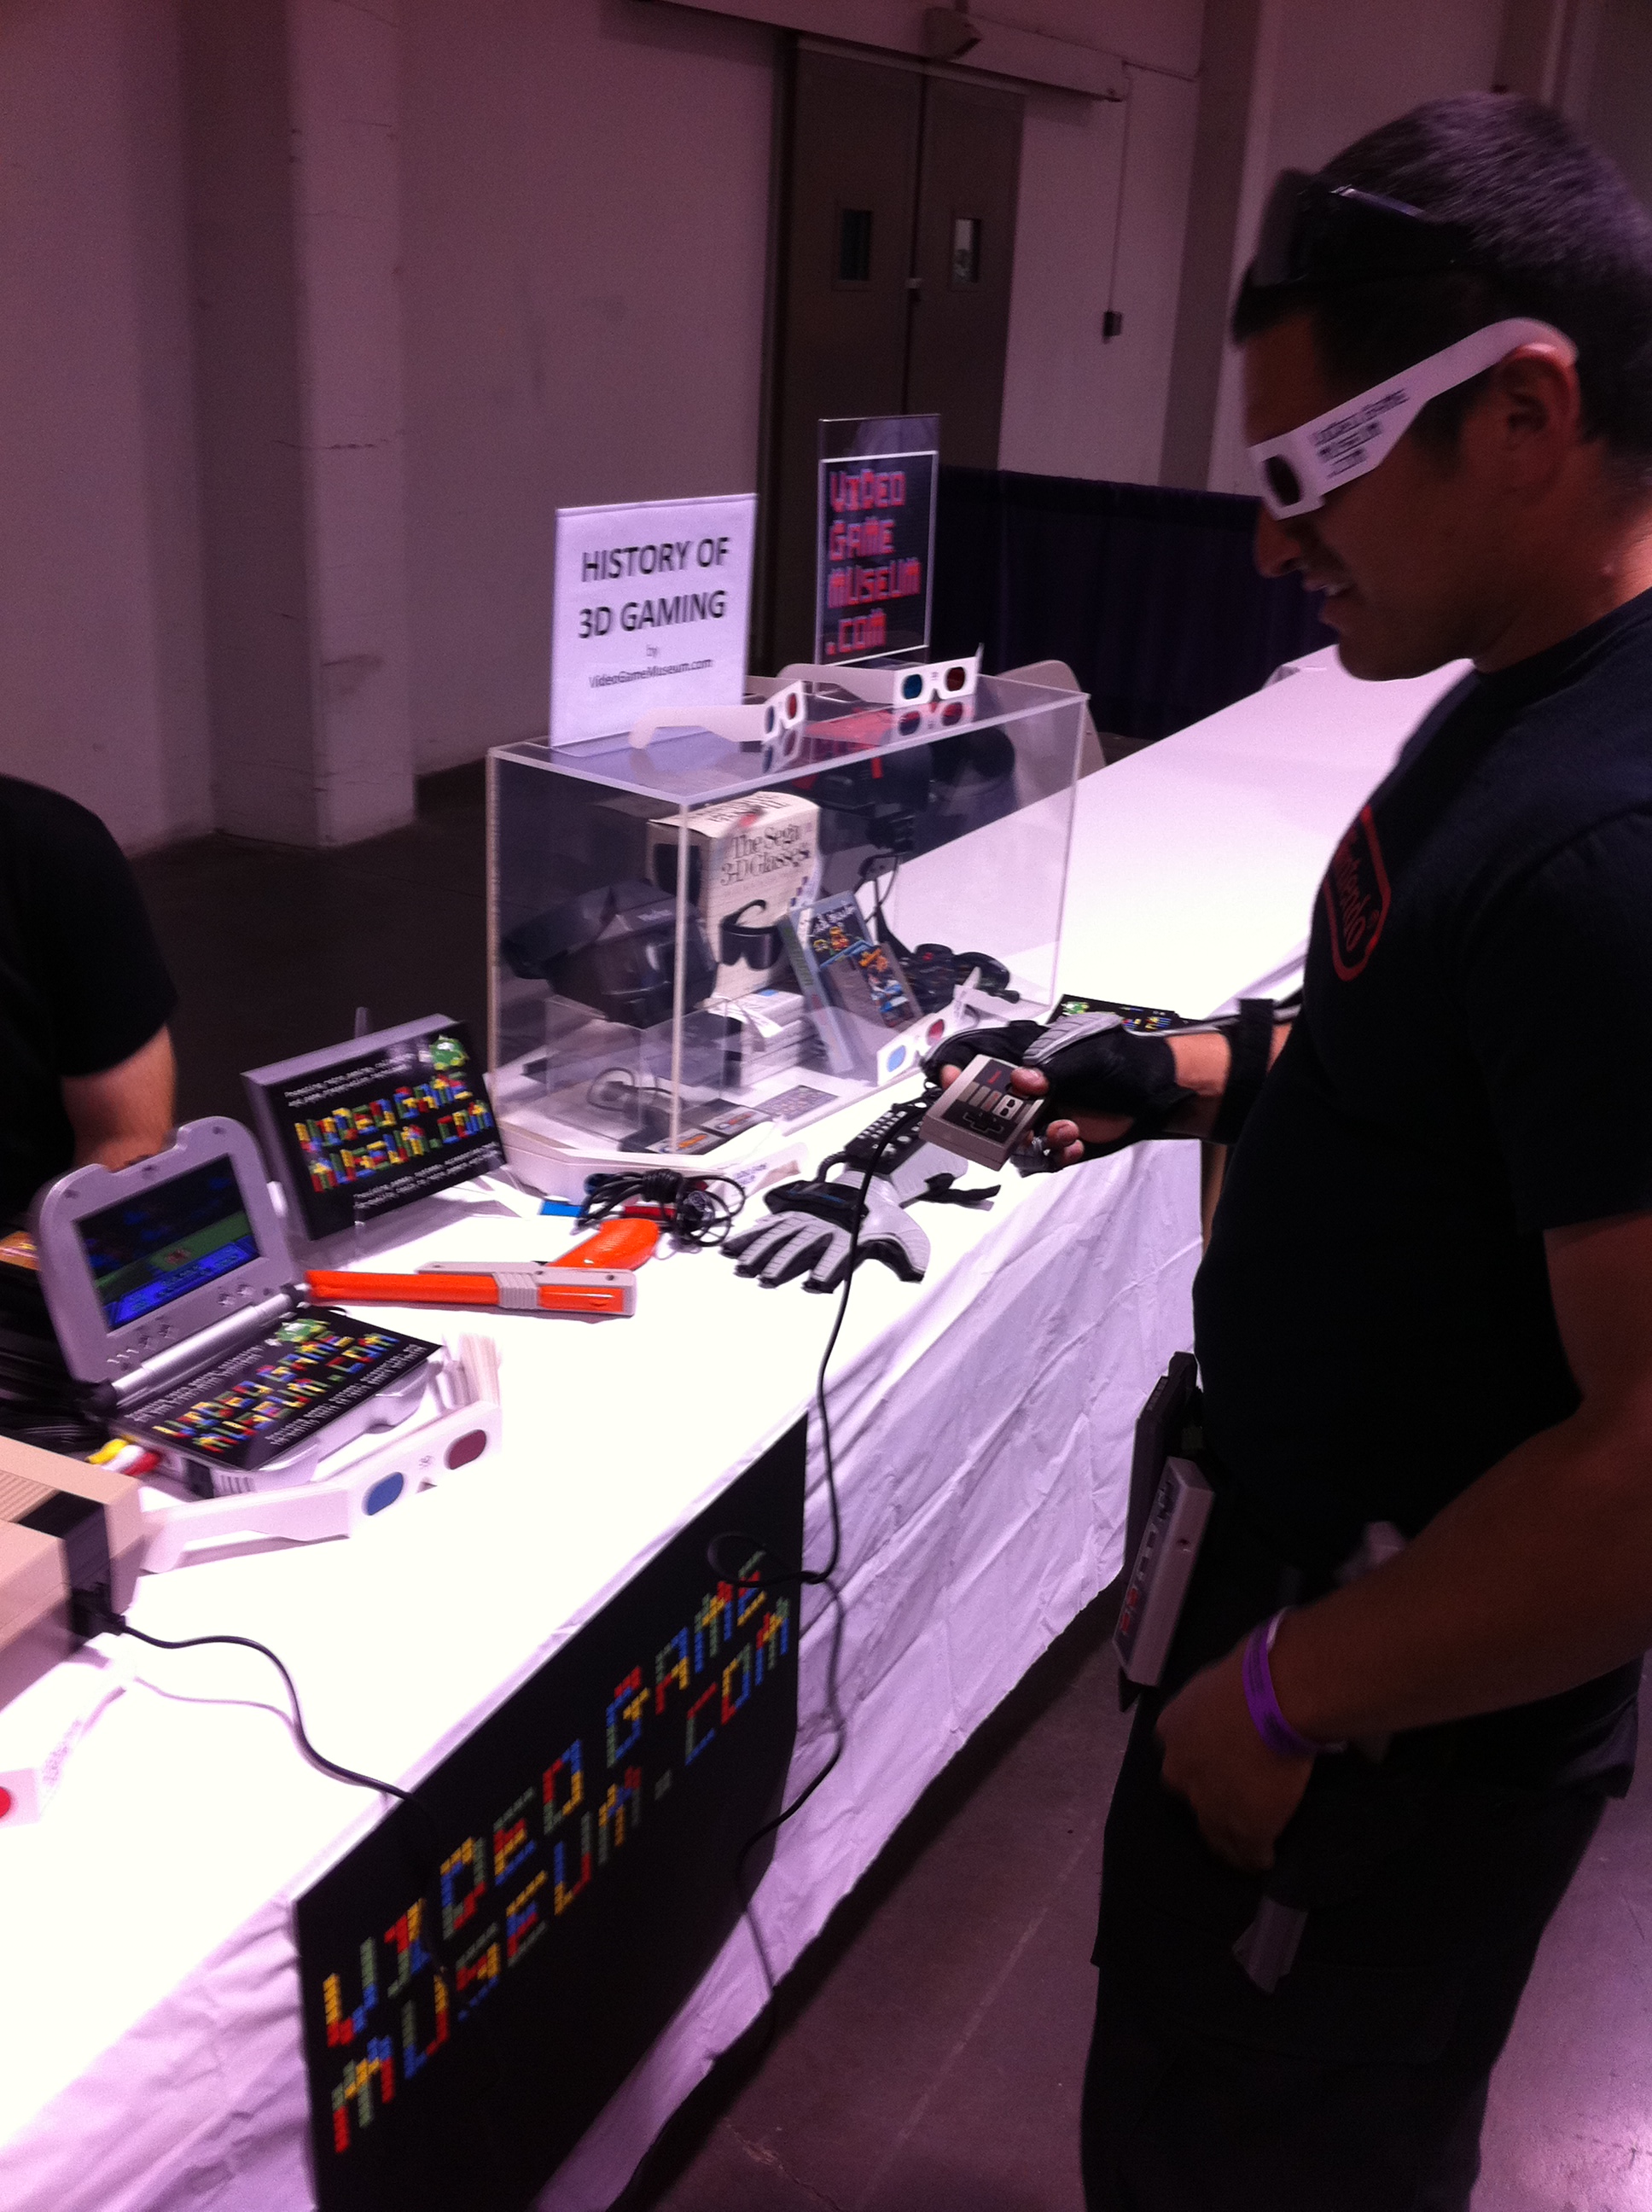
History of 3D Gaming Video Game Museum Display
")
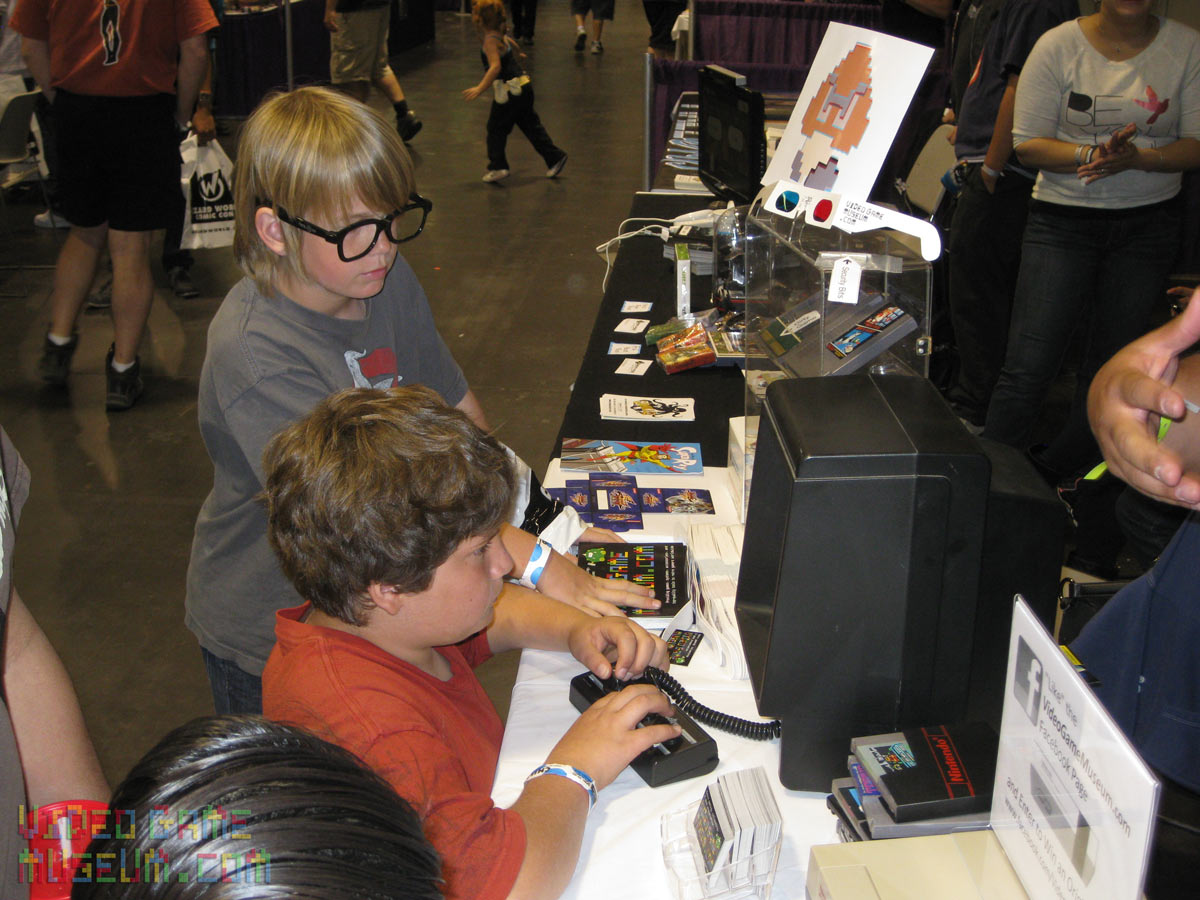
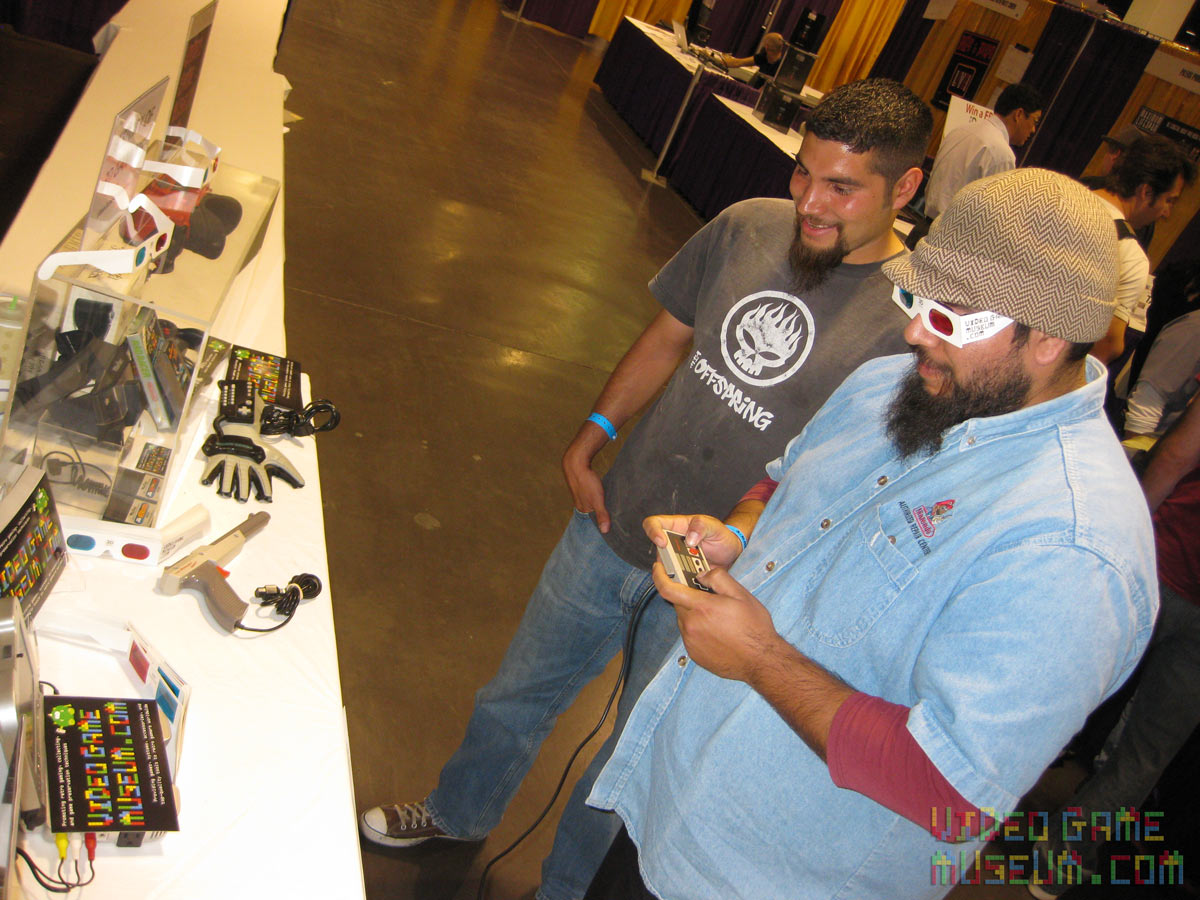
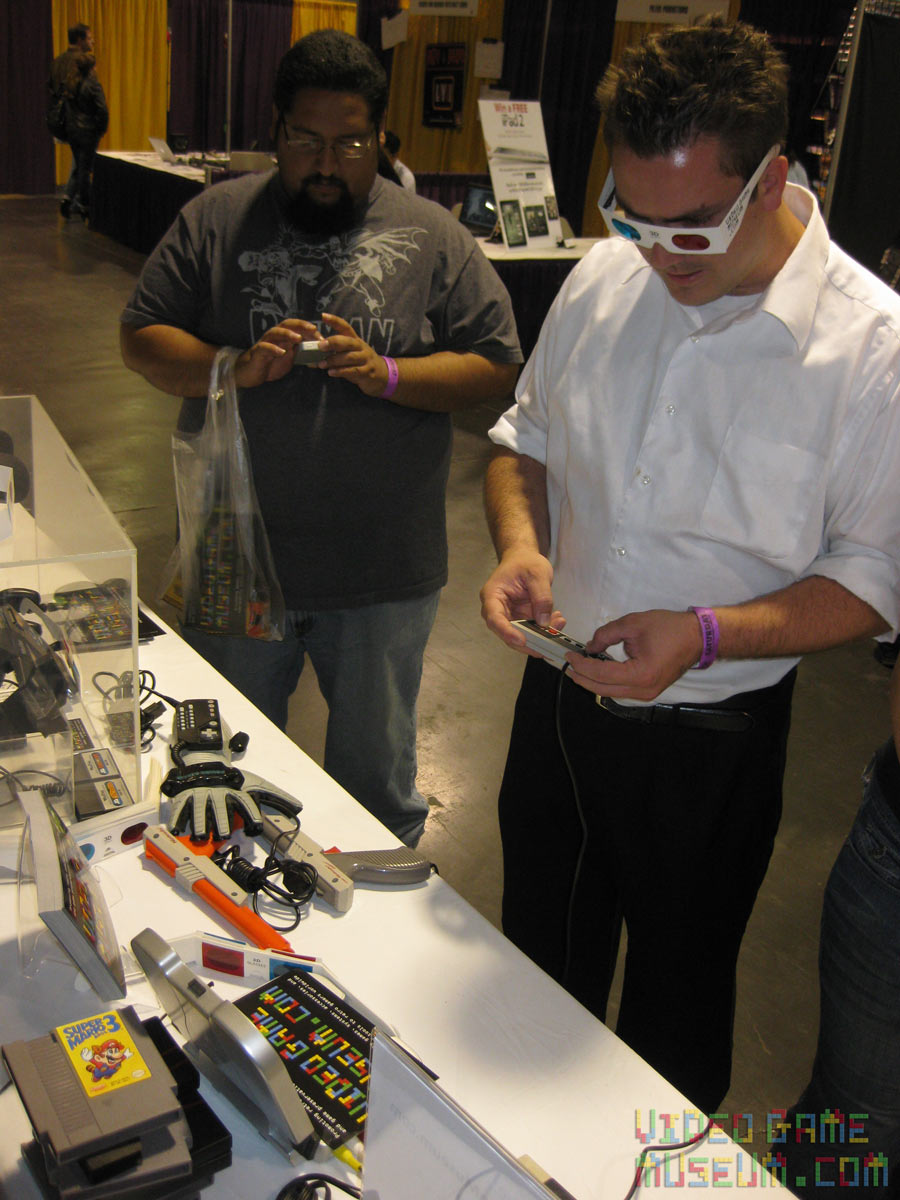
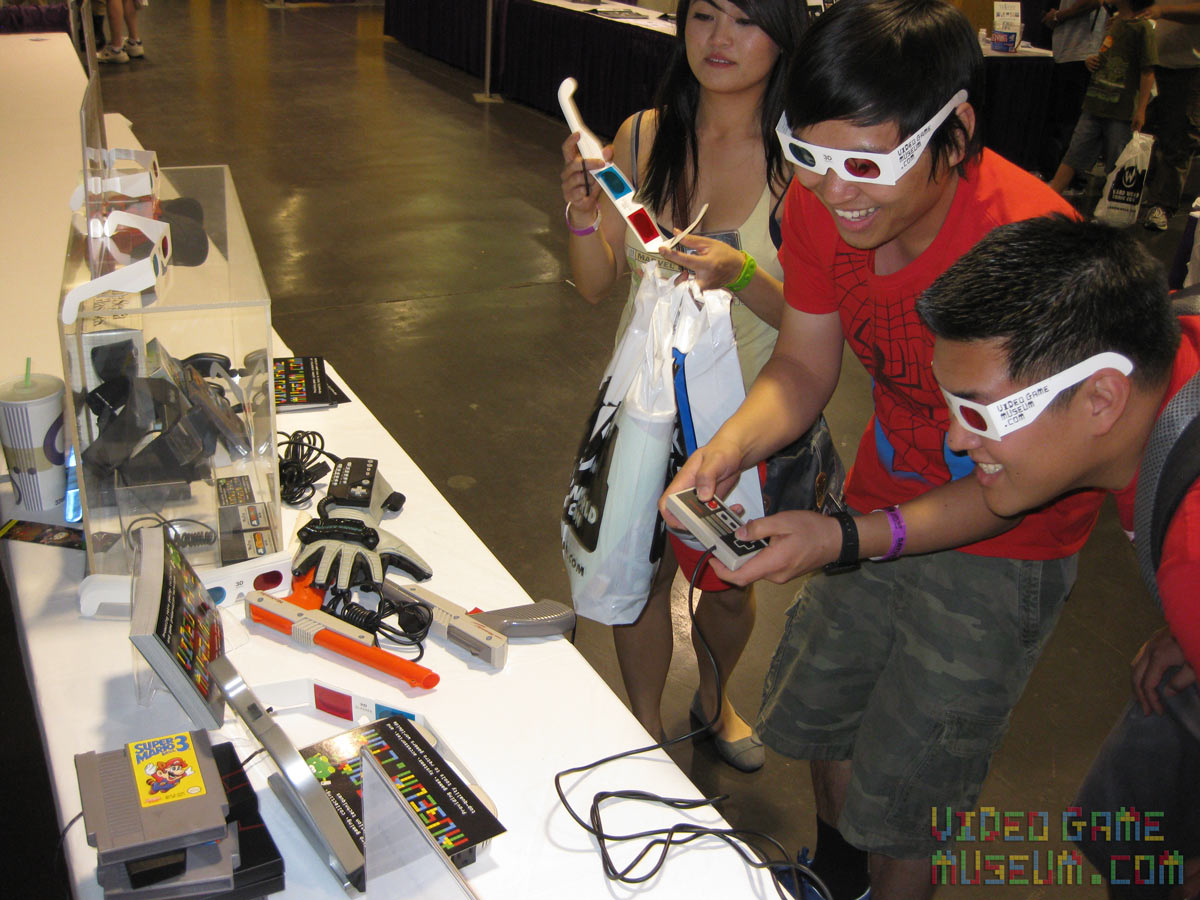
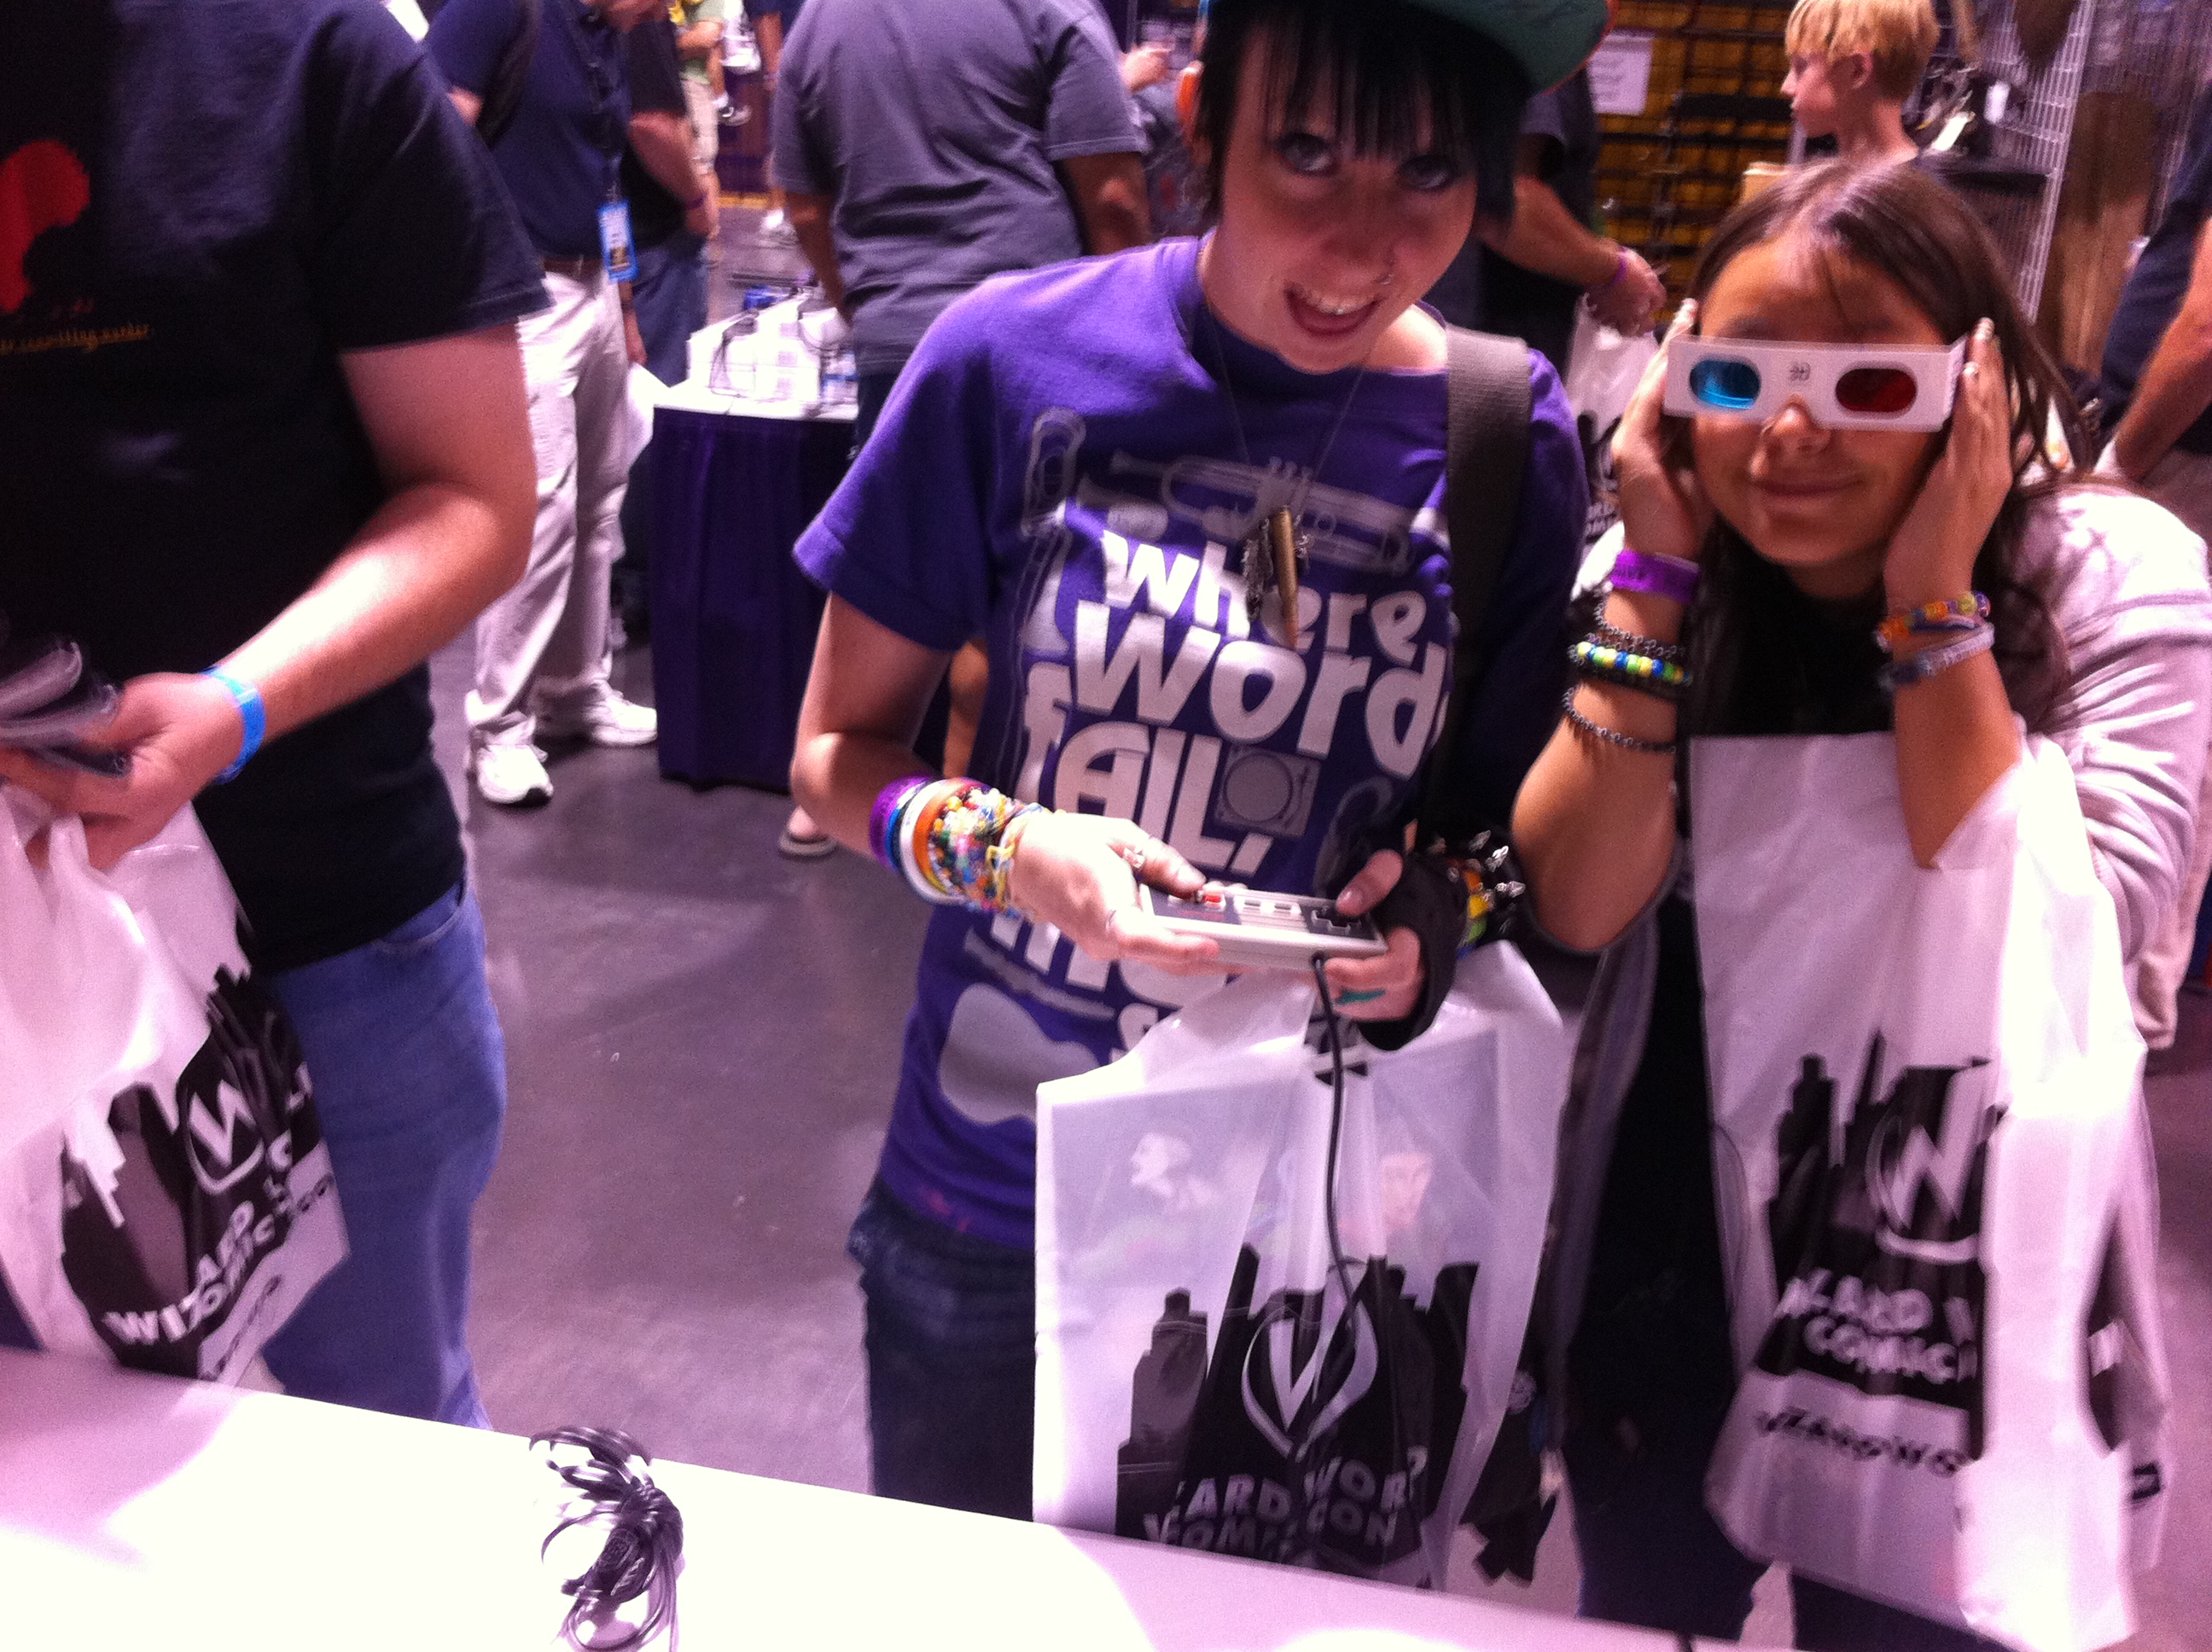
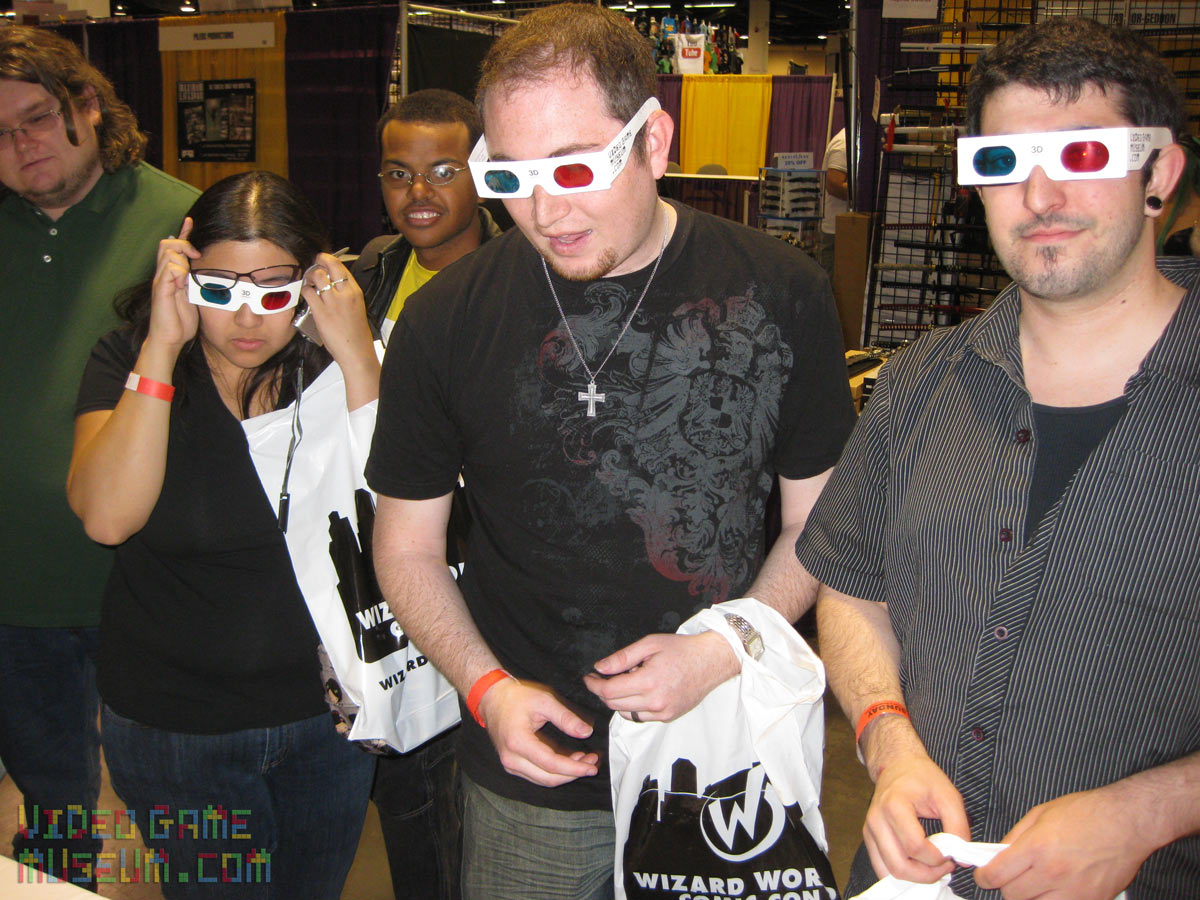
It was pretty great to watch people interact with the systems (NES & Vectrex) we had set up for free play. Given our 3D gaming display, we wanted to give people the opportunity to have a 1987 3D gaming experience. Thus, we gave out anaglyph 3D glasses (red & blue) and had people try Rad Racer in 3D mode. Just as when we were kids, people at the booth were underwhelmed with the game’s 3D mode. Maybe about 1/20 people actually thought it even looked 3D. Probably 3/4 reported getting a headache immediately. We more or less knew that would be the reaction going, and it made for a great conversation piece, and it demonstrated how far we’ve come in gaming technology since 1987.
Whenever people mentioned that they had one of the 3D items as a kid, I’d also try to ask them what they thought of it back in the day. After all, it’s pretty easy to judge our past tech, by comparing it to our current tech. Things have come a long way now that we have a 3D capable PlayStation 3 and Nintenodo 3DS handheld on the market, but I was curious to find out what people though of it back in the day. I’ll try to post some of those pieces of feedback when I get a chance.
Retro Gaming Smiles
")
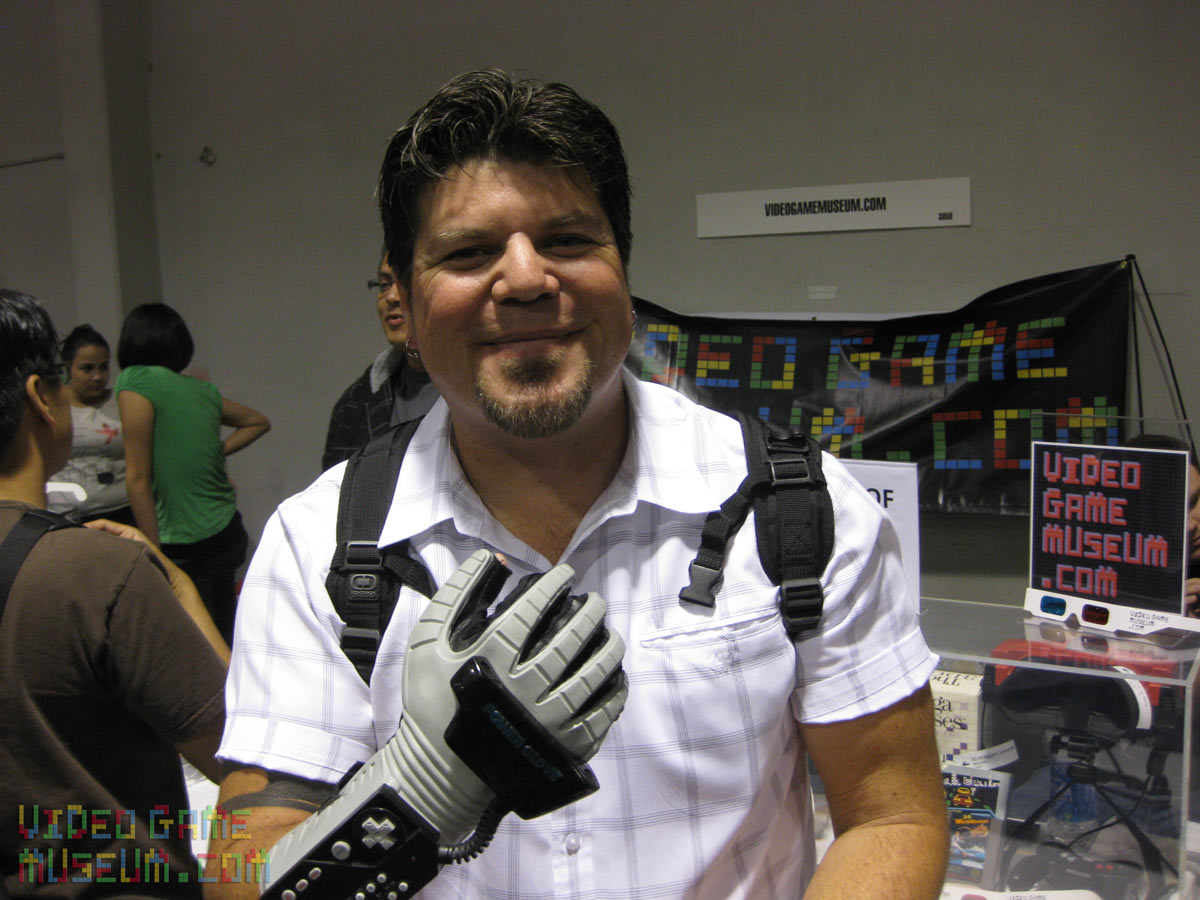
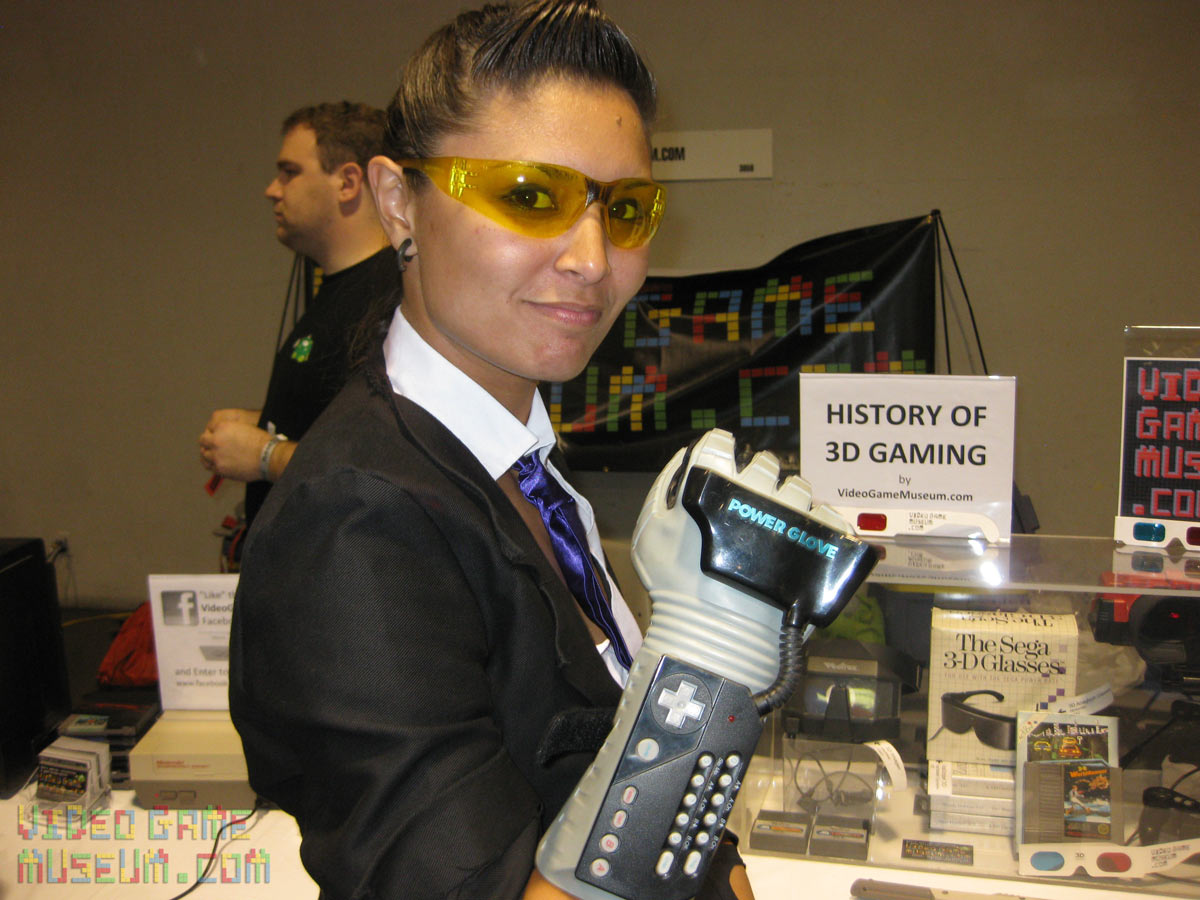
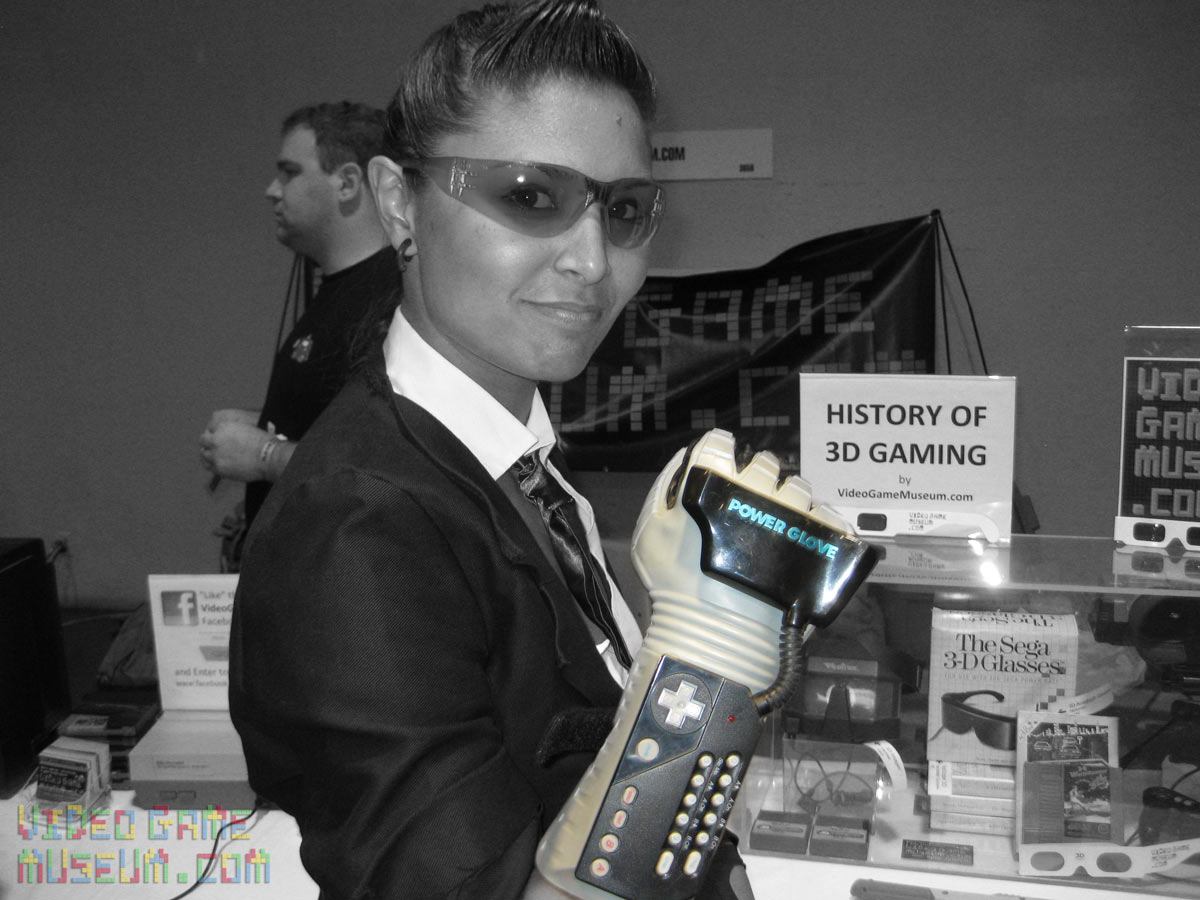
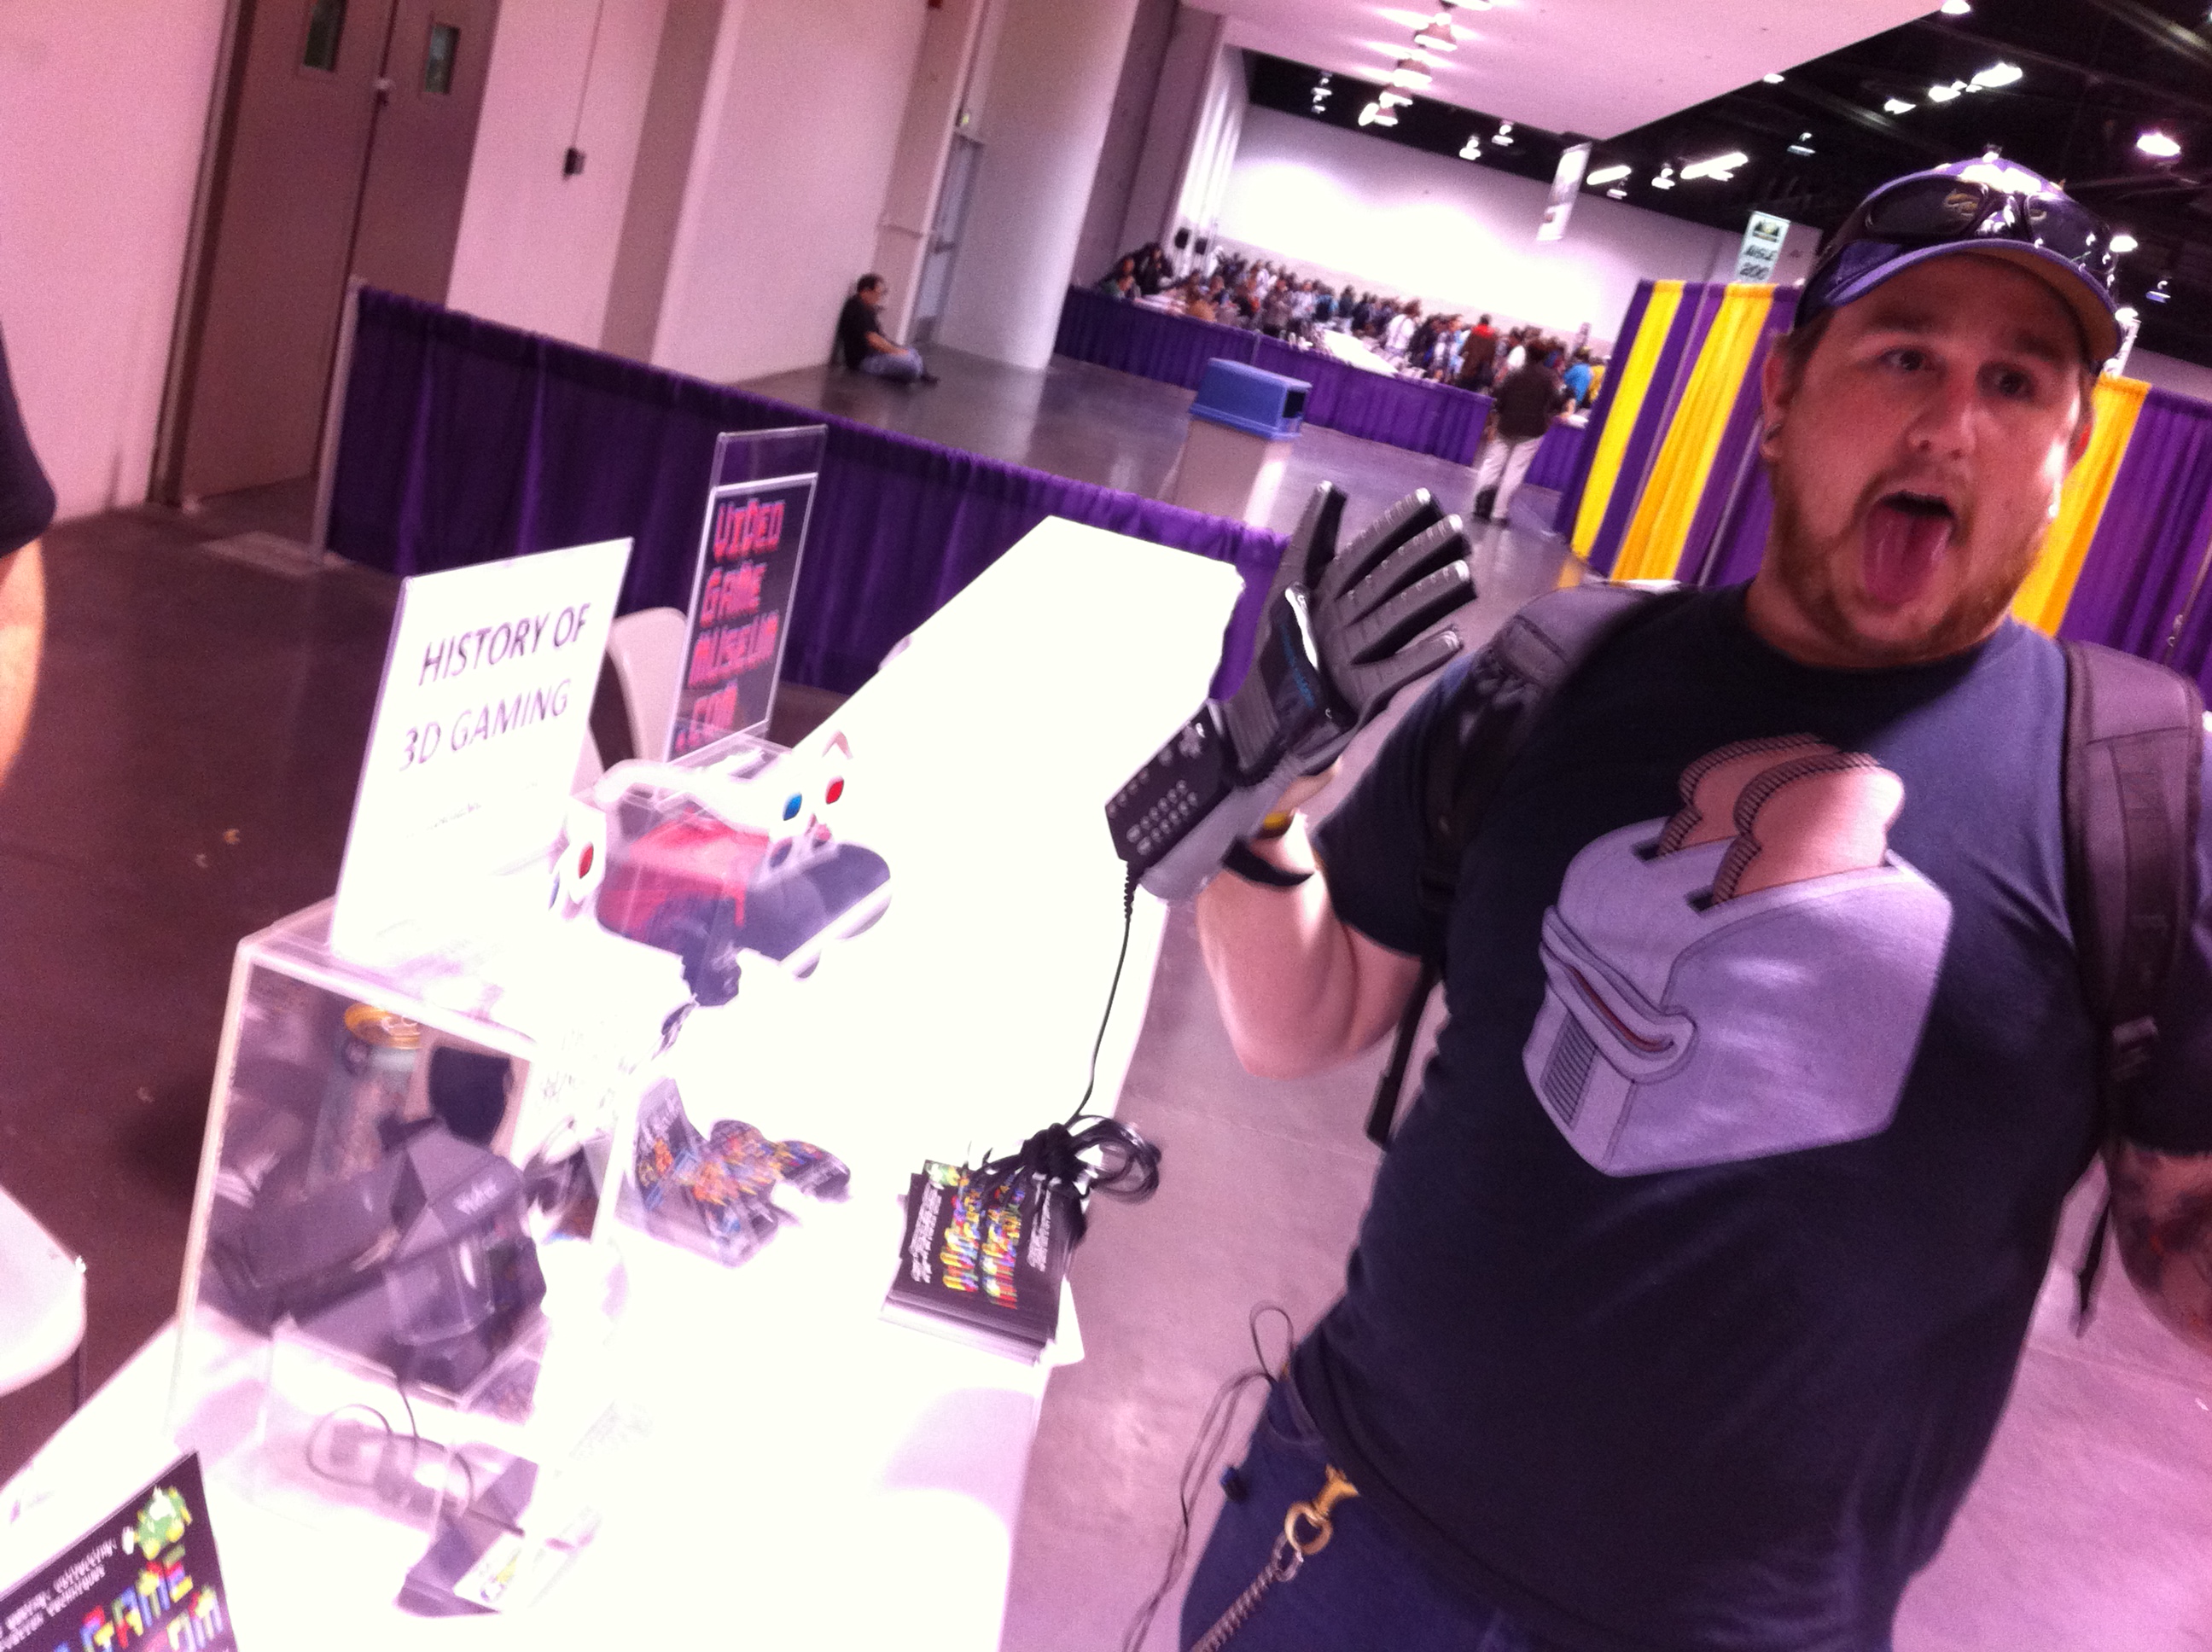
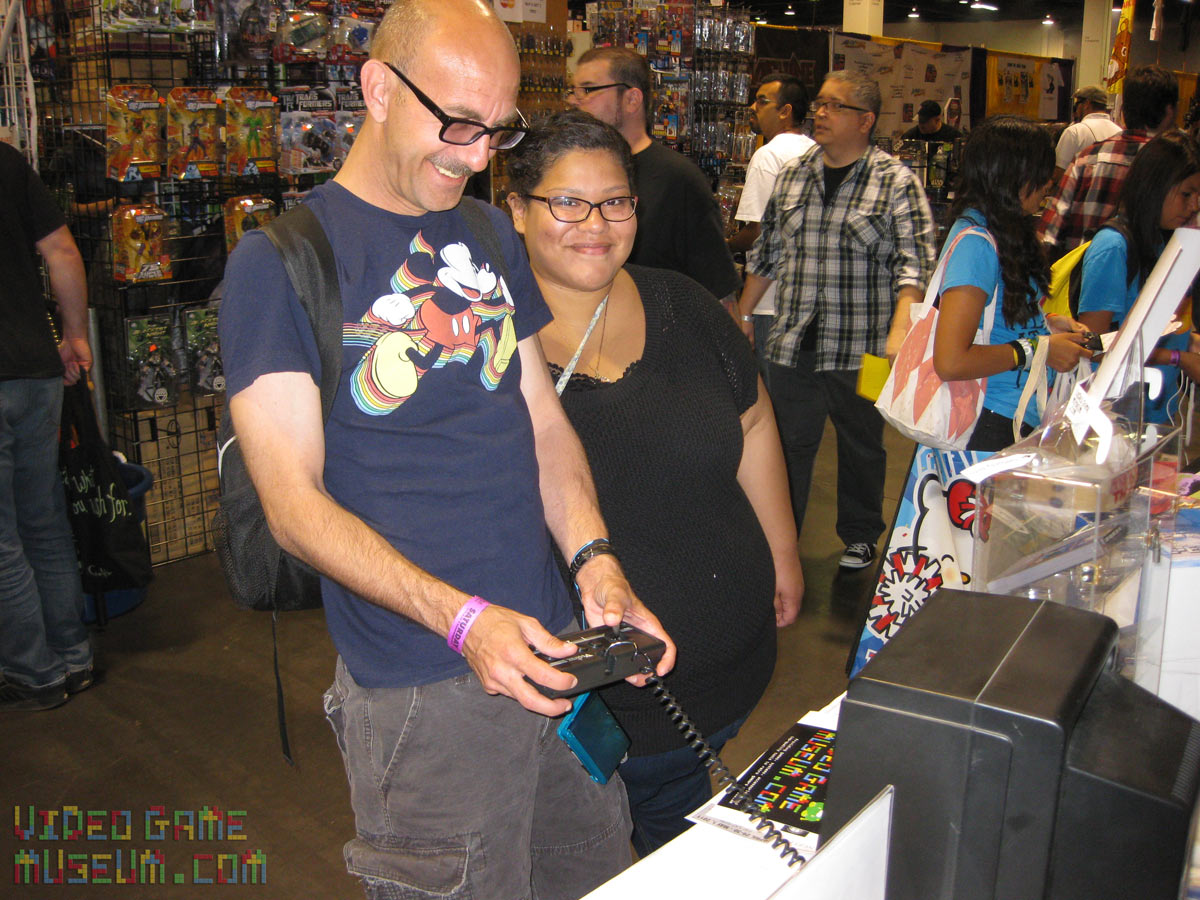
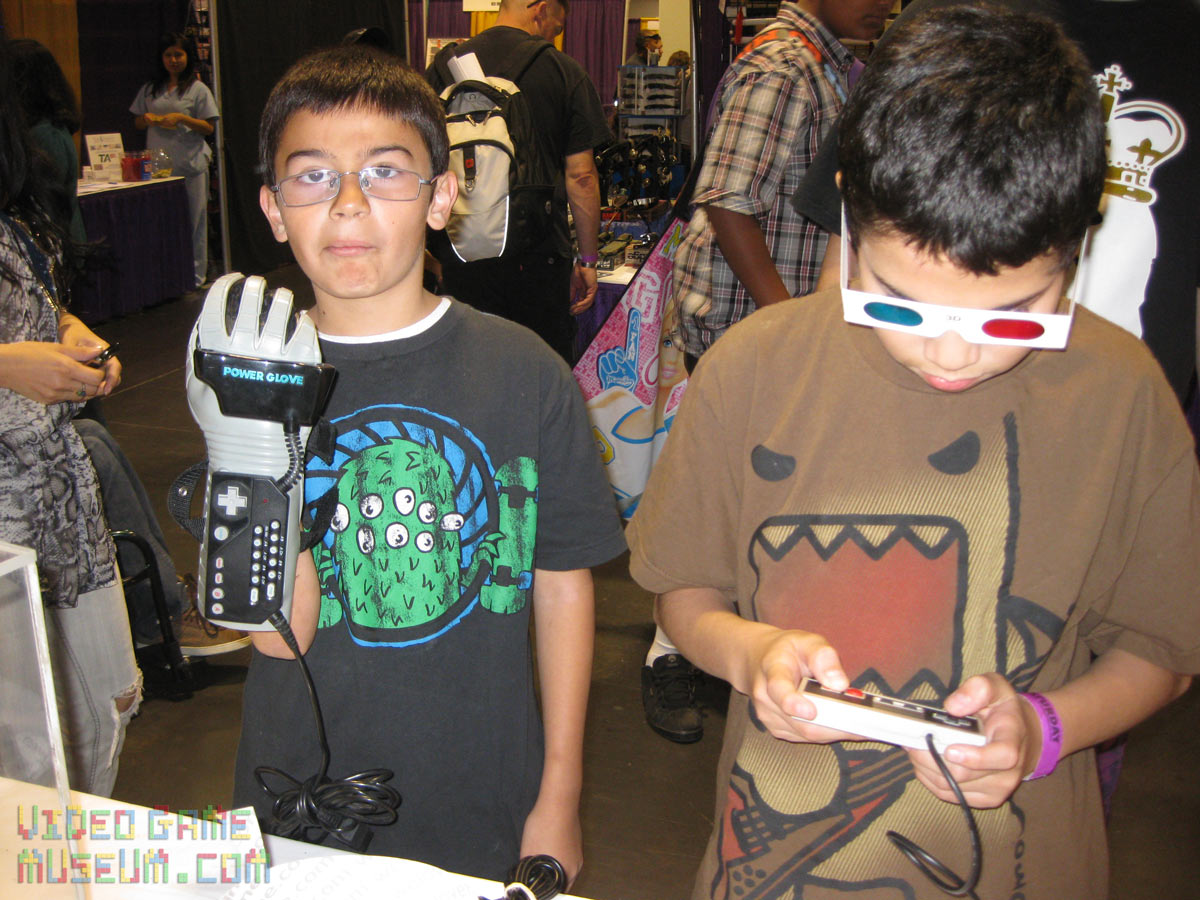
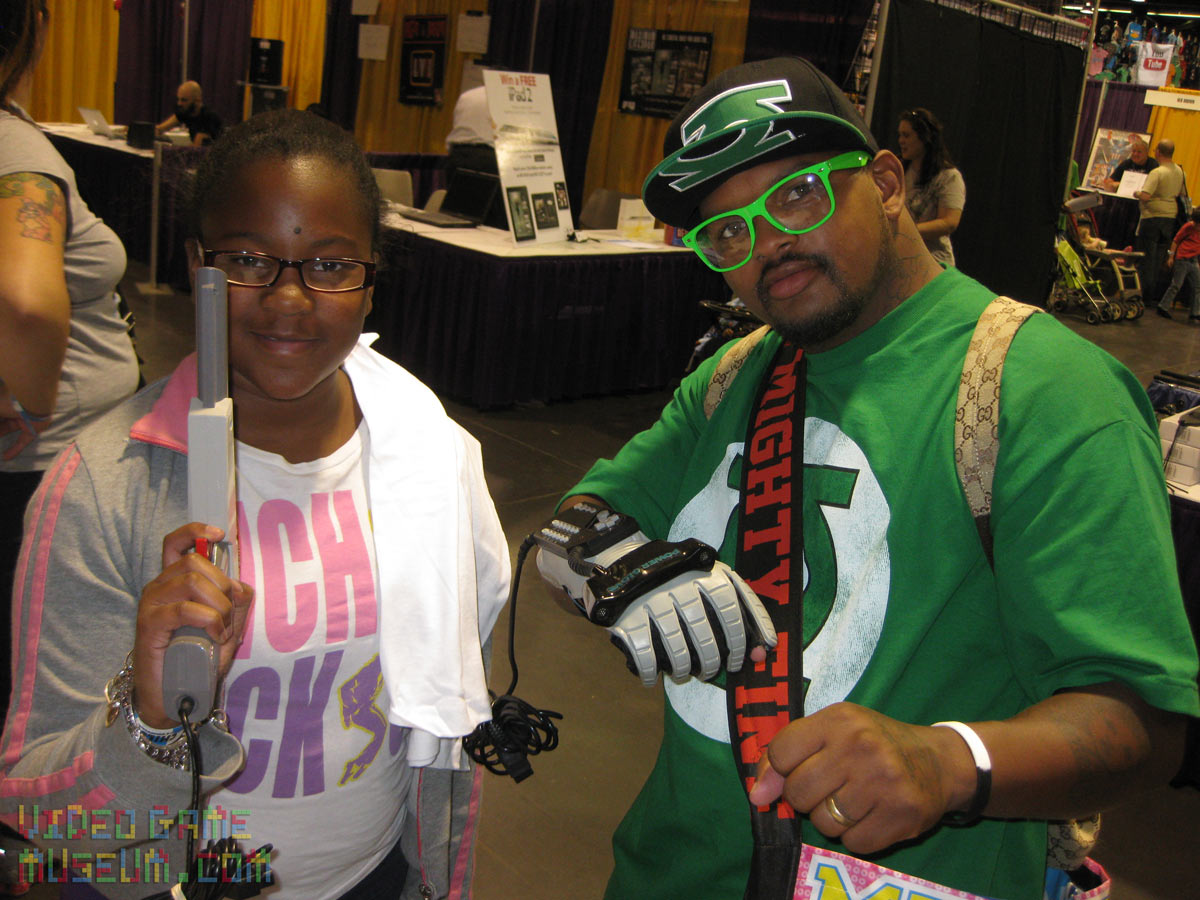
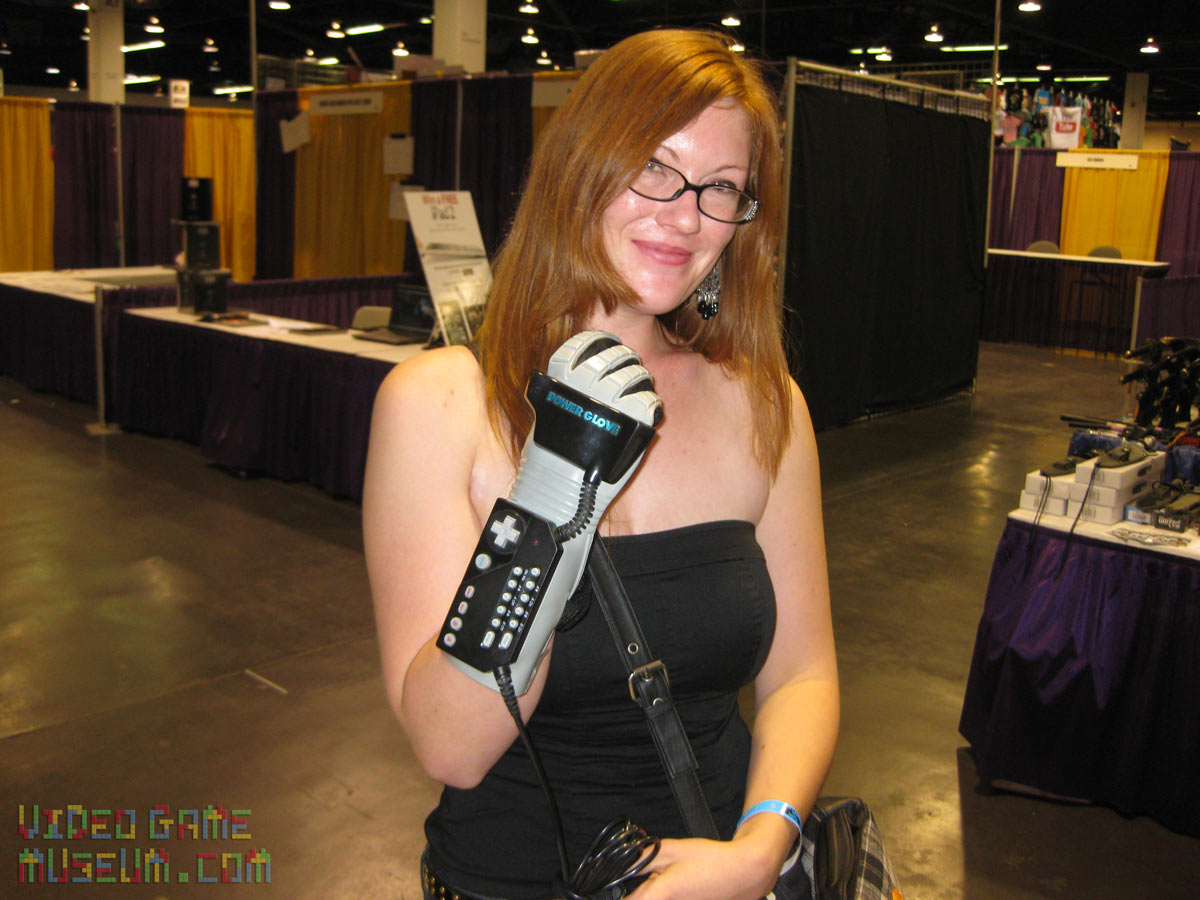
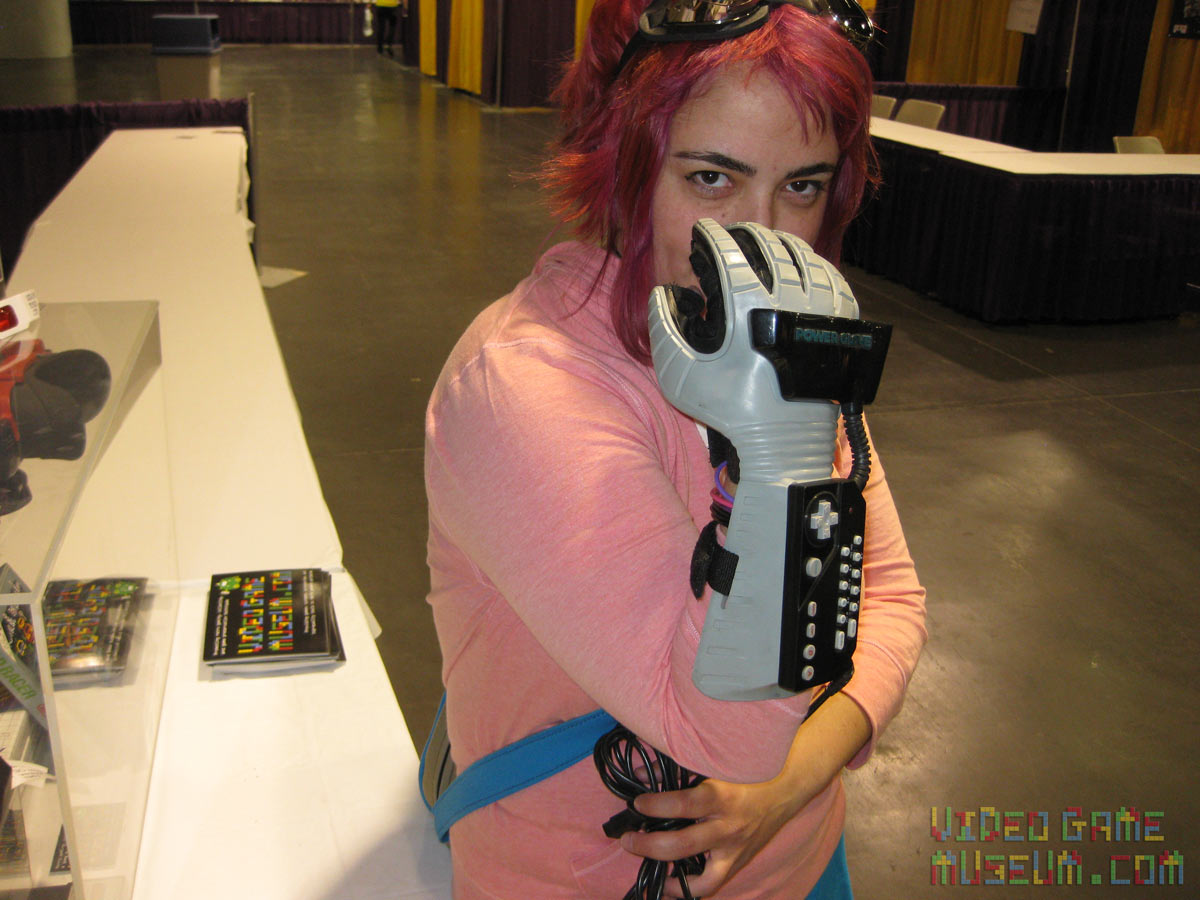
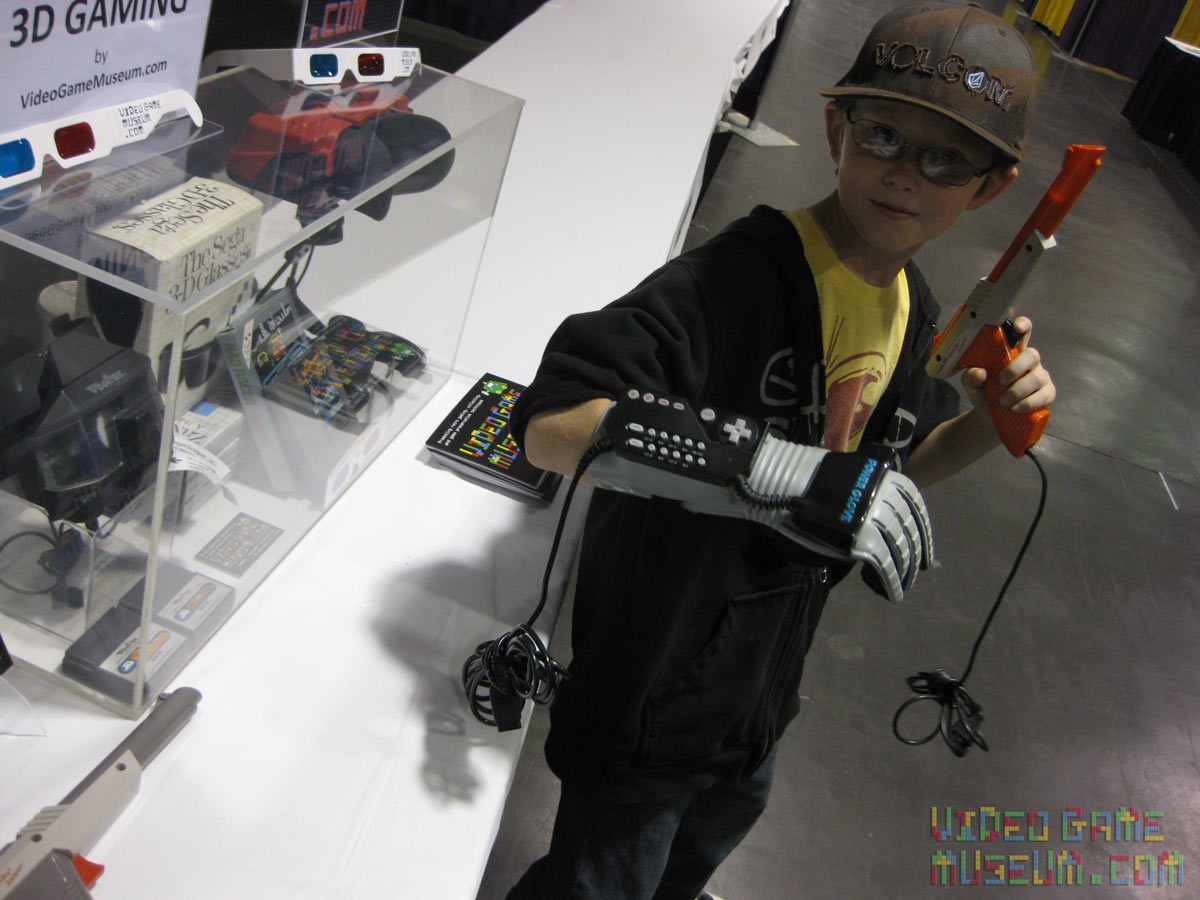
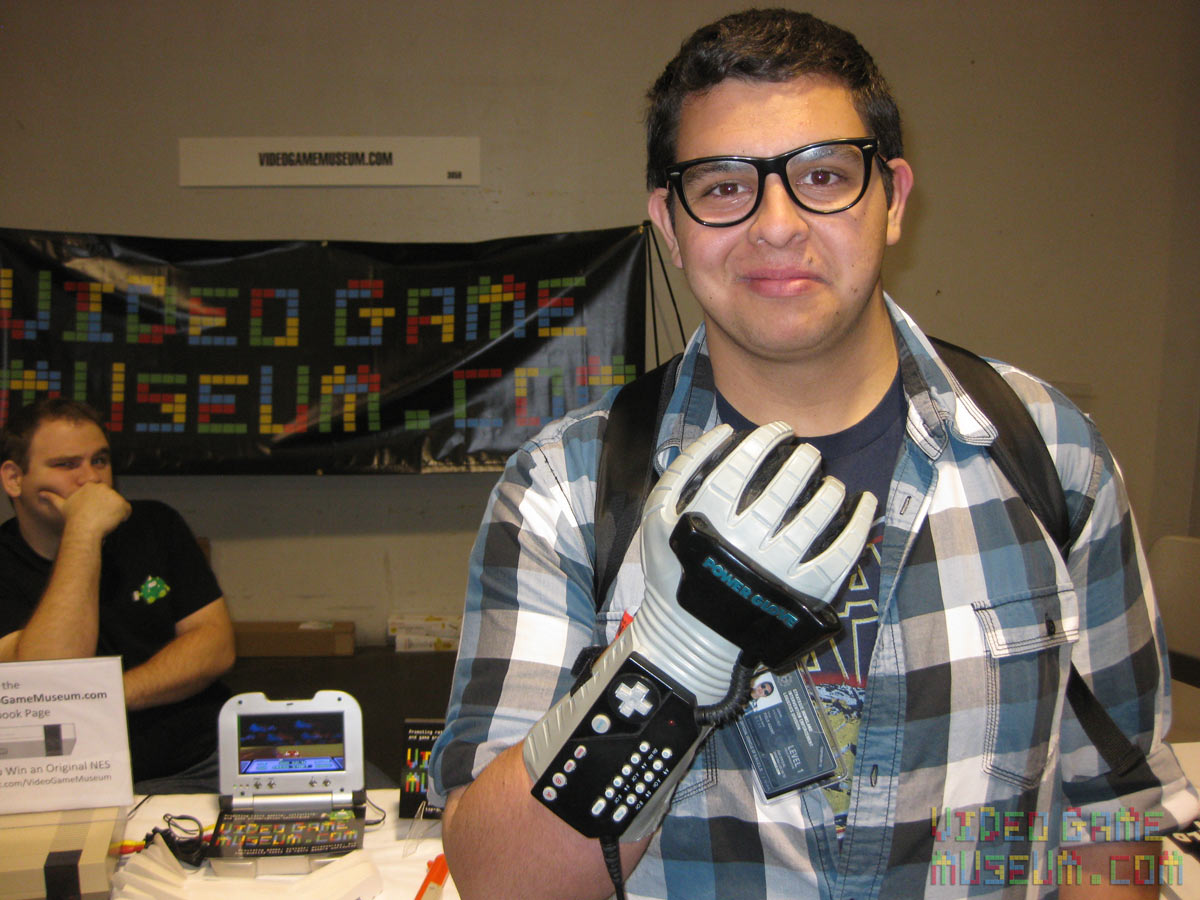
It was pretty exciting to watch people’s reactions to the retro gaming items that we had on the table. Most were genuinely excited to try on the Power Glove. Many of them had seen it in the movie “The Wizard” but had never touched one in real life. Heck, even kids who were born a decade after the Power Glove loved trying it on! Trying to explain to these kids that this was Nintendo’s first attempt at a “Wii” type motion control was pretty fun.
Gamers United
 Gamers United")
One final highlight from the 2011 Comic Con was the booth right next to us: Gamers United. This fantastic group is dedicated to showcasing the positive aspects of games. For example, one thing they do is to place gaming items in hospitals as diversionary and rehab tools. They’re based right here in Southern California, and I look forward to working with them in the future!
Wrap Up
By the end of the weekend, I was beyond exhausted. We met a ton of fantastic people, had a great time chatting with them about retro gaming, and I’m looking forward to Wizard World’s next Comic Con!
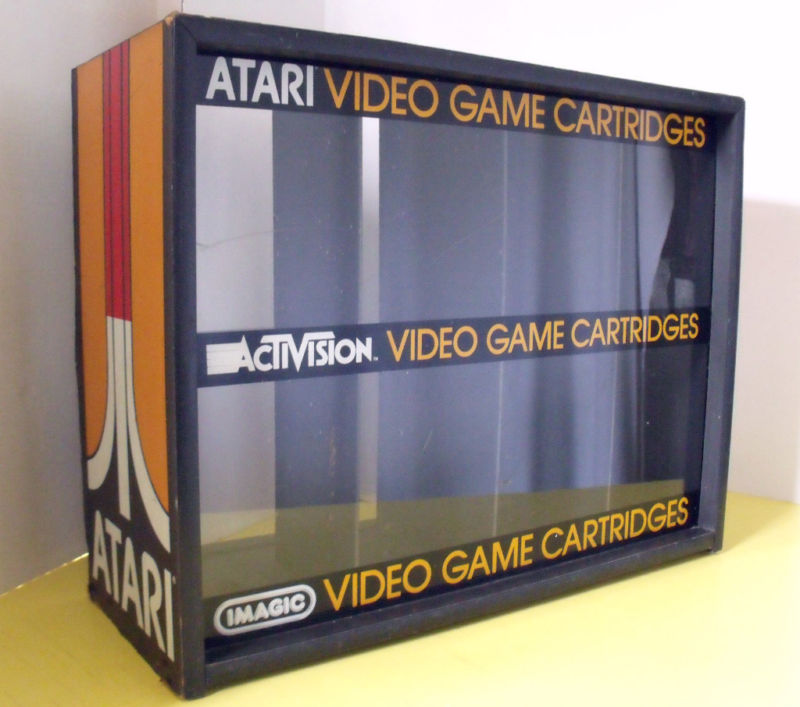
Feel free to take a stroll through the rest of our photos below.


")